Today Pierre Roman (@wiredcanuck) Senior Cloud Advocate of Microsoft & myself (@buchatech) streamed “Introduction to Azure Arc enabled Kubernetes” on Learn Live. Here is what we covered in this session:
In this session, showed you how Azure Arc enabled Kubernetes clusters can help customers like Contoso to optimize and simplify their operations. Here are the Learning objectives we covered:
Describe Kubernetes, Azure Arc, and Azure Arc-enabled Kubernetes.
Connect Kubernetes clusters to Azure Arc.
Manage Azure Arc enabled Kubernetes clusters by using GitOps.
Integrate Azure Arc enabled Kubernetes cluster with Azure services like Azure Monitor and Azure Policy.
If you missed it don’t worry. 🙂 You can watch the playback on the Microsoft Developer YouTube channel here:
You can check out more Learn Live episodes on the:
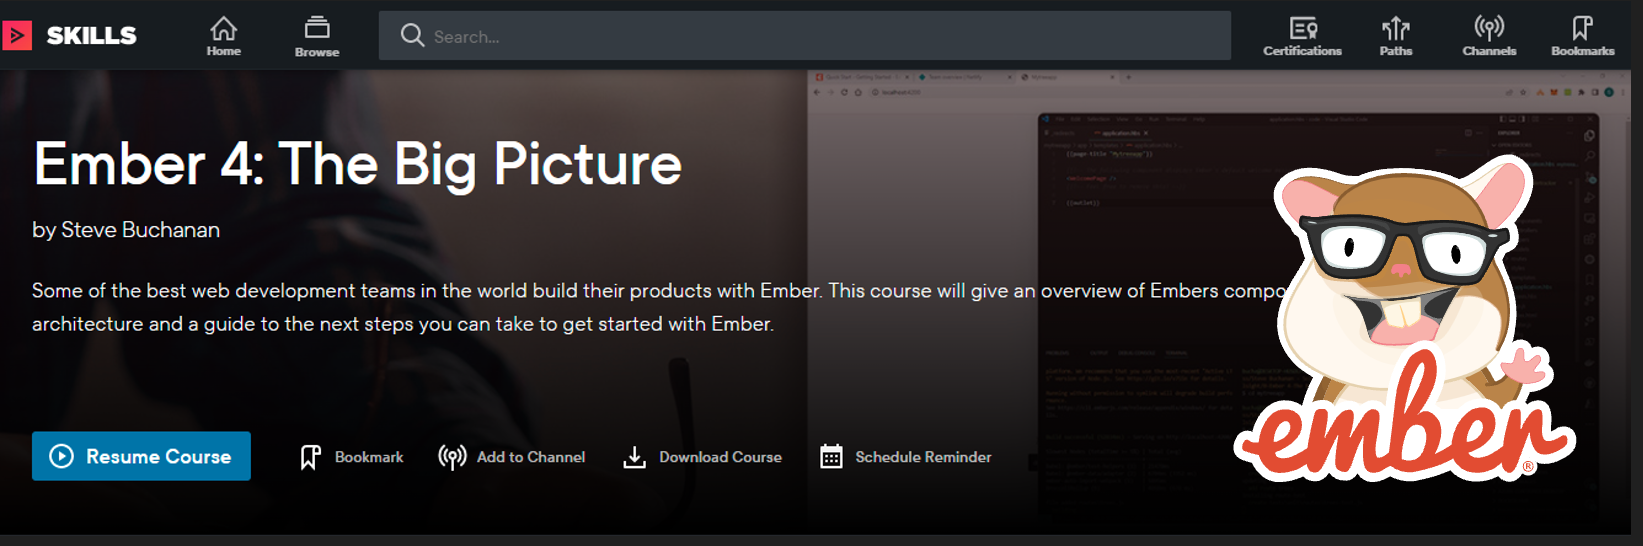
I am excited to announce that I published an Ember.js course on Pluralsight! This course is titled “Ember 4: The Big Picture“. This is my 15th course with Pluralsight. Ember.js is a JavaScript framework used for developing web apps. Some of the best web development teams in the world build their products with Ember.
This course will give an overview of Ember’s components and architecture and a guide to the next steps you can take to get started with Ember. In this course, Ember 4: The Big Picture, you’ll learn about the Ember front-end framework. First, you’ll explore Ember’s core parts: Ember.js, Ember Data, Ember CLI, and Ember Inspector.
Next, you’ll discover Ember’s core concepts: routing, services, and Components. Finally, you’ll learn how to what it is like to develop, build, and deploy an app with Ember.
When you’re finished with this course, you’ll have the skills and knowledge of Ember JS needed to decide if it is the right JavaScript framework for you and where to go next on your journey with Ember.
I hope you find value in this new Ember 4: The Big Picture course. Be sure to follow my profile on Pluralsight so you will be notified as I release new courses!
I am very excited to be a part of a new Microsoft Azure Hybrid Cloud Study Hall series. This is a free fourteen-part weekly series that starts in April running through June.
In this study hall, you will learn how you can manage your on-premises, edge, and multi-cloud resources, and how you can deploy Azure services anywhere with Azure Arc and Azure Stack.
In this series, each session covers working with hybrid cloud resources using Azure services and hybrid cloud technologies. In these sessions we will:
Answer your questions live
Walk-through how to configure hybrid cloud resources
Walk-through how to deploy hybrid cloud resources
Walk-through how to manage hybrid cloud resources
In these sessions, together with you, we will work through Microsoft Learn modules focused on Azure Arc and Azure Stack HCI.
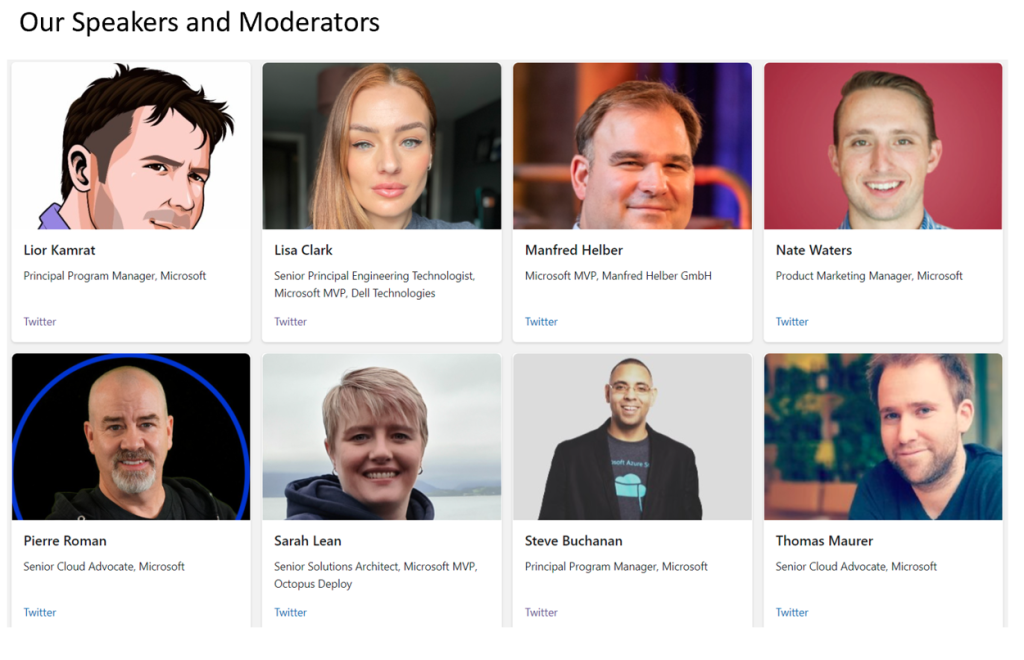
We have a solid lineup of speakers from Microsoft and the community! And I will be co-delivering two sessions myself.
Some of the speakers and moderators
Check out this video Microsoft marketing made where I talk about the sessions:
My session will be with my friend and co-author of my latest book John Joyner.
Here are the session details:
Azure Arc: Extending Hyperscale Cloud Management to Your Datacenter
Description:
Learn about Microsoft’s Azure Arc service, a new multi-cloud management platform that belongs in every cloud or DevOps estate. The premise of Azure Arc is compelling: why not extend familiar management tools proven in Azure to on-premise and other cloud networks? A practical scenario-based tour will get you up to speed quickly, with instruction and demos that are heavy with hands-on experience. If your organization has resources across the hybrid cloud, multi-cloud, and edge environments, then this session is for you. You will learn how to configure and use Azure Arc to uniformly manage workloads across all of these environments.
What you will learn:
Introduces the basics of hybrid, multi-cloud, and edge computing and how Azure Arc fits into that IT strategy
Insights into Azure native management tooling for managing on-premises servers and extending to other clouds
Detail an end-to-end hybrid server monitoring scenario leveraging Azure Monitor and/or Microsoft Sentinel that is seamlessly delivered by Azure Arc
Define a blueprint to achieve regulatory compliance with industry standards using Azure Arc, delivering Azure Policy from Microsoft Defender for Cloud
Are you thinking about starting the cloud journey, or are you an experienced cloud engineer already? Come join this interactive session where we will talk all things cloud! We will have a round-table discussion about what resources are available, where to find them, and which ones are better than others. Talk with experienced cloud architects about the mistakes they’ve seen and how to avoid them. Come listen to stories, enjoy a few drinks, and have a great time talking about the cloud movement.
What you will learn:
How to begin your cloud adoption journey
What resources are available to start your migration process, and how to find them
This session will be an open format Q&A. Come ask your burning questions in front of a live audience and get real-time feedback from cloud MVP’s and SME’s. No question too hard, no topic off-limits. Wanted to know why something was built the way it was? Want to know how to accomplish something you’ve been working on for months? Have a general question about Azure in general? Come, listen, ask.
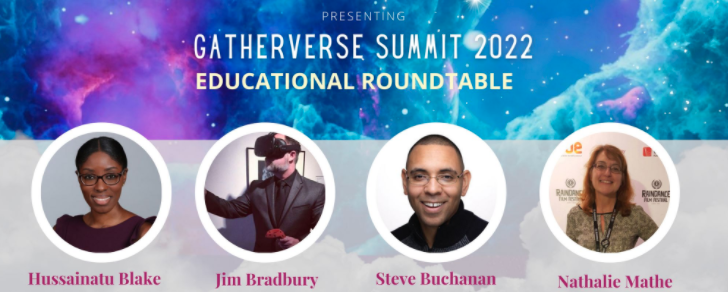
GatherVerse is a new conference about the MetaVerse. GatherVerse is the creation of entrepreneur & tech leader Christopher Lafayette. The GatherVerse is a global gathering discussing humanity first standards of education, safety, privacy, wellness, equality, community development and accessibility in the next steps of the metaverse. Here is the GatherVerse website: www.gatherversesummit.com
I will be a part of a panel discussing EdTech’s role in the Metaverse. This panel will be on day 2 – February 23rd, 2022 @ 2:00pm pst – 2:48pm pst
I will join a great panel of esteemed tech professionals. On the panel, I will give my personal point of view of how companies and technologies such as Accenture (who recently bought of 60k Oculus headsets), Microsoft, FlipGrid, TakeLessons, LinkedIn Learning, Roblox, Pluralsight, and more fit into the Metaverse.
This event is free. Here are links to learn more and sign up:
Recently I was a guest on the Disrupting the Cloud Podcast. This podcast is hosted by some of my fellow Microsoft colleagues LaBrina Loving and Brandon Martinez!
On the podcast episode, we discussed a number of topics starting with transitioning from working with hardware and software in the field to consulting, GitOps and its role in the DevOps ecosystem, authoring books/Pluralsight courses, SharePoint, System Center, Azure Arc, Kubernetes, and more!
I am excited to announce the next chapter in my career. It has been a long time coming, I am joining Microsoft (going to the mothership). I will be joining an elite team focused on Azure product improvement in one of the engineering orgs as a Principal Program Manager. I will be focused on improving Azure’s end-to-end open-source & Kubernetes experiences as well as working with multiple clouds. Several things excite me about this role such as; the talented folks on the team, being a part of improving the Azure, continuing to expand my open-source skills, continuing to expand my multi-cloud skills, and working with various product groups as well as leadership.
I am really looking forward to this change in my career as I will be moving from the consulting discipline to the product/cloud provider discipline. I view this as a soft reboot to my career, the next chapter in my book, and the 3rd lap in the race of my career. The possibilities where this will lead are endless and will open many new doors.
With this move, I will no longer be a Microsoft MVP. Microsoft employees cannot be Microsoft MVPs. After 10 years as a Microsoft MVP, I will surely miss being a part of the MVP family. However, I will continue to contribute to the technical community through blogging, speaking at conferences, user groups, creating content such as e-books, sharing my insights on podcasts, and creating more Pluralsight courses! Sharing my knowledge is a part of who I am. Buchatech will live on! I look forward to working with folks from the other side of the table and continuing to interact/collaborate with folks in the community!
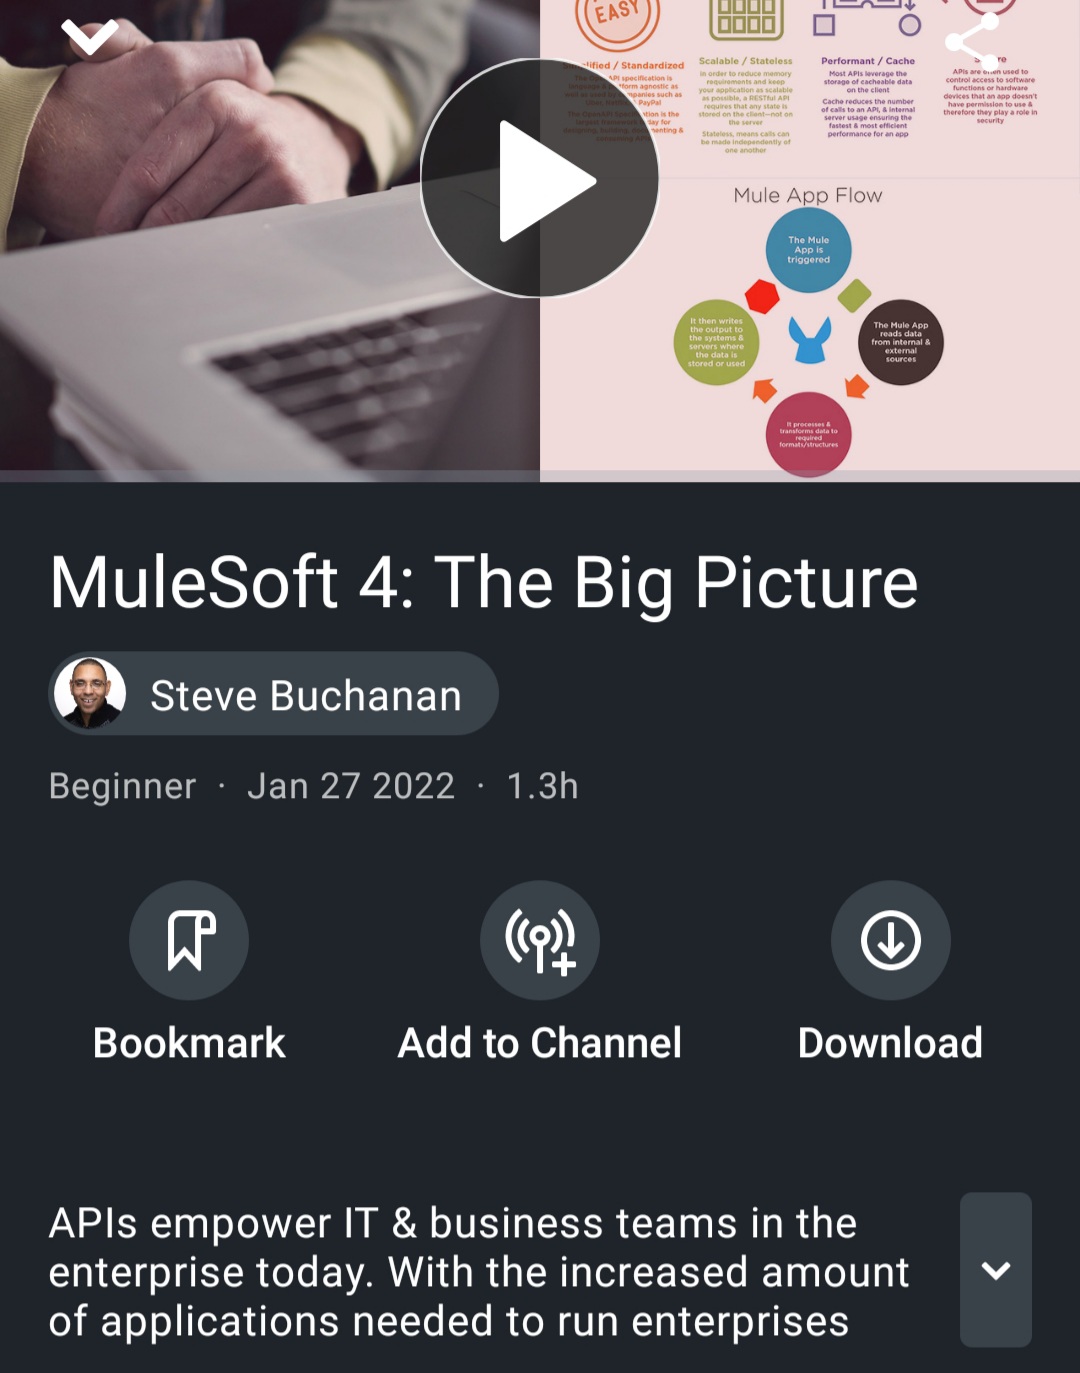
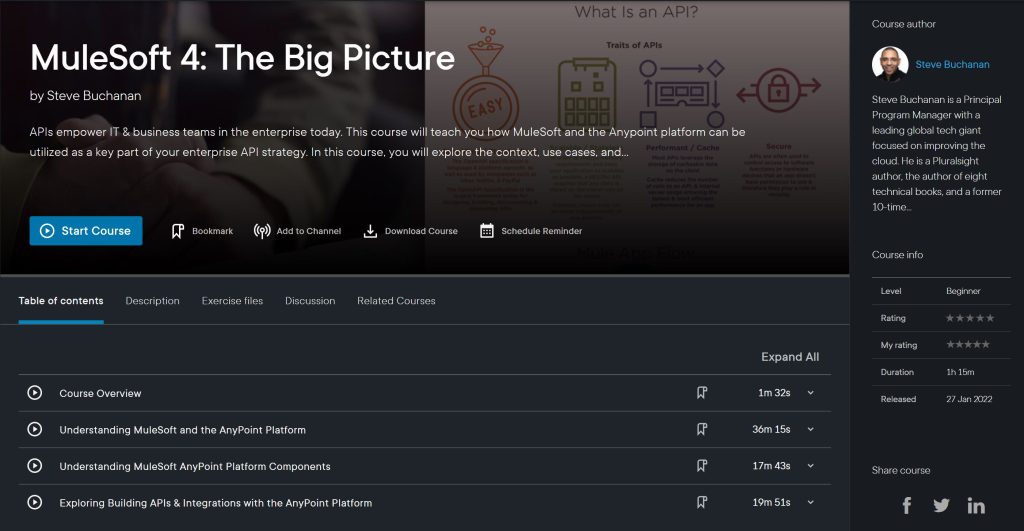
Today my 13th course was published on Pluralsight! This course covers MuleSoft. API’s are everywhere today where technology is used. API’s are the glue behind the technologies we all use. The app you use on your phone, those videos you stream from home, the software you use at work all have API’s powering them connecting across many systems. With the increased amount of applications needed to run enterprises today the need for API integrations has increased along with the complexity.
MuleSoft has been a leader for some time in the API space. For anyone in technology, it is a good idea to gain an understanding of API’s and learning MuleSoft is one way to do that. Check out my course MuleSoft 4: The Big Picture.
This course will teach you how MuleSoft and the Anypoint platform can be utilized as a key part of your enterprise API strategy. You’ll learn about MuleSoft and the Anypoint platform as an end-to-end API solution. First, you’ll explore what MuleSoft and Anypoint are. Next, you’ll discover the various Anypoint platform components. Finally, you’ll learn how to build APIs & Integrations. When you’re finished with this course, you’ll have the skills and knowledge of MuleSoft needed to recommend and architect a solution for your API needs.
I hope you find value in this new MuleSoft 4: The Big Picture course. Be sure to follow my profile on Pluralsight so you will be notified as I release new courses!
This year was another abnormal year with ups and downs for many. Salute to everyone that kept pushing through any and all hardships you experienced. For me, my focus continued to be family and seizing all presented opportunities while blocking out as much unnecessary noise as possible.
Highlights:
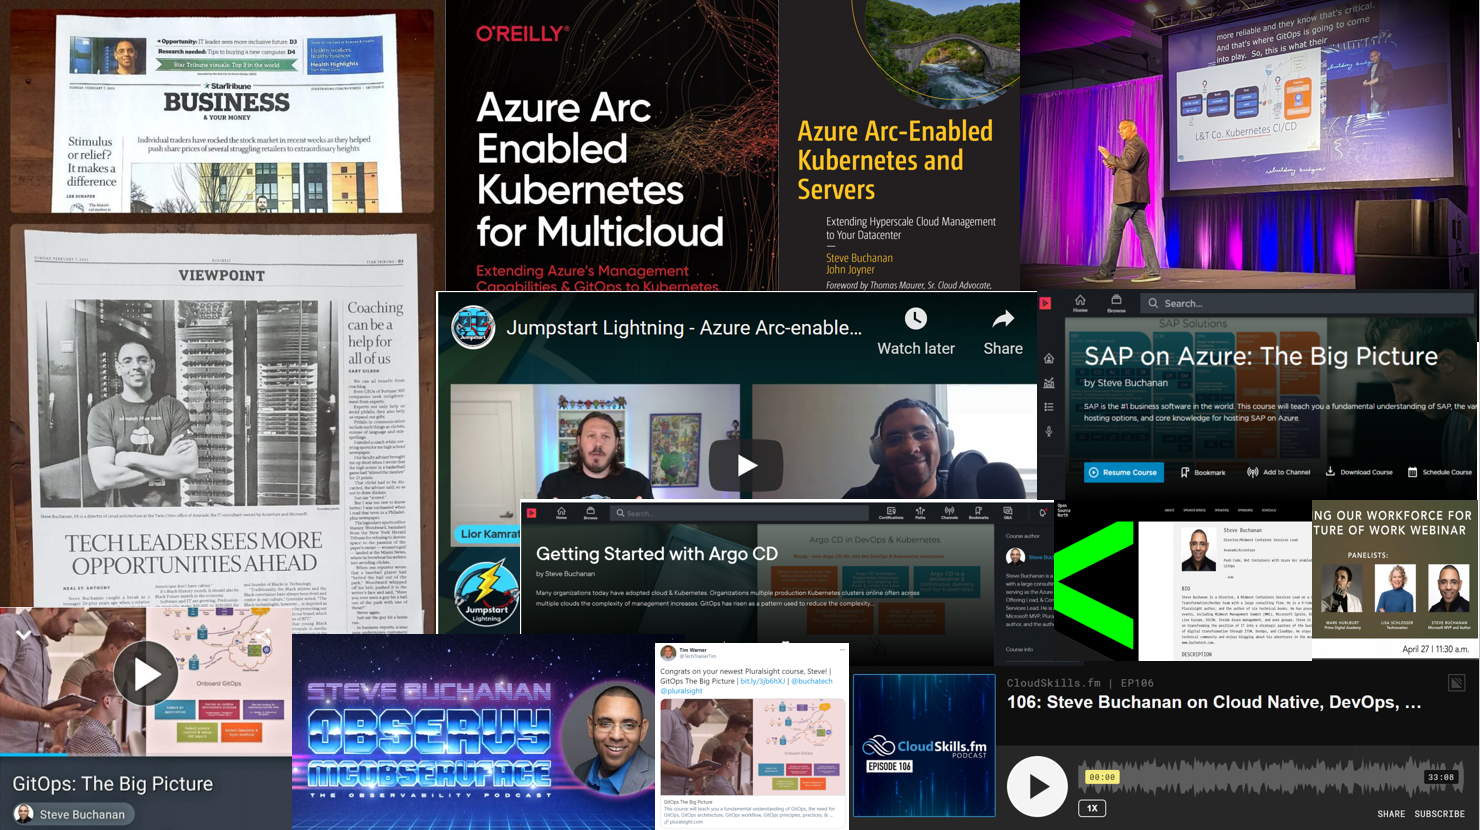
I consider 2021 a spectacular year with several milestones and firsts for me. This year kicked off with me being featured in the Star Tribune (the 5th largest newspaper in the United States) in Superbowl Sunday’s paper! Other major highlights included being renewed as a Microsoft MVP for the 10th year, being promoted to an Azure Platform Offering Lead at work, developing 6 new courses for Pluralsight, publishing my 7th and 8th book one of them being my 1st book with O’Reilly, appearing on 5 podcasts/webinars, & speaking at 7 conferences/user groups of them being DevOpsDays MPLS! I also continued my virtual world tour speaking at events in Africa and even Jamaica!