Over the past couple of months I have been hard at work on some more Pluralsight courses. I am excited to announce that today I released 2 new courses on Pluralsight! These are both cloud related courses. One course is more DevOps focused and the other is focused more on cloud security. One of the courses is intermediate while the other is for those beginning with cloud. It’s pretty cool to have two courses listed on Pluralsight’s new releases!
Here are the courses:
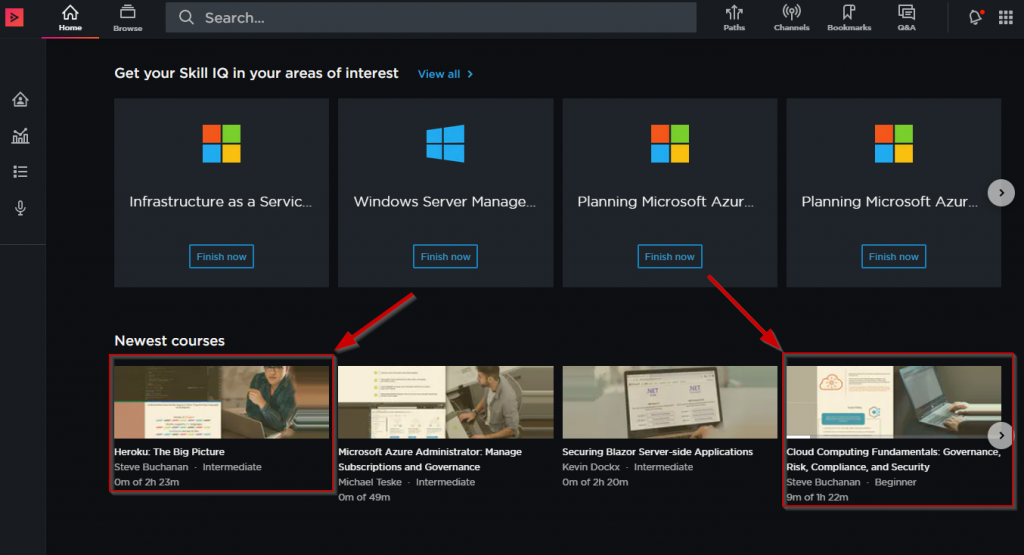
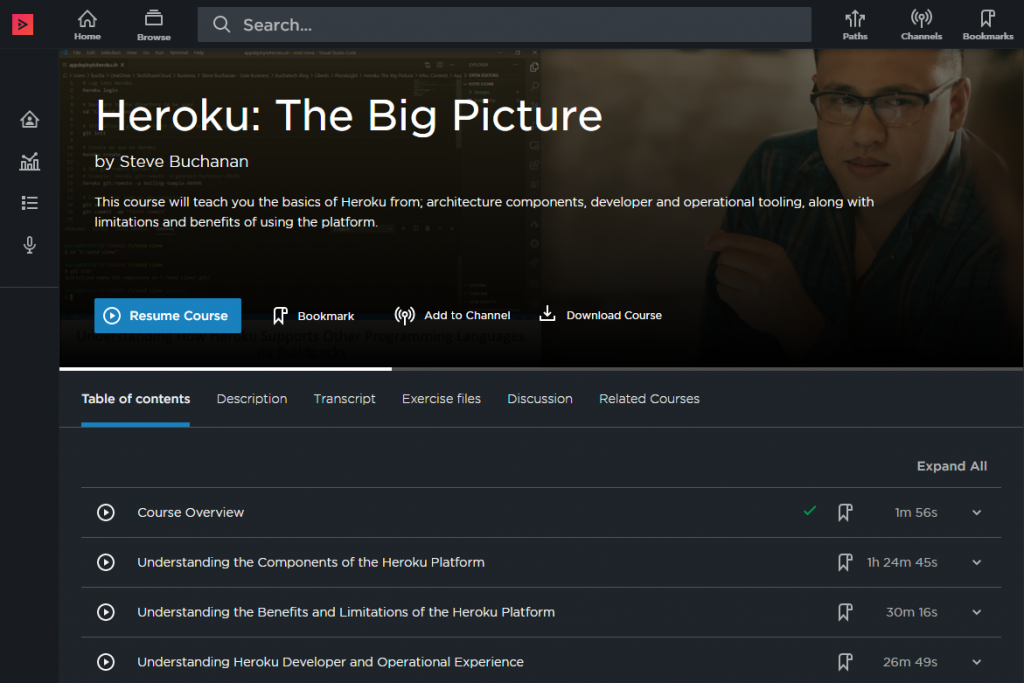
Heroku: The Big Picture
This course will teach you the basics of Heroku from; architecture components, developer and operational tooling, along with limitations and benefits of using the platform.
Heroku is a cloud PaaS service that enables companies to speed up the application lifecycle; building, delivering, monitoring, and scaling applications without the headaches of standing up infrastructure to support the application.
Some of the major topics covered in this Cloud Computing course are:
- Learn about the components of the Heroku platform and how it works including the architecture, idea to running app, the runtime, Dynos and the various Heroku services.
- Gain an understanding about the benefits and limitations of the Heroku platform such as pricing, language support, and ecosystem.
- Insight into the developer and operational experience on Heroku.
- And you will also see demos on the Heroku Dashboard, Using the Heroku Estimators, and deployment of an application to the Heroku platform.
By the end of this course, you will gain a better understanding of the Heroku platform all up including how to build and operate an application on it.
Check out the course here: https://app.pluralsight.com/library/courses/heroku-big-picture
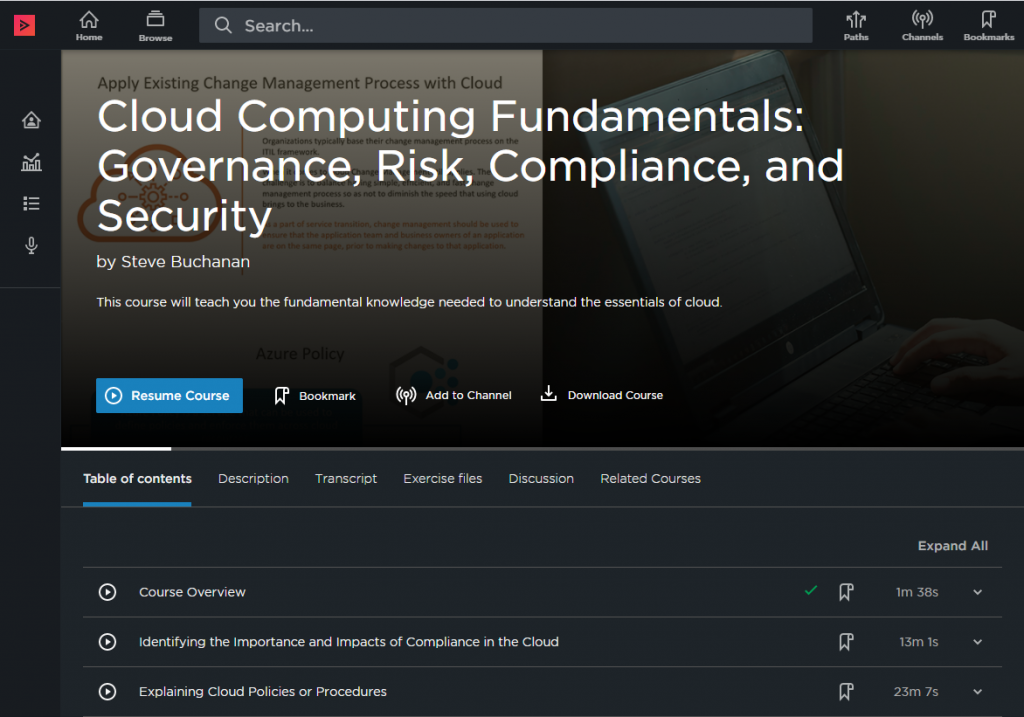
Cloud Computing Fundamentals: Governance, Risk, Compliance, and Security
This course will teach you the fundamental knowledge needed to understand the essentials of cloud Governance, Risk, Compliance, and Security.
Some of the major topics covered in this Cloud Computing course are:
- Identifying the importance and impacts of compliance in the cloud
- Understanding cloud policies or procedures
- Recognizing risk management concepts related to cloud services
- Security concerns, measures, or concepts of cloud operations
This Cloud Computing course will help you prepare for the CompTIA Cloud Essentials+ exam. This course is also useful if you don’t plan to take the CompTIA exam and just need to ramp up on cloud security.
Take this course if you want to learn cloud essentials, what it takes to successfully adopt cloud, the impact of cloud on IT service management, how security, and risks apply to cloud as well as consequences. This course is for someone with some exposure to cloud technologies and a general background in Information Technology at the minimum of a business analyst level.
Check out the course here: https://app.pluralsight.com/library/courses/cloud-computing-fundamentals-governance-risk-compliance-security
I hope you find value in each of these courses. These two courses bring me to a total of 5 courses now published on the Pluralsight platform. Be sure to follow my profile on Pluralsight so you will be notified as I release new courses! I will be releasing more courses soon!
Here is the link to my Pluralsight profile to follow me: https://app.pluralsight.com/profile/author/steve-buchanan