In this blog post I am going to walk through the steps to create a storage account and connect an Azure Explorer tool to that Azure Stack storage account.
Create the storage account in Azure Stack
On your Azure Stack Dashboard you will have:
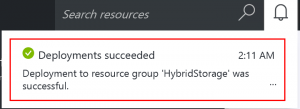
And you will have a notification that the new storage account is being provisioned and when it completes.
| In Progress | Deployed |
 |
 |
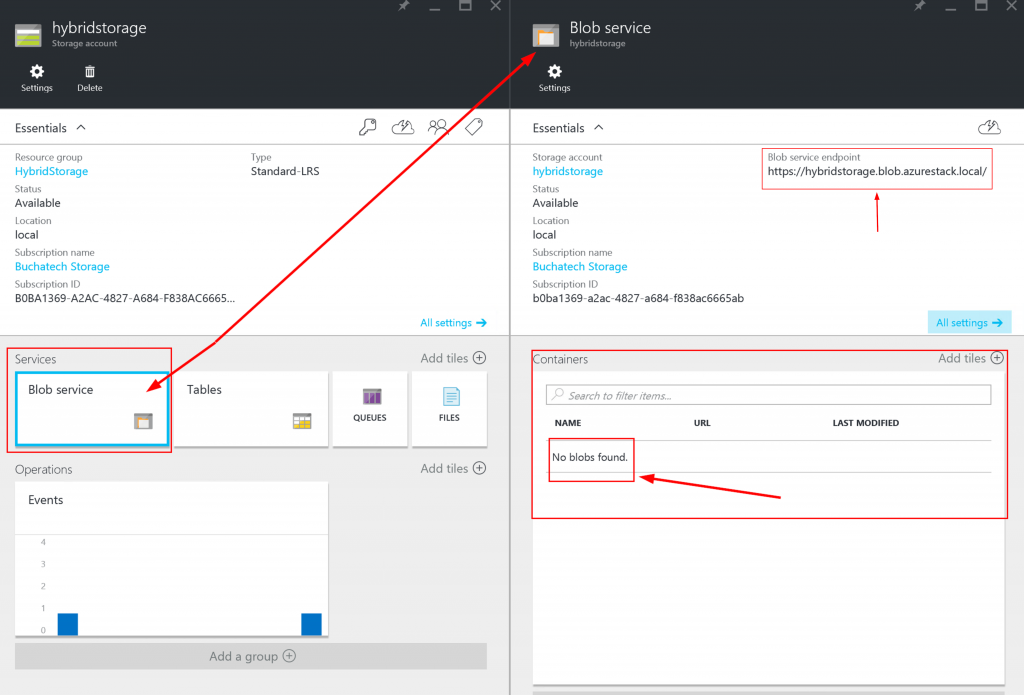
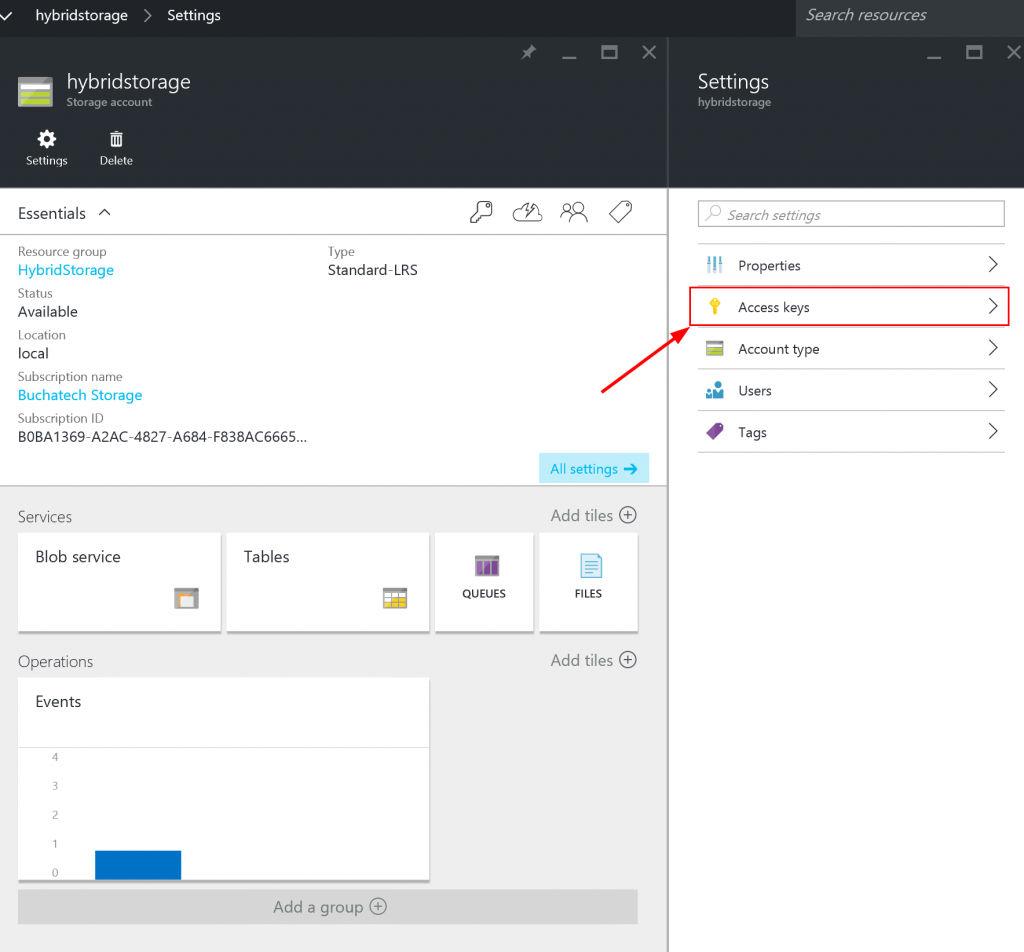
The new storage account blade will appear. If you were to click on Blob service right now you would notice that it does not contain any yet. This is what we will create with the explorer tool.
For now copy the Blob Service Endpoint URL:
https://hybridstorage.blob.azurestack.local/
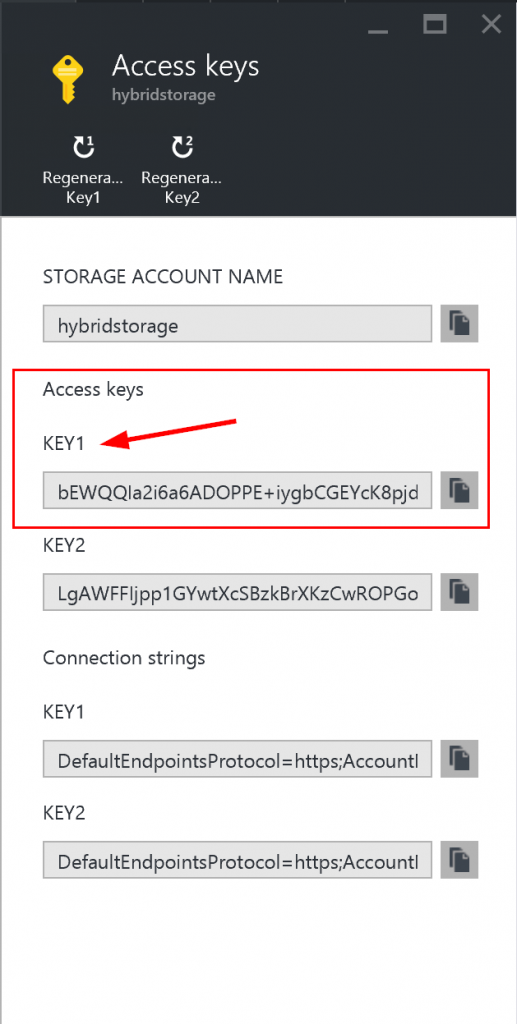
Click on Access Keys. We will need this information for connecting from the explorer tool.
We will need:
Access Keys | KEY1:
bEWQQIa2i6a6ADOPPE+iygbCGEYcK8pjd4EOzeqh+VURSWC0ErVYp119pAKPnx015s9WLwKa4d8JdMl5FzM8Tw==
NOTE: I used KEY1. You could use KEY2 if you want. Either key will work.
Install Azure Explorer tool
I used the free tool named “Azure Explorer” by Redgate. Here is the link to download: http://www.red-gate.com/products/azure-development/azure-explorer. I tried some of the other explorer tools out there but they did not work for me. They seem to be setup to only connect to storage accounts on Azure. The Azure Explorer tool by Redgate does the following:
- Manage all your Microsoft Azure blobs in one place
- Create and delete blob containers
- Rename, move and delete blobs
- Quickly view and edit blob metadata
- Create and delete blob snapshots
- Reliably upload and download blobs with a responsive UI
- Transfer blobs between your storage accounts
- Easily search and filter your blobs
- Support for copy and paste
- Search across storage accounts using wildcards
- Filter blobs using regular expressions
- Bookmark locations for quick access
- Quickly access specific containers by name
Download and install the Redgate Azure Explorer tool on your Azure Stack client VM or host.
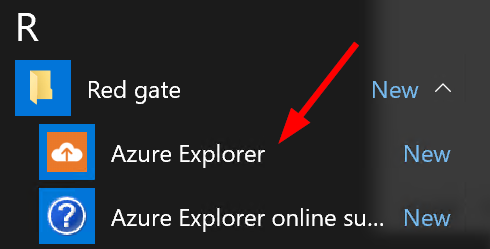
The Azure Explorer tool will be in the start menu.
Connect the Azure Explorer tool to the Azure Stack storage account
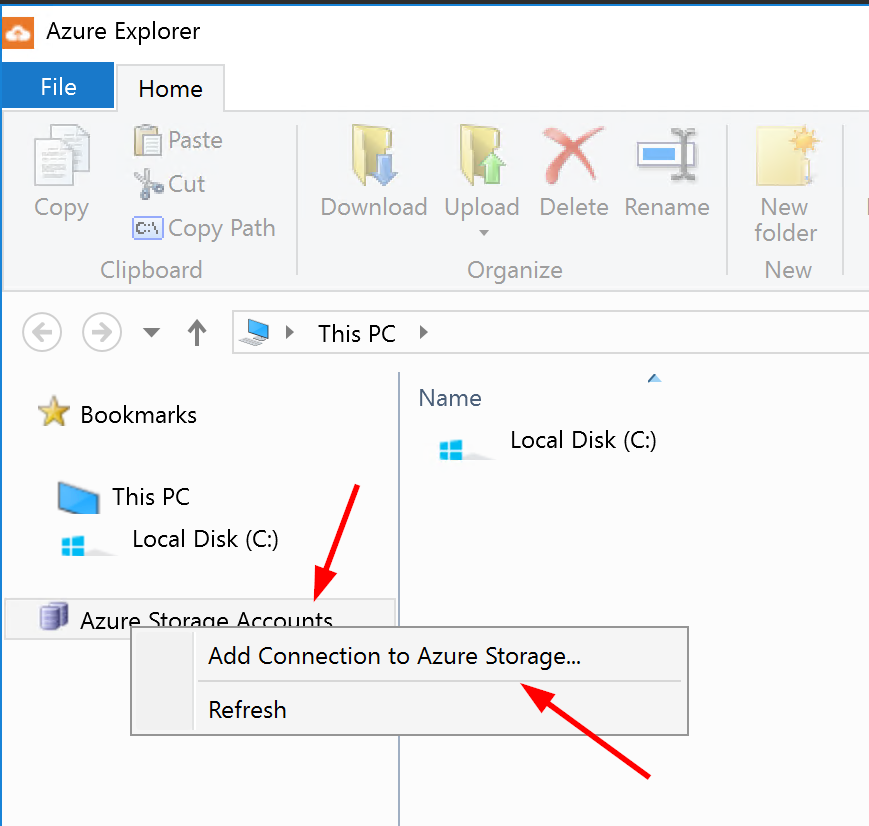
Launch the tool. Right click on Azure Storage Accounts and select Add Connection to Azure Storage.
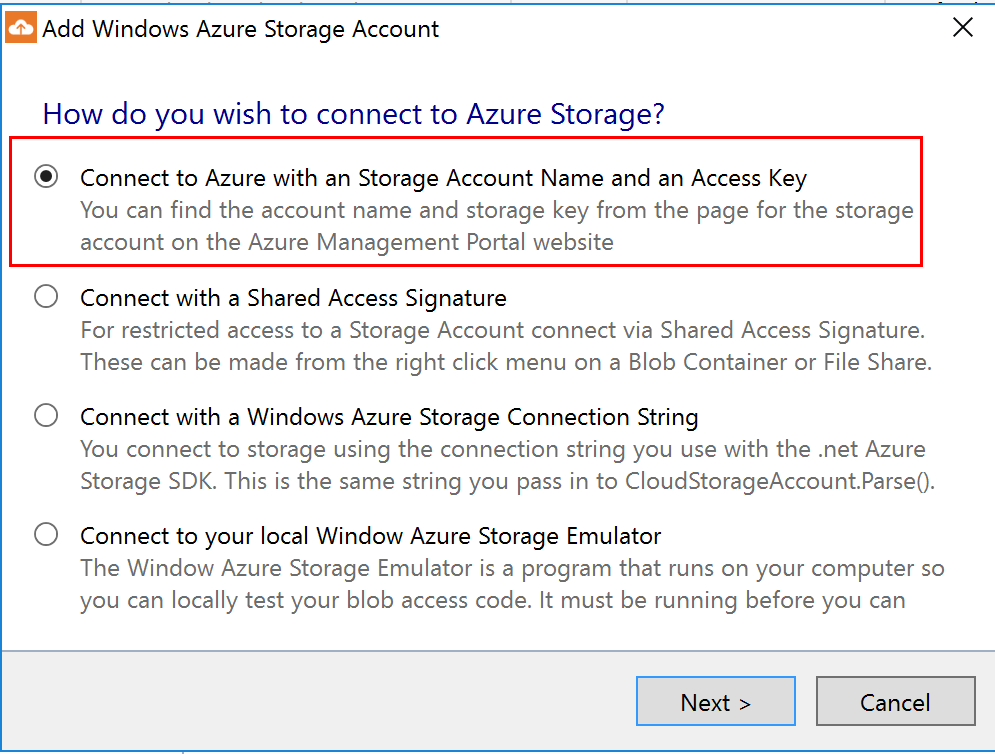
Select the first connection option and click next.
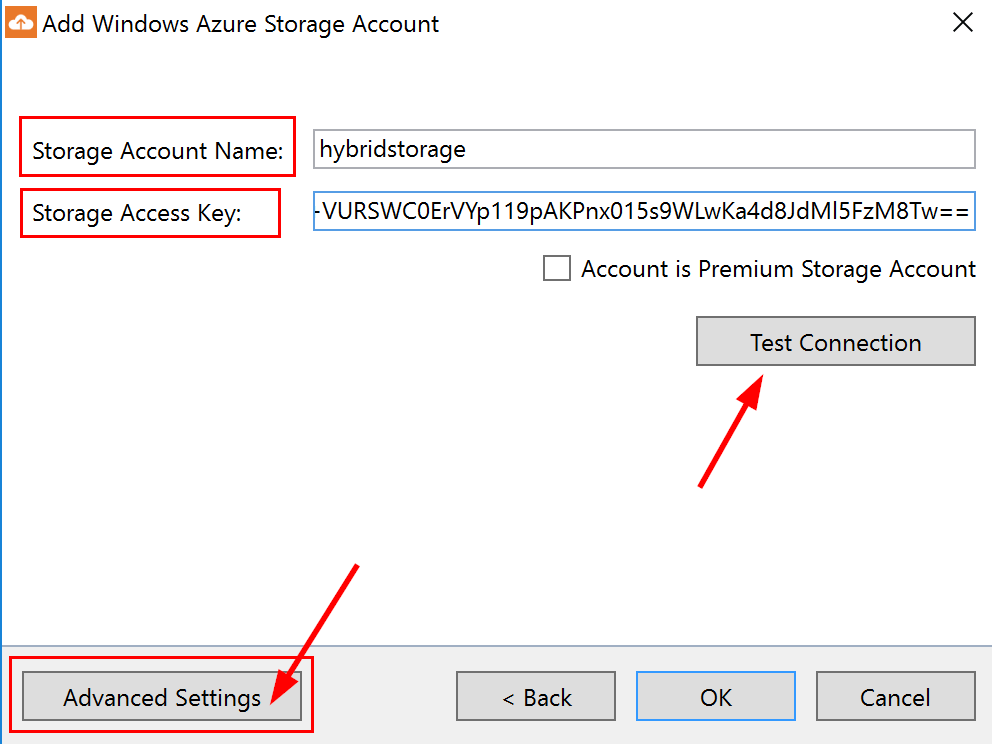
Now give this a name and copy in your access key. Click on Advanced Settings.
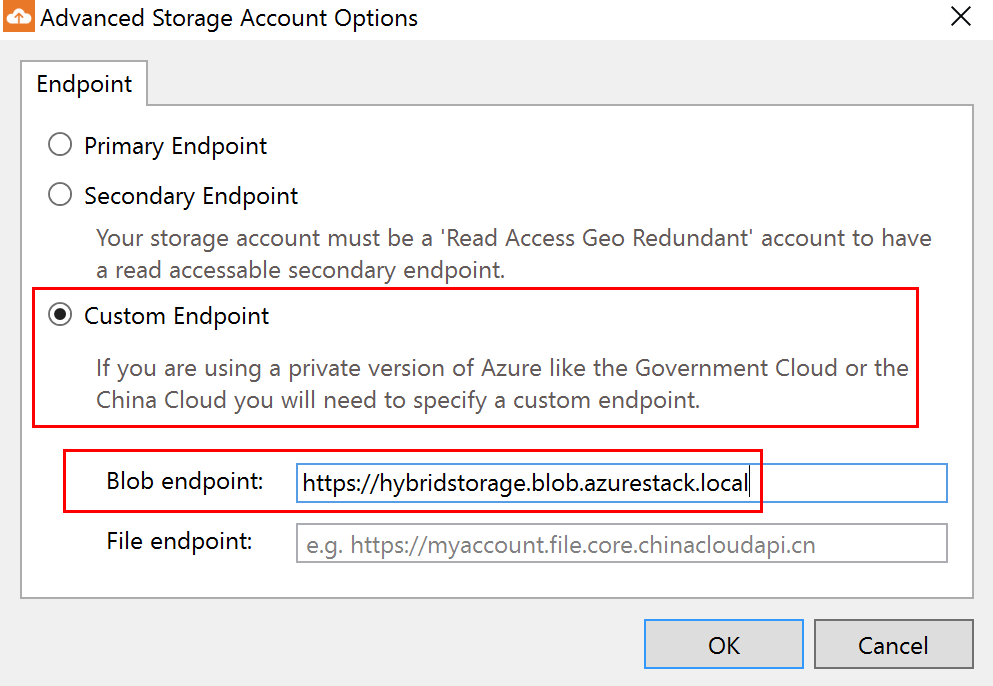
In Advanced Settings you need to add the Blob Service Endpoint URL.
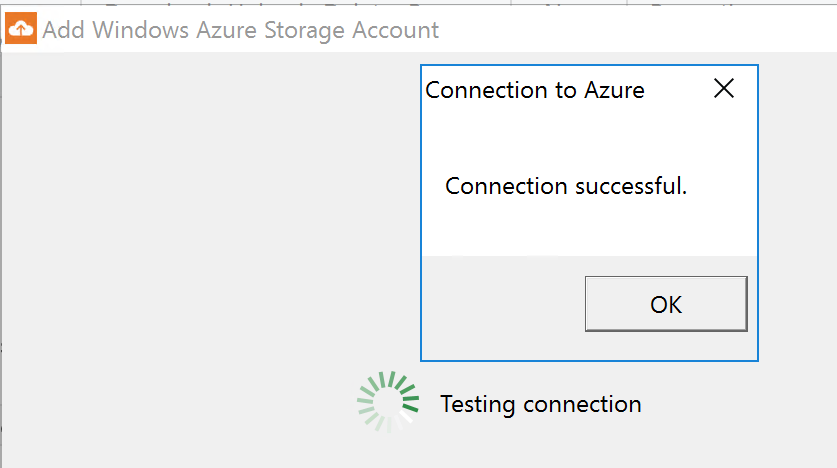
Now you will be back at the previous screen. Click on the Test Connection button.
Now you should see the storage account added in the tool. Note that you can add many accounts in the tool.
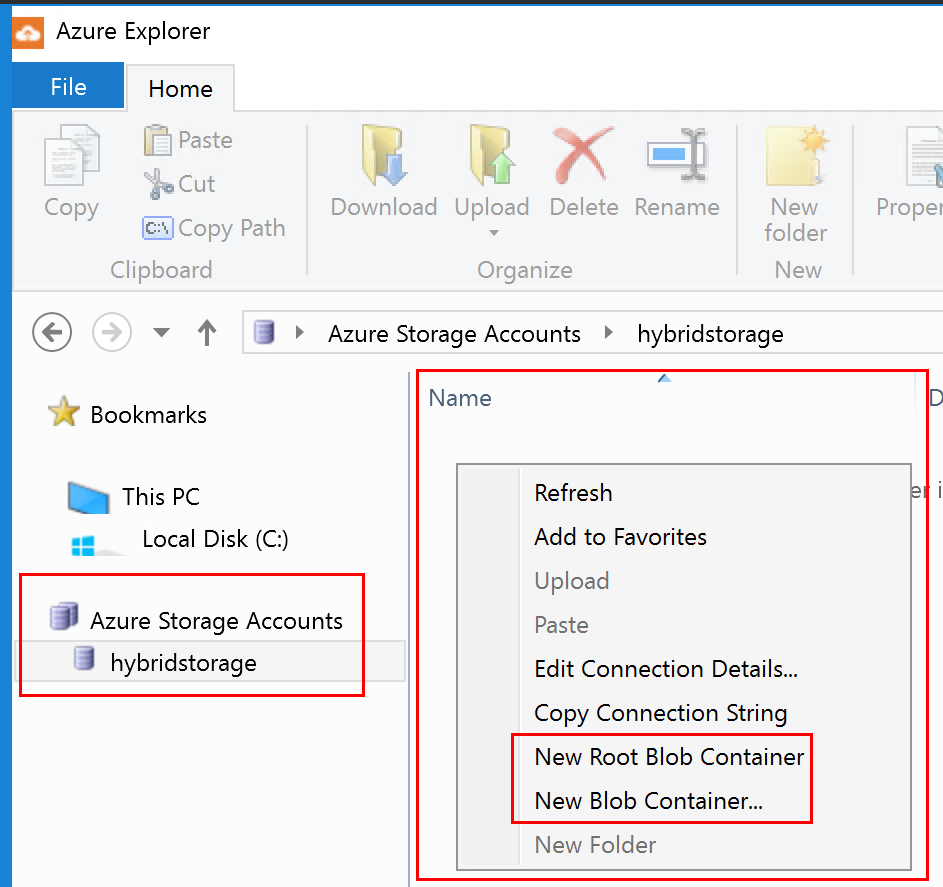
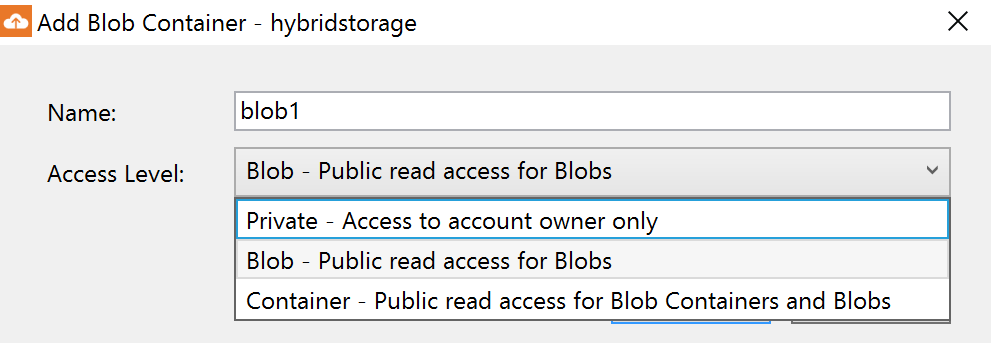
I went ahead and created a new blob called blob1. Notice in the following screenshot that you can select the access level.
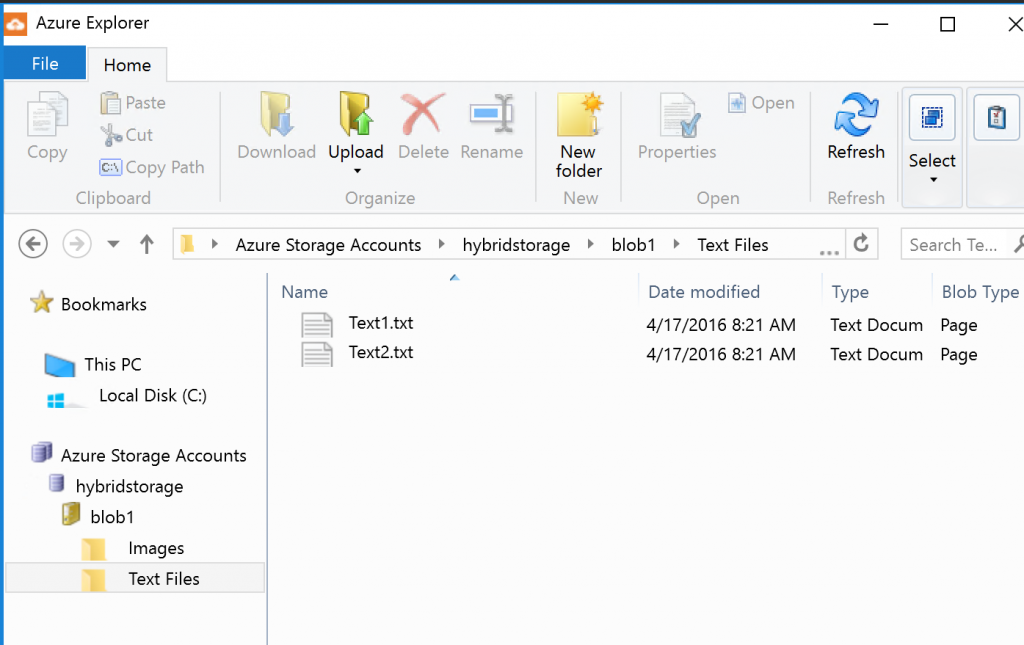
Next you can copy data directly into the blob or you can create folders and put data in the folders.
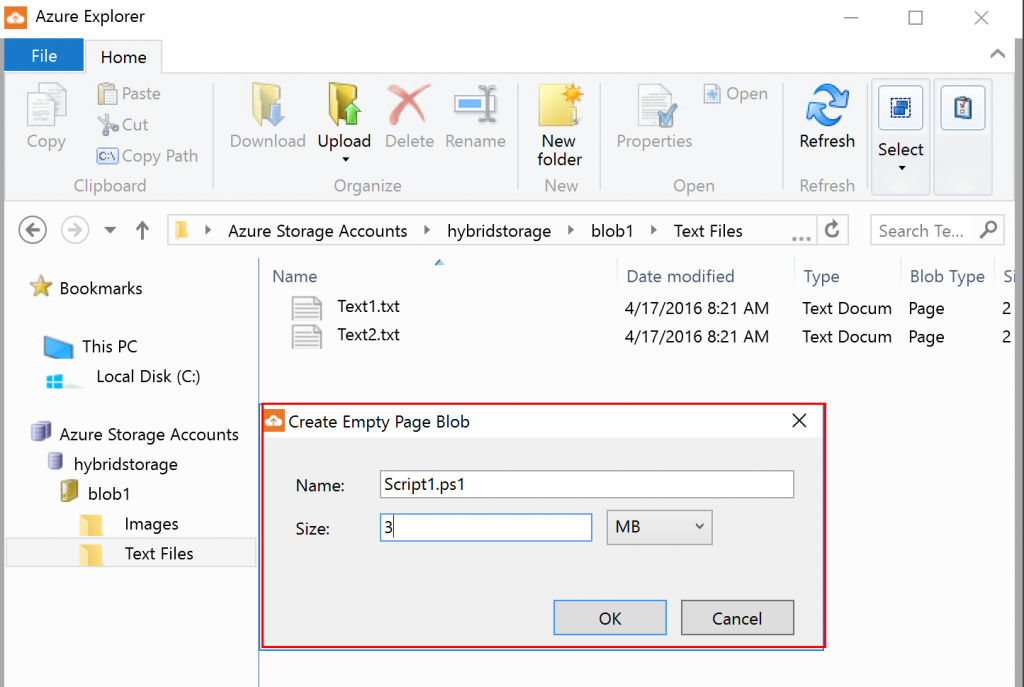
You also can right click in the blob or folders white space and create and empty page blob. You give it a name, file extension and size. You also can copy and paste back and forth between your Azure Stack storage and storage on the local computer.
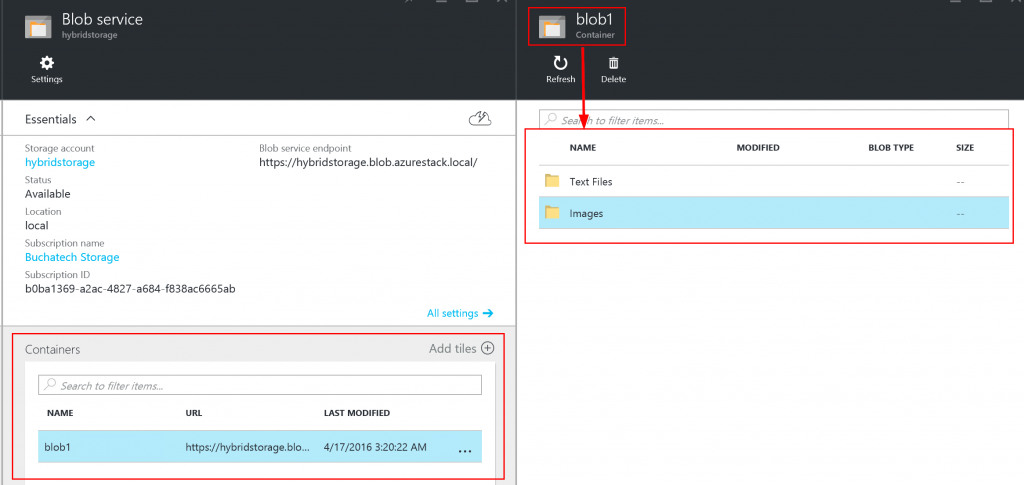
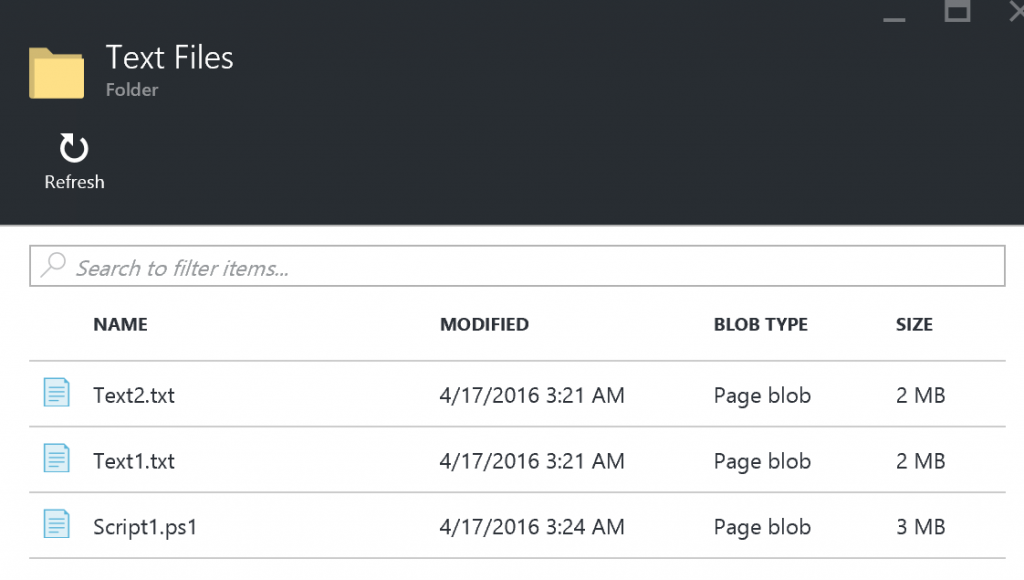
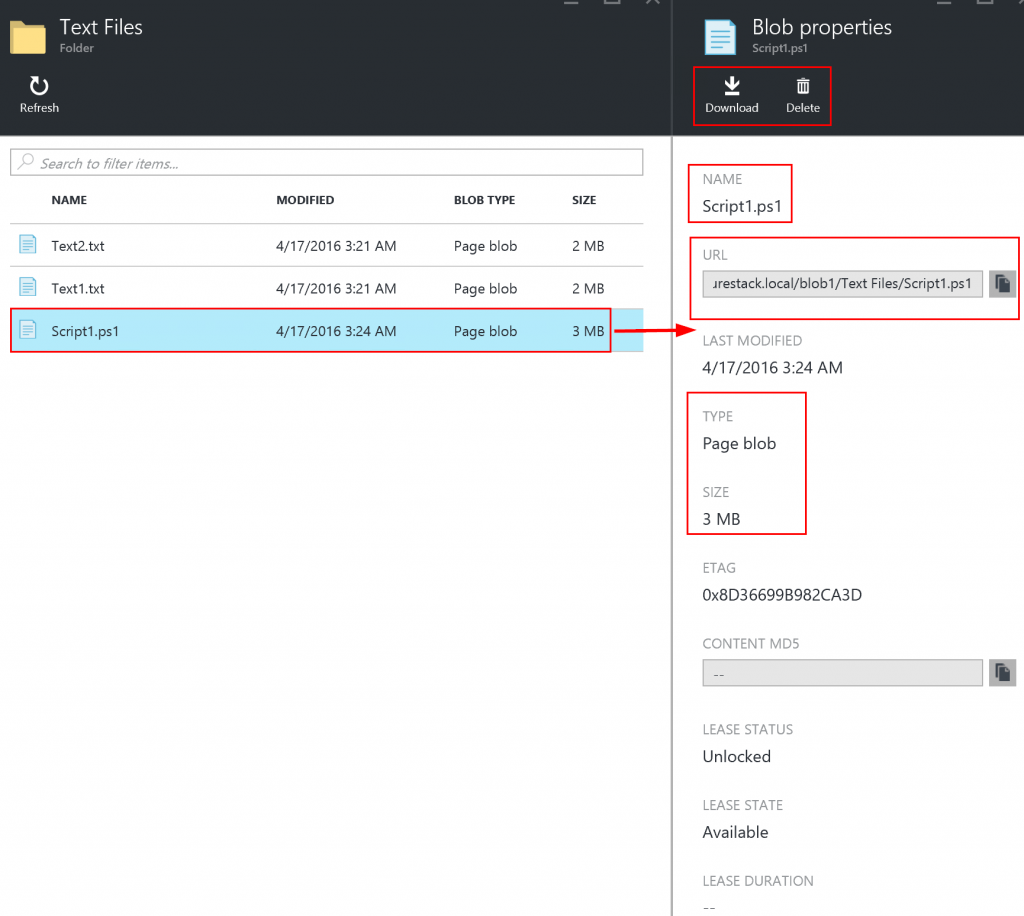
Now let’s go look at the blob and folders in the Azure Stack portal.
From the portal you can download, delete and get property data about the data in your storage account.
That completes this blog post. Happy Azure Stacking!

