Background
I have not seen a lot of posts out there on setting up Azure Site to Site VPN Setup Azure Resource Manager. The ones I did follow had some missing steps. Setting up the AS2S is a pretty detailed process so I wanted to put the steps I had to follow in a blog post.
What you will need:
On-Premises
- RRAS installed on an on-premises server.
- At least 1 NIC on your RRAS server.
- Your public IP. This will not work with dynamic DNS. You have to have a public IP. If you don’t own a public IP you can still use the dynamic public IP your ISP has assigned to you. You will need to just watch it and manually update it in Azure when it changes.
- UDP Ports 500, 4500, and 1701 forwarded to your RRAS server. This is if your RRAS server is behind a NAT device.
- Either your servers pointed to RRAS for their gateway or static routes setup on the VM’s you want to be able to communicate with Azure.
Azure:
Addressing:
For on-premises you can use whatever you want. I use 192.168.0.x/24.
For Azure we will use 10.121.0.x/16 and 10.121.0.0/24 and 10.121.1.0/24.
Steps:
~ AZURE CONFIGURATION FIRST! ~
First we will start off with configuring the network components we need up in Azure. Start by going to the Azure portal at https://portal.azure.com.
STEP 1: I would setup a resource group. You will put all of your resources for the site to site VPN in here for better tracking and management. As an example I named mine: “S2SVPN-Buchatech-LabRG“.
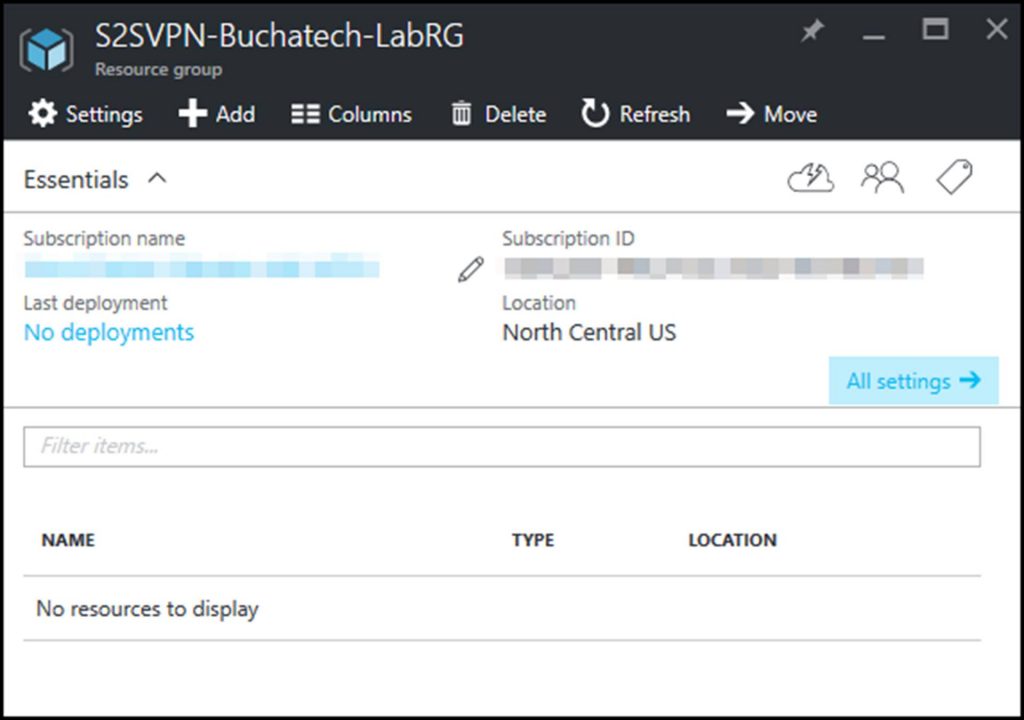
NOTE: Our resource group is empty at this point.
STEP 2: Let’s start off by creating a virtual network. Go to:
Virtual networks>Create virtual network and click on Add. Let’s name this “S2SVPN-RRAS-Vnet“.
Give it “10.121.0.0/16” for the address space. This has to have enough room to place two subnets into it.
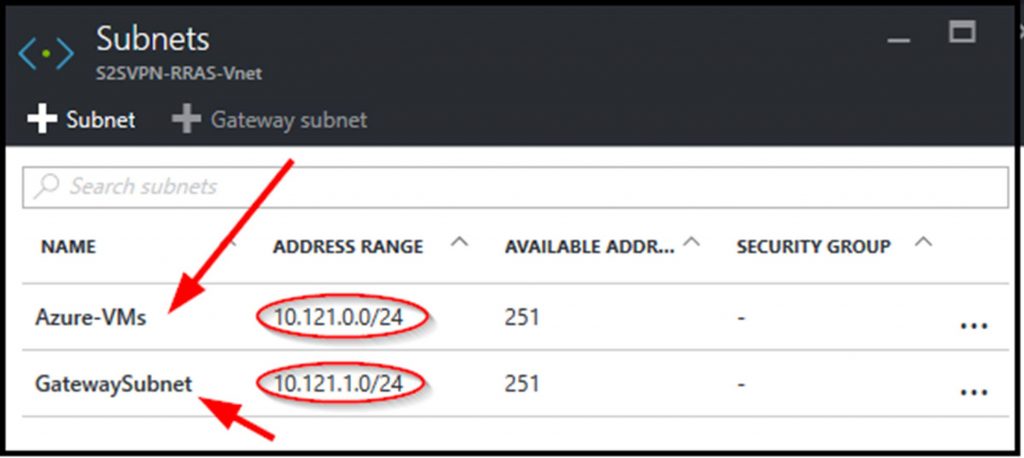
For the first subnet make the Subnet Name “Azure-VMs“. Make the Subnet address range “10.121.0.0/24“. Set it to the resource group you created in the previous step.
NOTE: I recommend placing all resources that will be a part of your site to site VPN in the same region. I used North Central US.

STEP 3:
We will be creating a virtual network gateway. This network gateway will contain the second subnet.
Go to Virtual networks>S2SVPN-RRAS-Vnet>Settings>Subnets.
Click on + Gateway subnet. For the Address Range use “10.121.1.0/24“. This address range is the IP range for your RRAS server to use.
So in your virtual network you should now have the two following Subnets:
STEP 4:
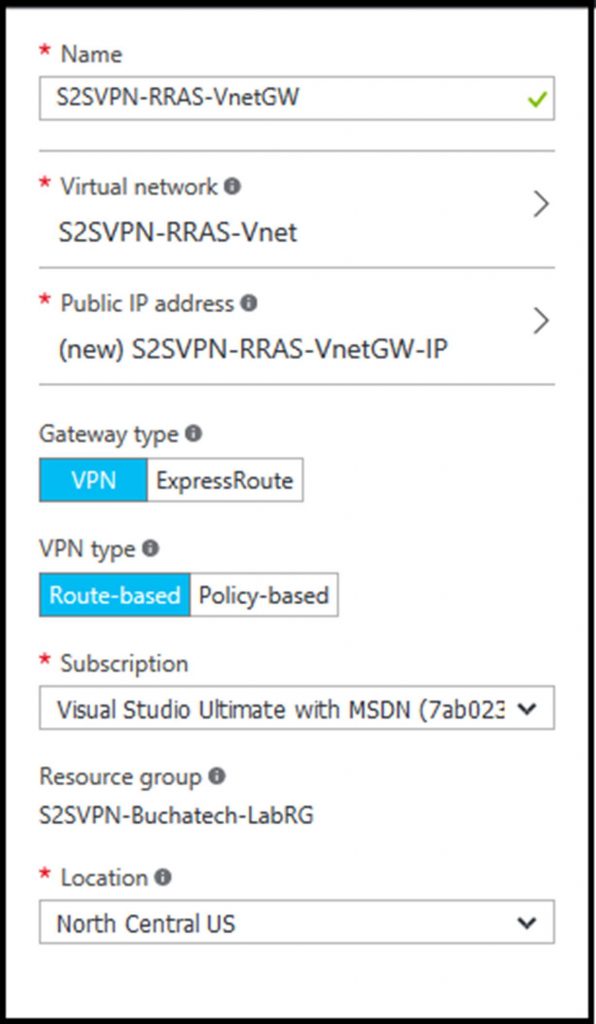
Now navigate to Virtual network gateways and click on Add. Name the gateway “S2SVPN-RRAS-VnetGW“. For the virtual network select our existing one named S2SVPN-RRAS-Vnet. Leave the gateway type to VPN, and leave VPN type to Route-based. For the public IP we don’t have one so we will need to create one here. Click on Choose a public IP address and a blade will fly out. Click on Create New.
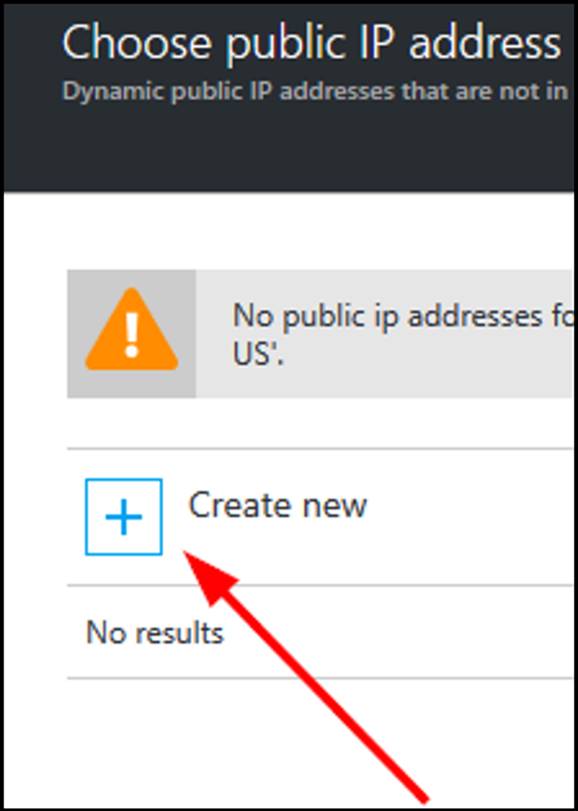
I give it a name of “S2SVPN-RRAS-VnetGW-IP“. Your settings should look like this:
After the Virtual network gateways is created go and get the public IP addresses. We will need to plug this into RRAS later. You can get this by going here: Virtual network gateways>S2SVPN-RRAS-VnetGW>S2SVPN-RRAS-VnetGW-IP>Settings.
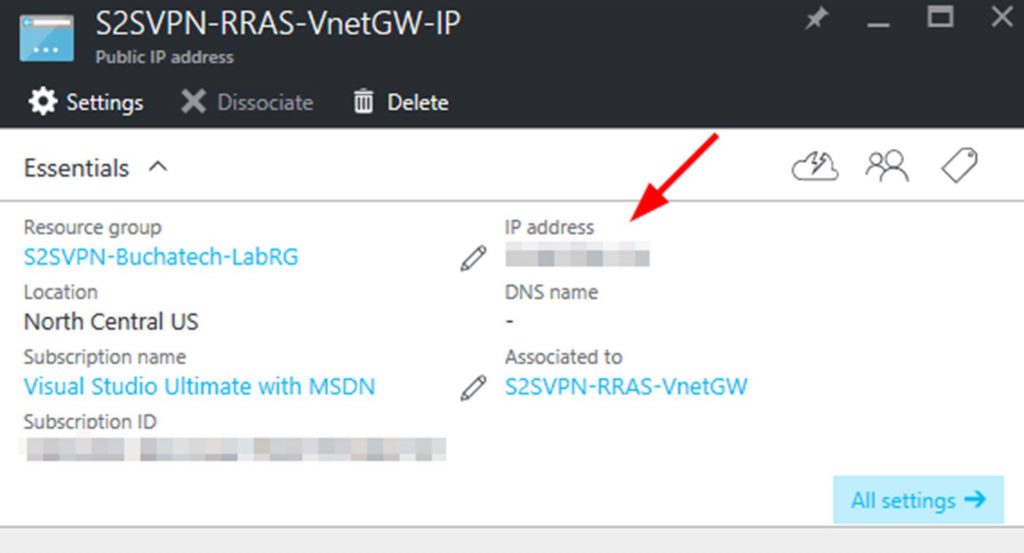
NOTE: It may take some time to provision the public IP so be patient here.
STEP 5:
Next up we need to configure a Local network gateway. Go to:
Local network gateways and click on +Add. On Create local network gateway name it
“S2SVPN-RRAS-LocalNetGW“, enter the public IP of your RRAS server, In the address space enter an IP range or ranges for your on-premises network , and select your RG.
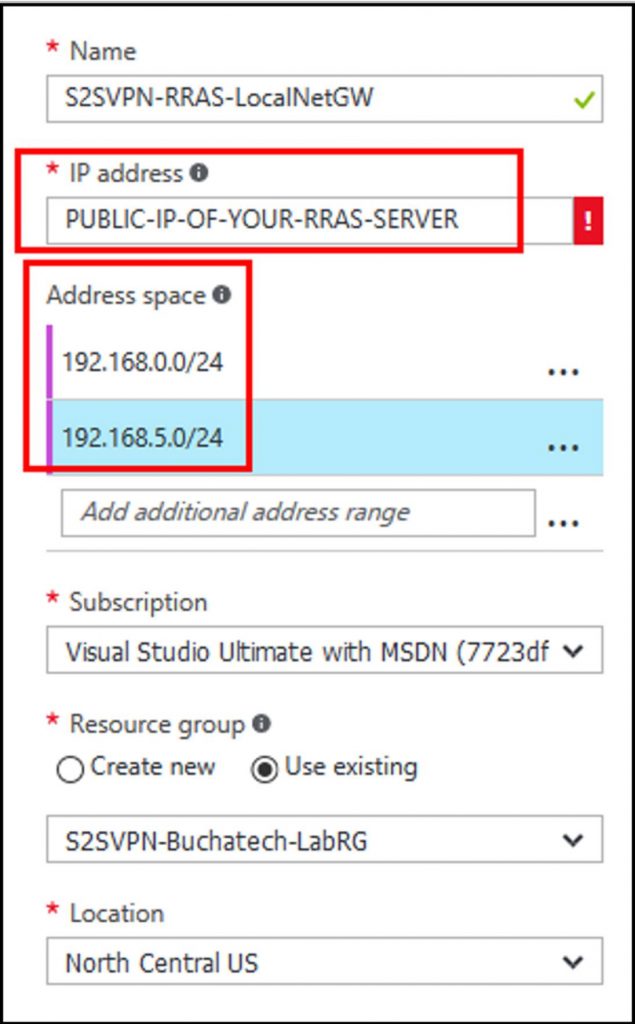
NOTE: If you do not know what the public IP is on your RRAS server’s network just visit http://ipchicken.com and it will display it.
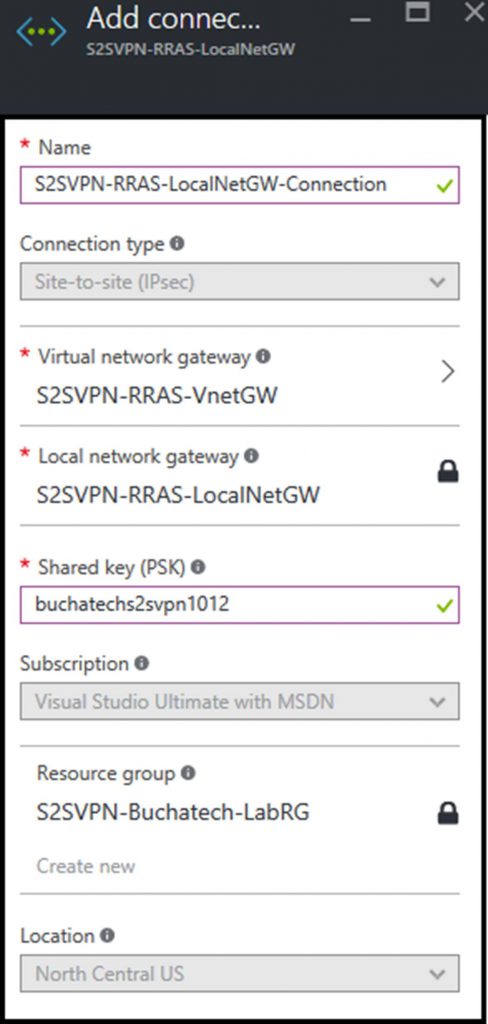
Now we need to create a connection in our local gateway. To do this navigate to the settings>connections and click on + Add. Name this “S2SVPN-RRAS-LocalNetGW-Connection“.
The Connection type will default to Site-to-site (IPsec). Leave this. Set the Virtual network gateway to “S2SVPN-RRAS-VnetGW“. Set a Shared key (PSK) to be used and remember this will also be used on the RRAS server so document this somewhere.
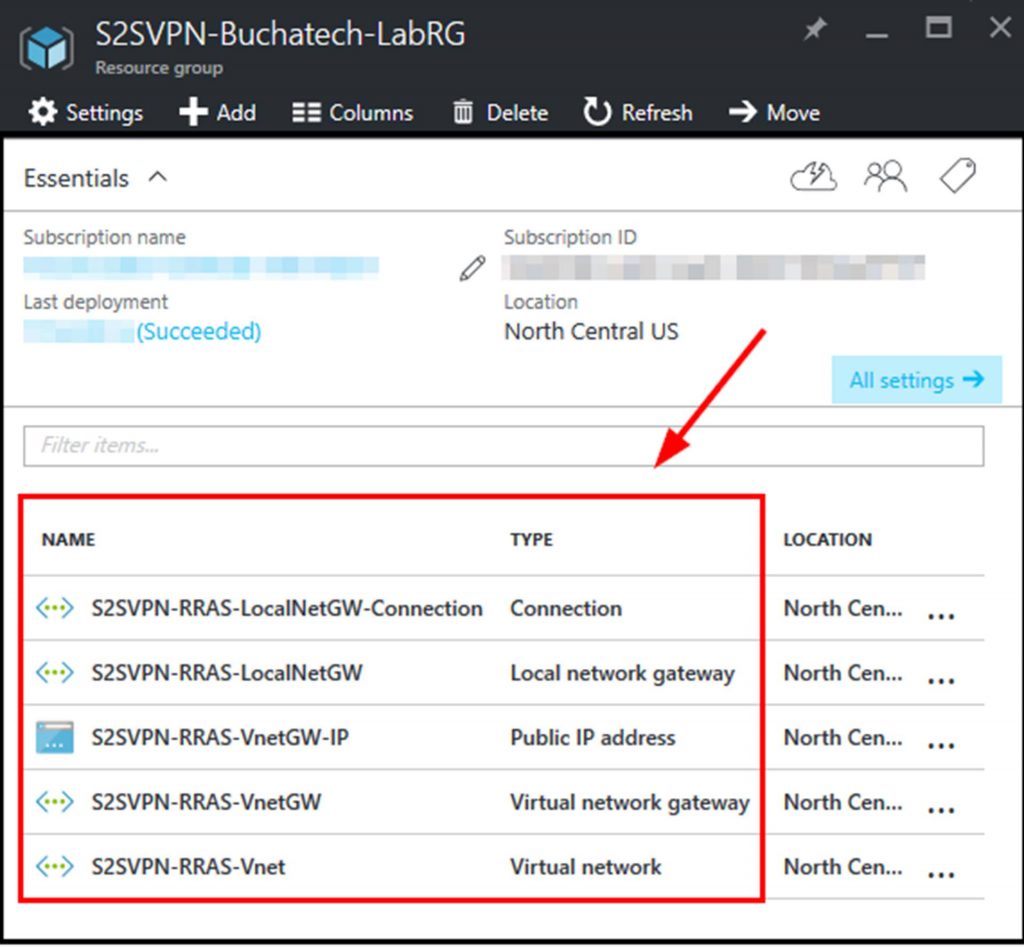
That’s it for the network configuration up in Azure. As long as everything was followed in these steps you should now have the following in your resource group.
~ RRAS CONFIGURATION! ~
STEP 7:
Install RRAS on your on-premises server. I used Server 2012 R2. Follow this to install it:
On your on-premises server launch Server Manager. In server manager click on Manage -> Add Roles and Features.
In the Add Roles and Features Wizard do the following:
- Before You Begin: Click Next
- Installation Type: Role-based > Click Next
- Server Selection: Select a server from the server pool > RRAS-Server > Click Next
- Server Roles: Check Remote Access > Click Next
- Features: Click Next
- Remote Access: Click Next
- Role Services:
- Direct Access and VPN (RAS)
- Click Add Features on the pop-up window
- Routing
- Click Next
- Direct Access and VPN (RAS)
- Role Services:
- Web Server Role (IIS): Click Next
- Role Services
- Accept Defaults: Click Next
- Role Services
- Confirmation: Click Install
Done!
STEP 8:
Open Routing and Remote Access.
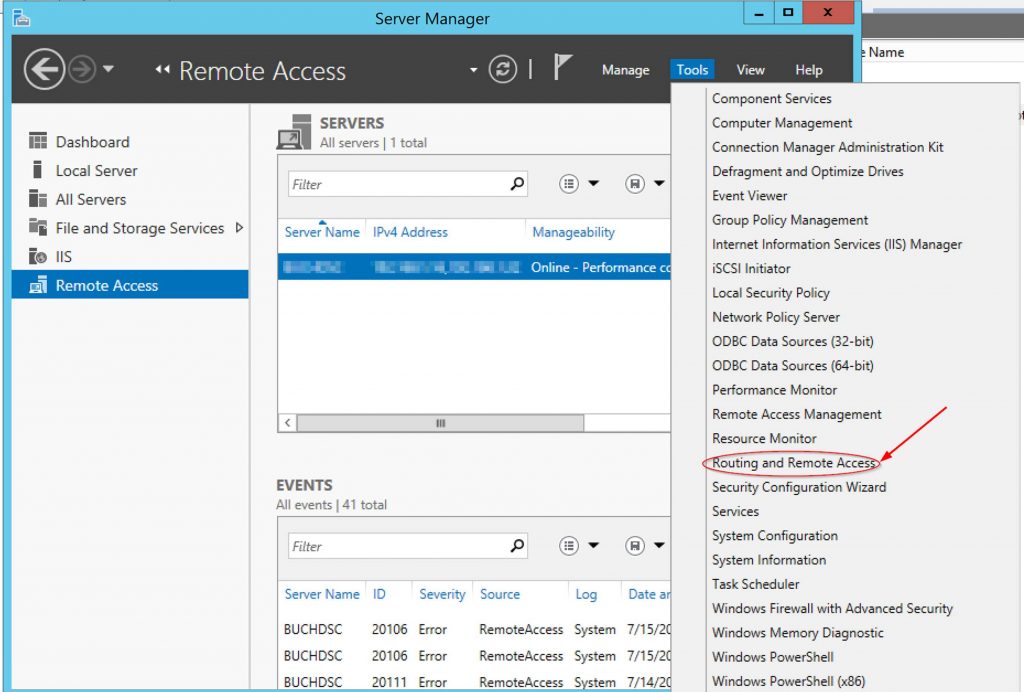
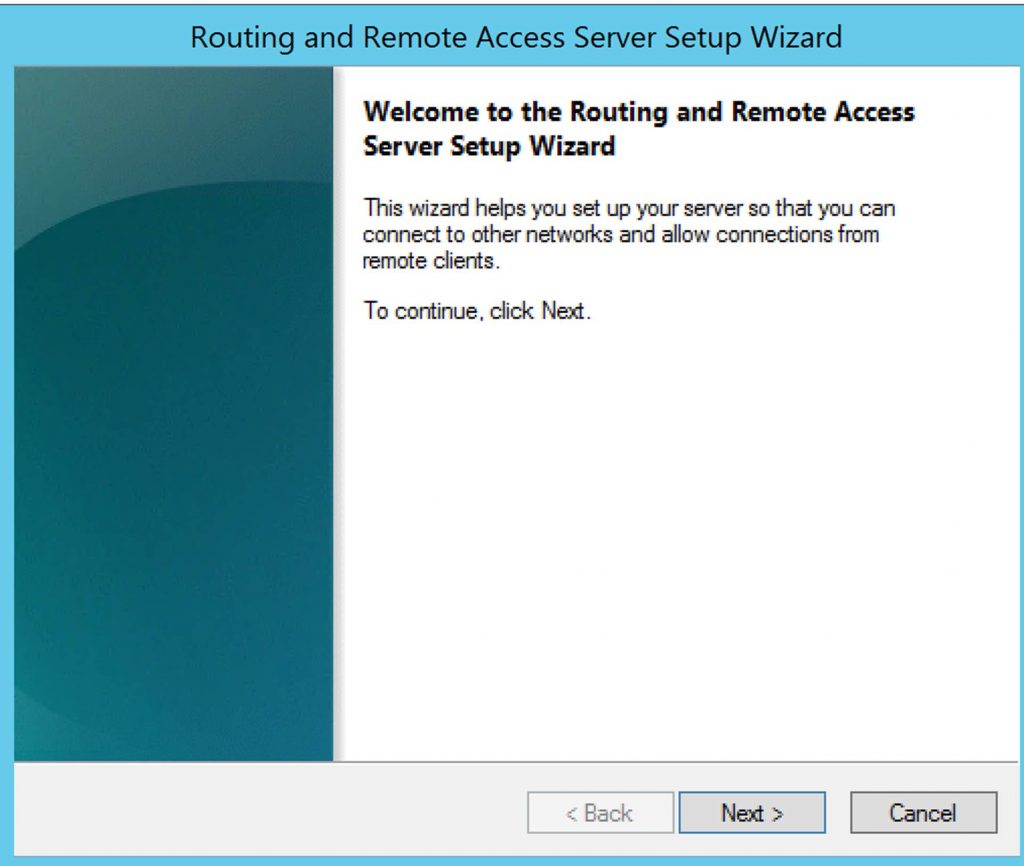
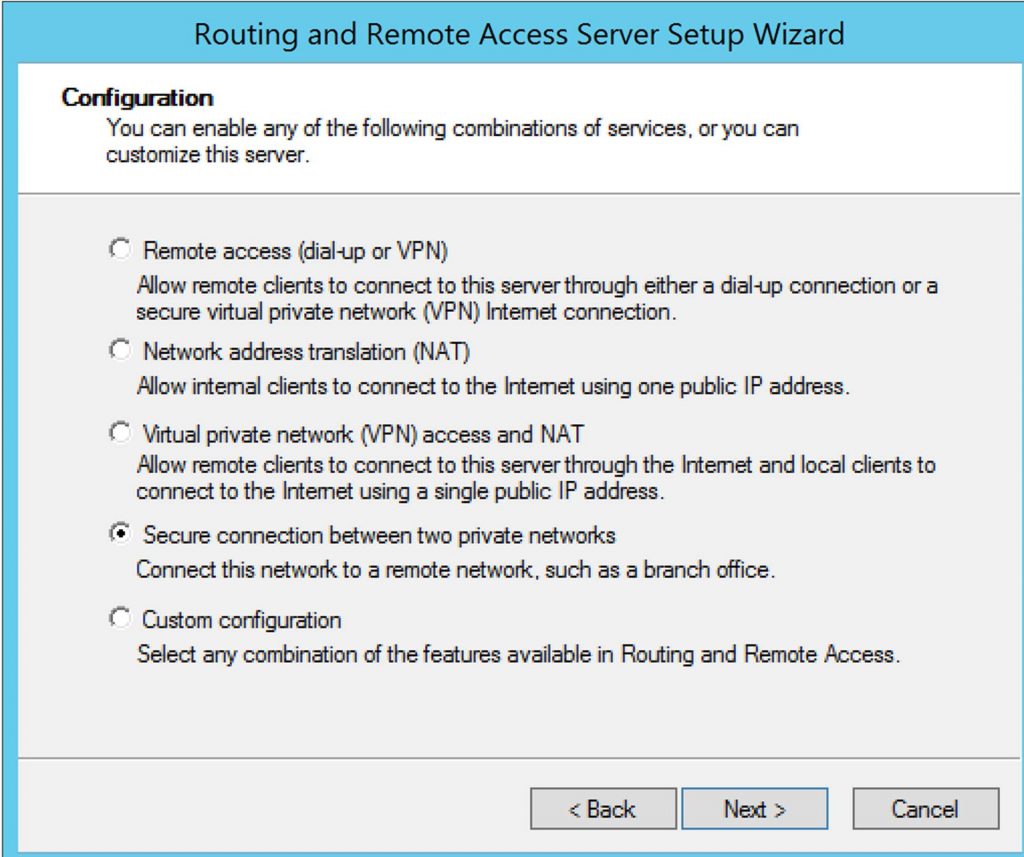
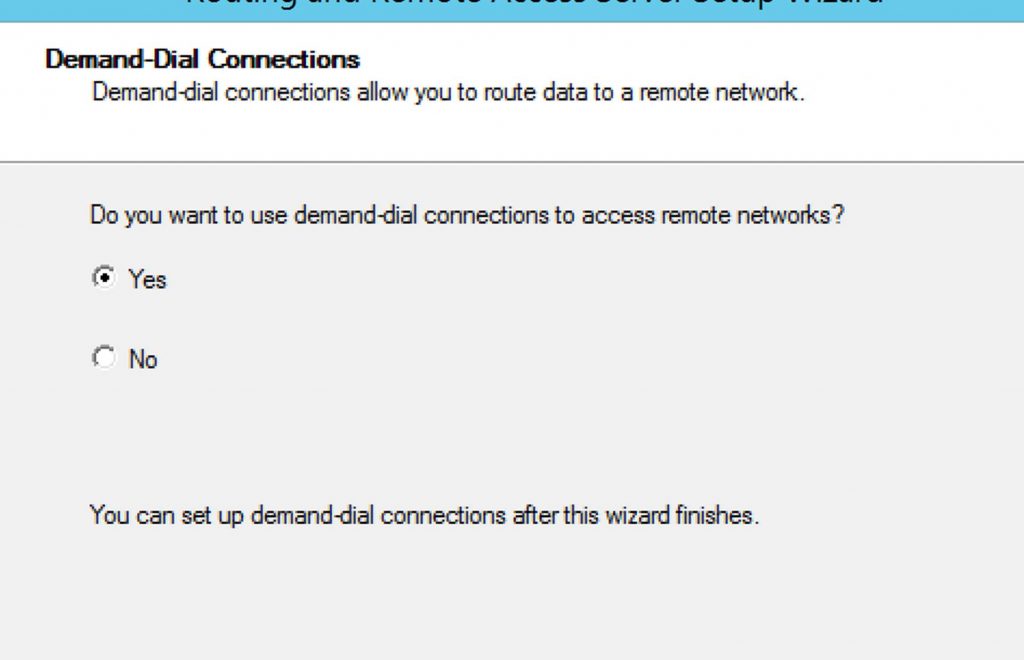
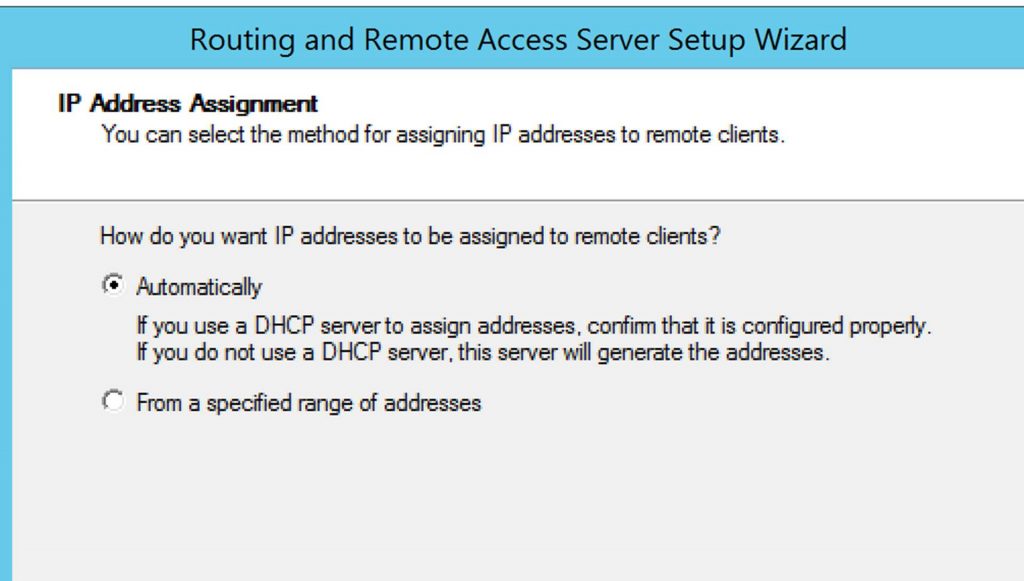
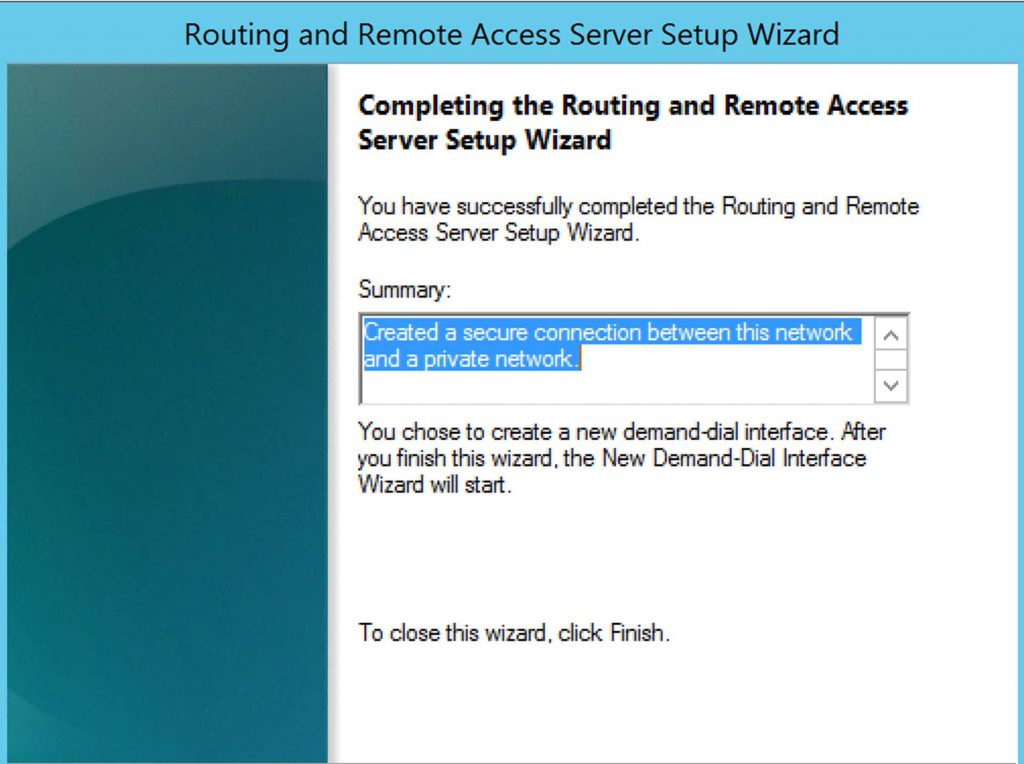
STEP 9:

Click Next.
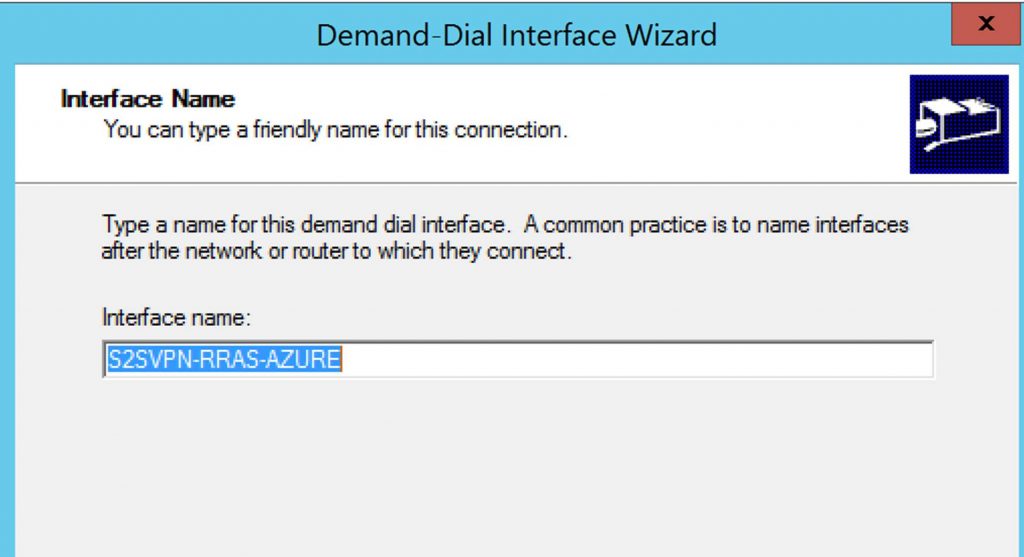
Give the Interface a name. I used “S2SVPN-RRAS-AZURE”
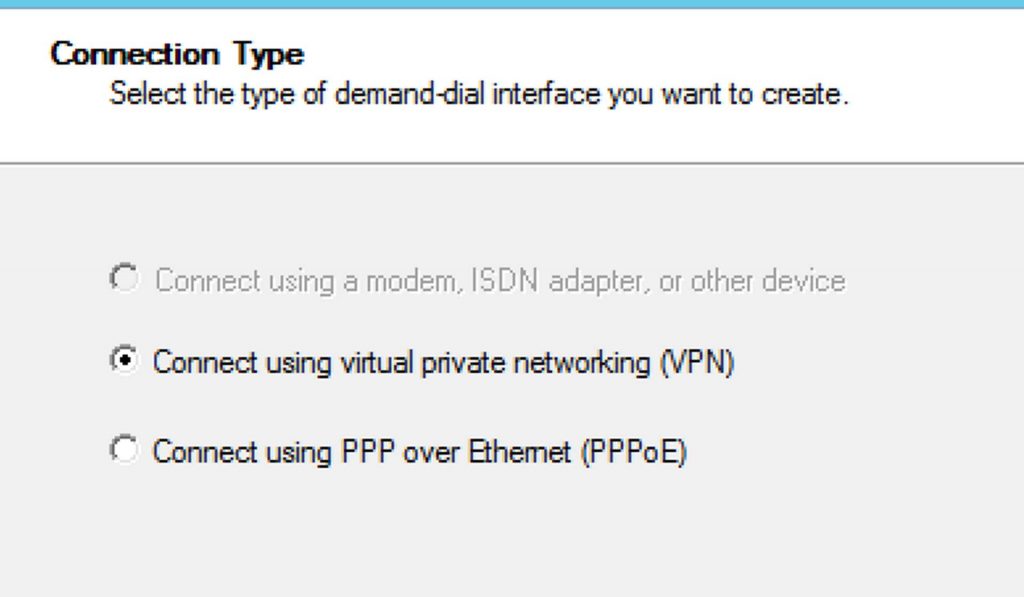
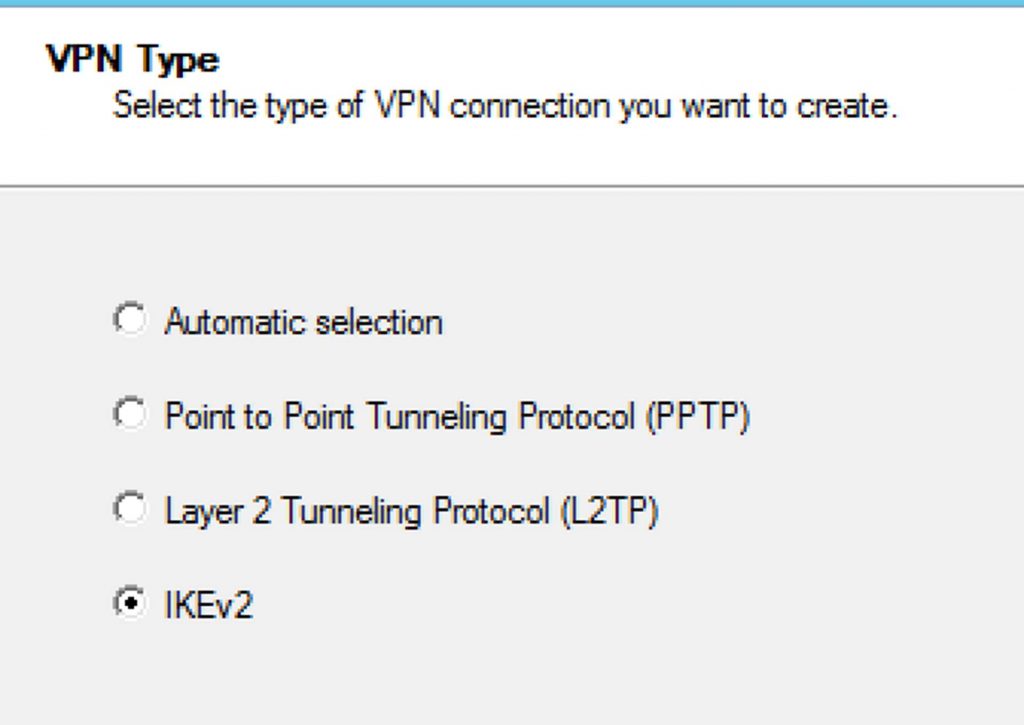
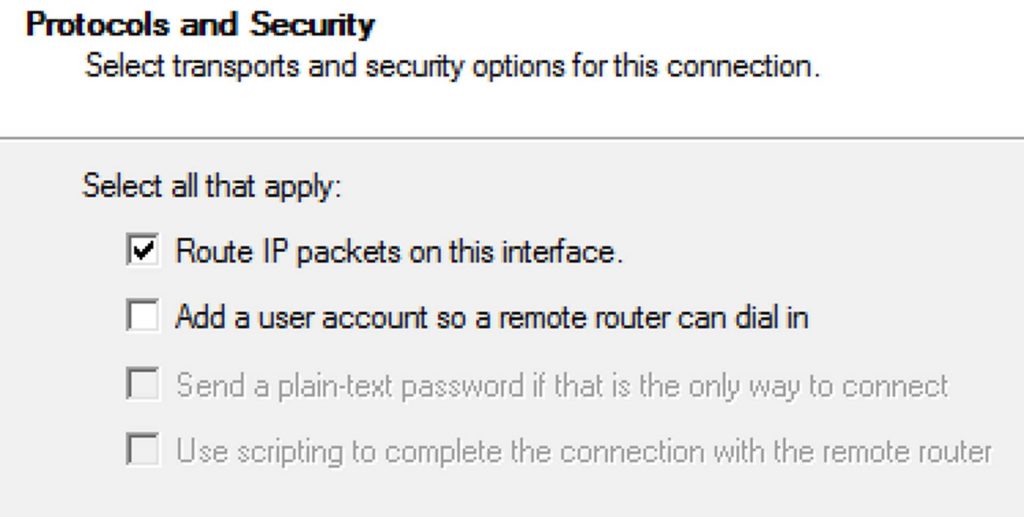
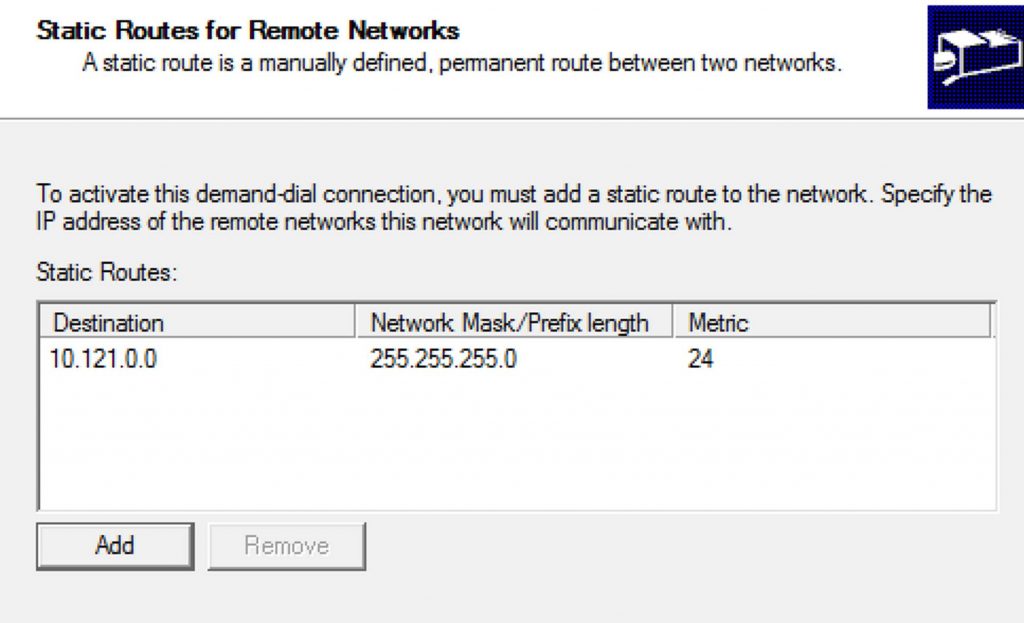
For the Static Routes we want to add a route. We want to add the route of our Azure-VMs subnet.
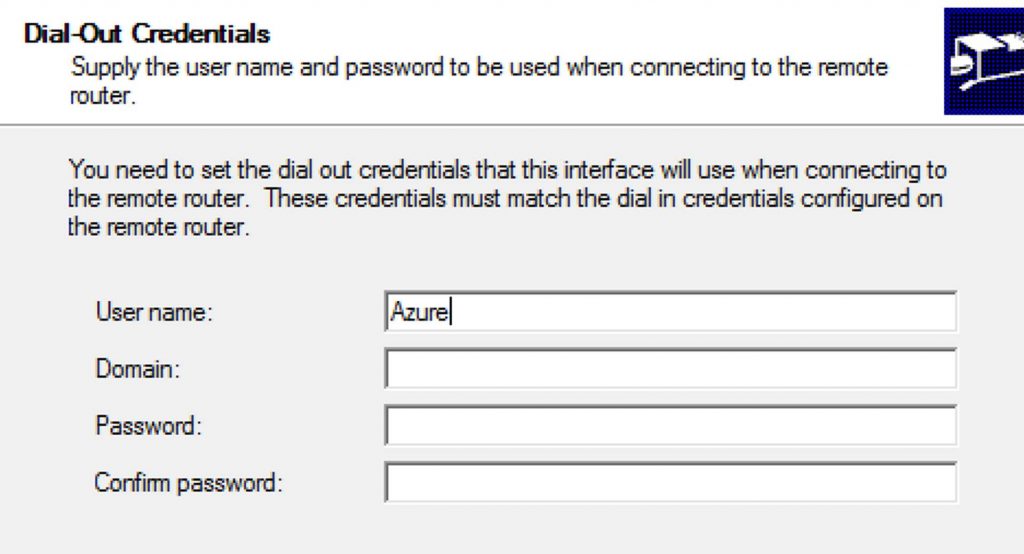
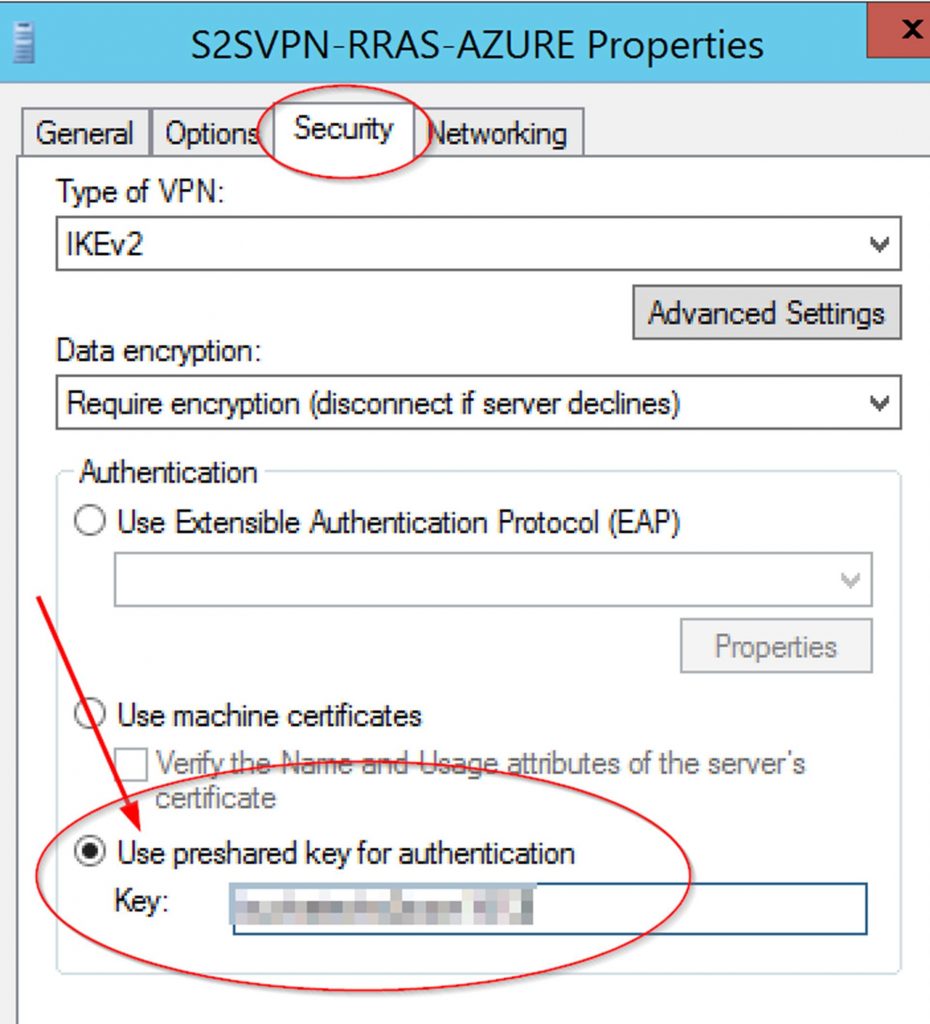
Now in In Routing and Remote Access > Network Interfaces. Right-click on “S2SVPN-RRAS-AZURE” and choose Properties. From within properties set the pre-shared key you setup on Azure earlier.
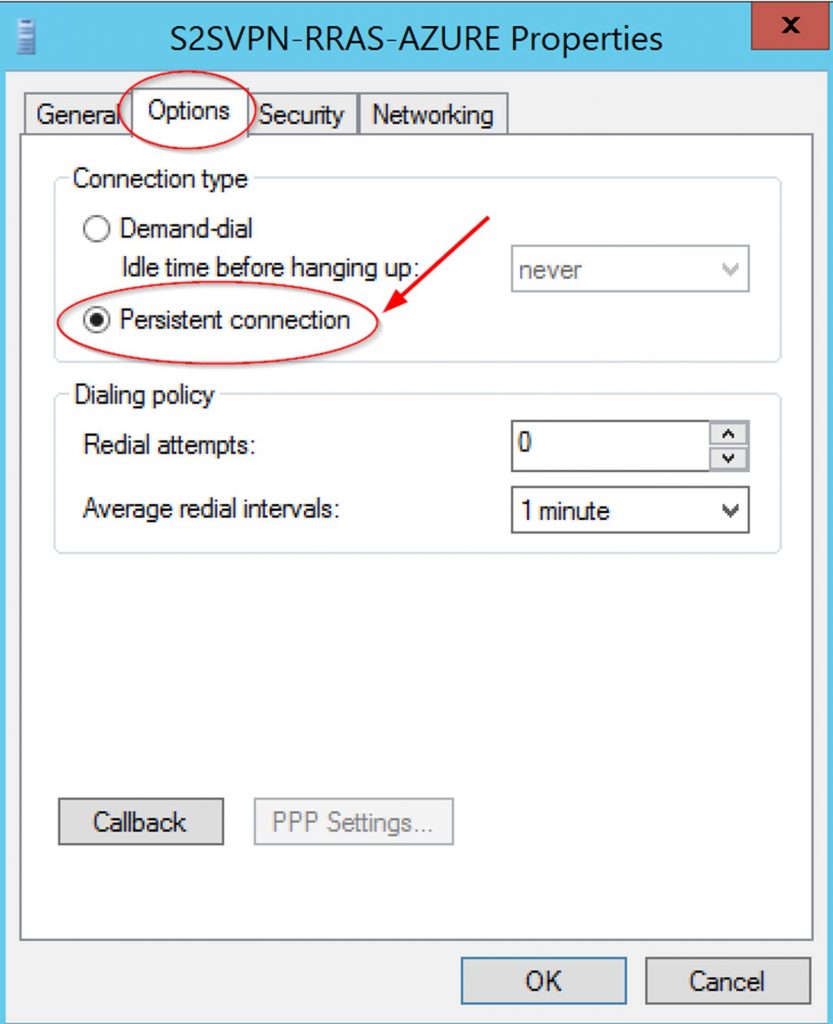
Also click on the Options tab and set the connection type to persistent.
Now you can right click on the S2SVPN-RRAS-AZURE connection and select connect. Then it will show as connected in RRAS as shown in the following screenshot.

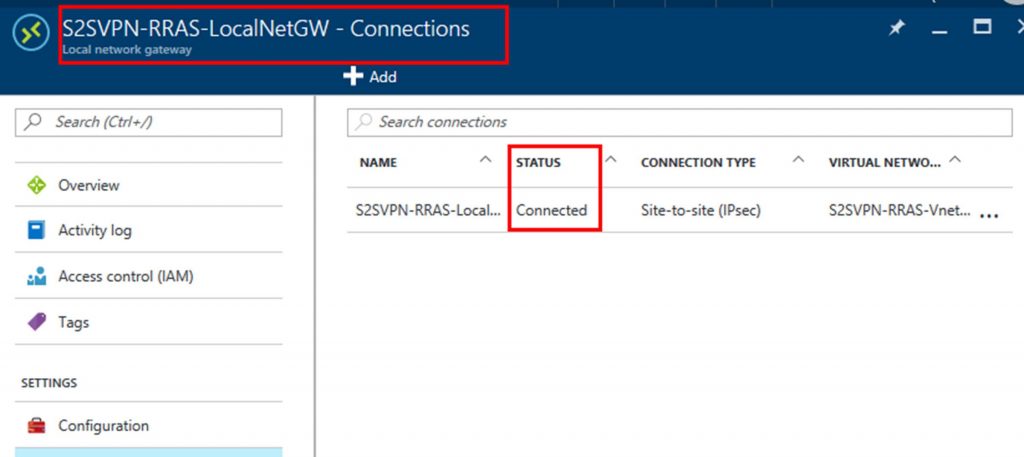
Up in Azure you should also see the connection status as Connected.
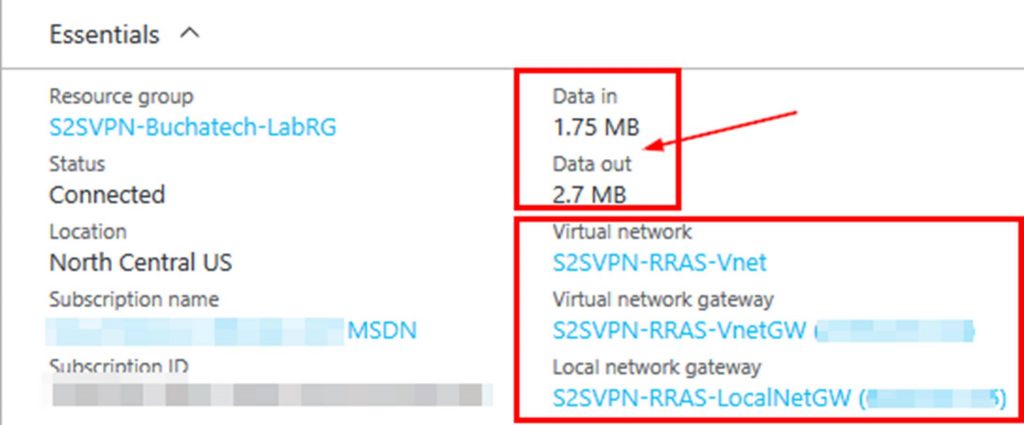
When you click on the connection you should data flowing in and out of your connection.
I had to setup the a static route (shown in the following screenshot) on my RRAS server before I could communicate from on-premises to Azure.
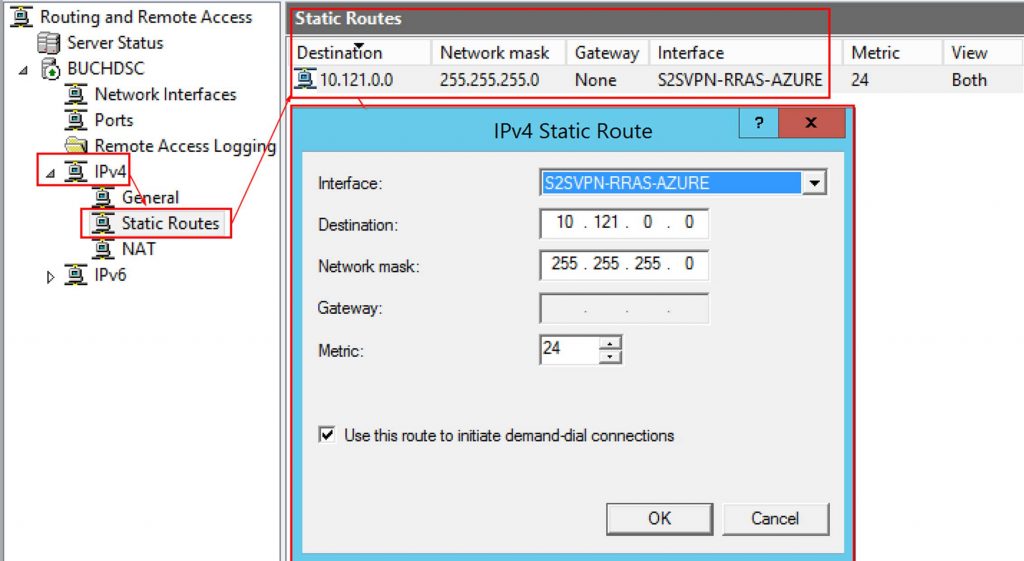
You should be able to ping 10.121.0.1. Now when you spin up a new Azure VM on Azure make sure you place it in the correct virtual network for example use S2SVPN-RRAS-Vnet then the VM should be able to communicate with your on-premises servers. Remember that you need to either point your on-premises servers to your RRAS server for the gateway in their TCP/IP IPv4 settings or you need to setup static routes on the servers themselves.

