I am giving a talk for the Data on Kubernetes Community (DoKC) Community next week. They are a user group like community that focuses on how to build and operate data-centric applications on Kubernetes. Be sure to check them out! The DoK website is: https://dok.community.
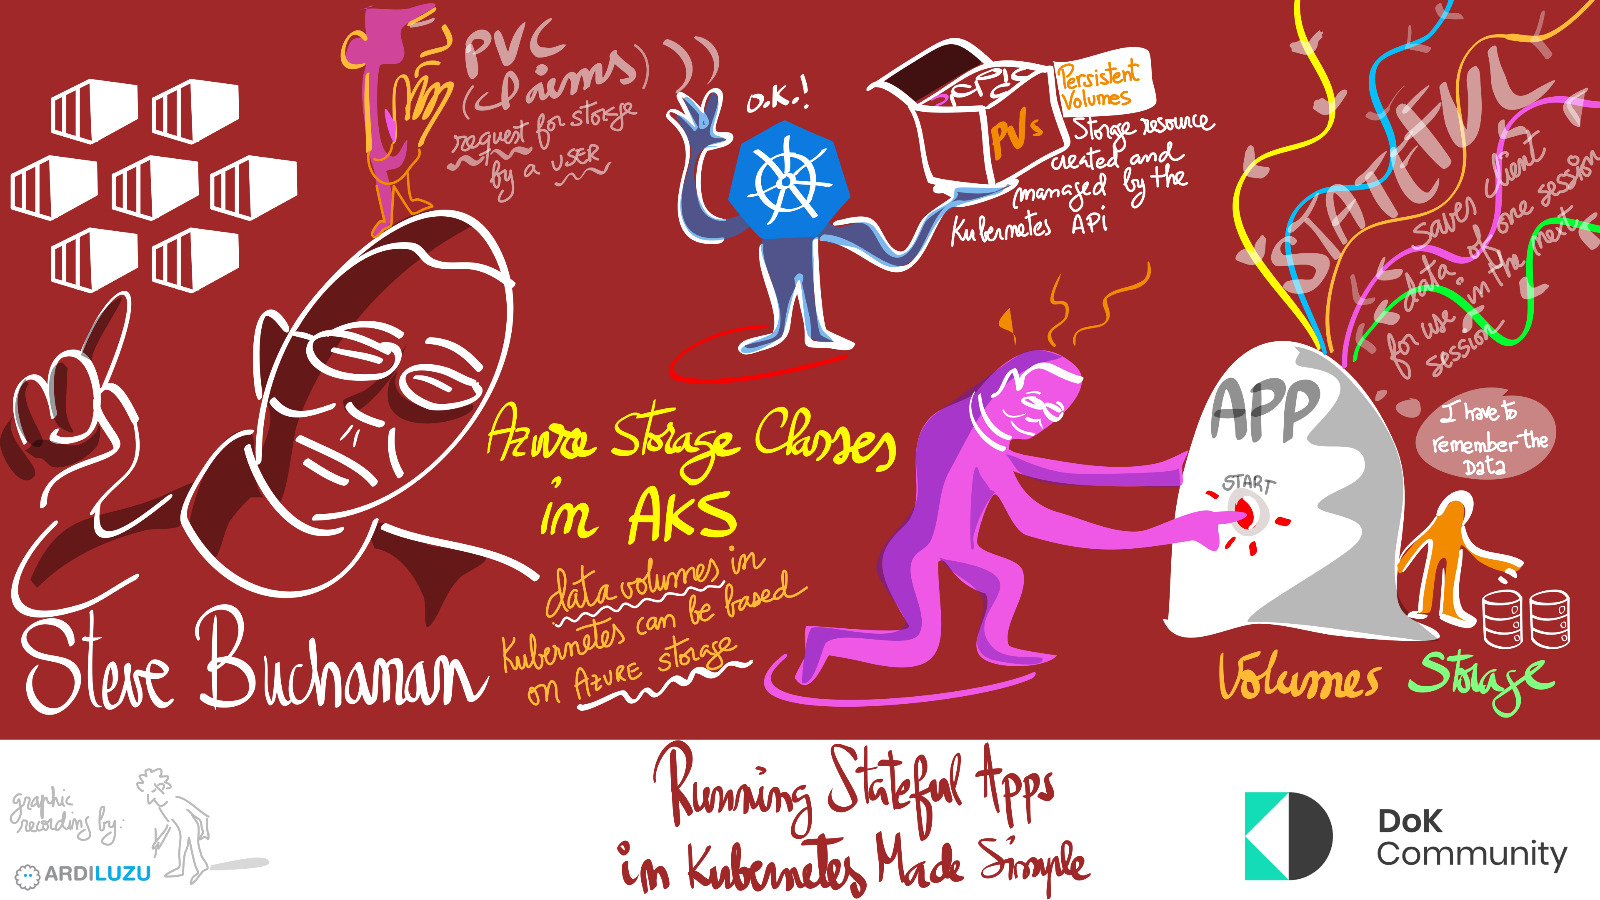
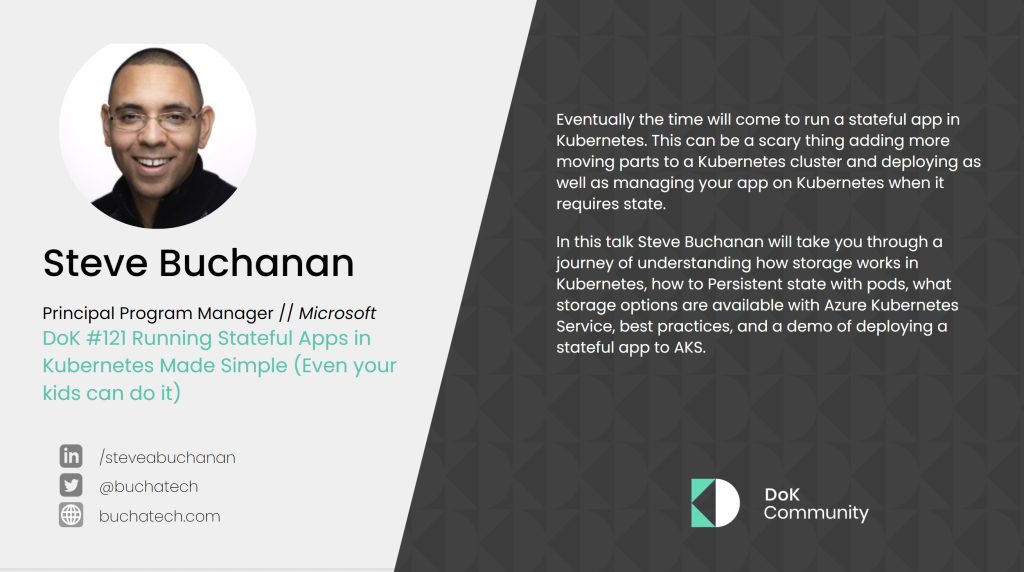
My talk is titled: “Running Stateful Apps in Kubernetes Made Simple“
ABSTRACT OF THE TALK
Eventually, the time will come to run a stateful app in Kubernetes. This can be a scary thing adding more moving parts to a Kubernetes cluster and deploying as well as managing your app on Kubernetes when it requires state.
In this talk, Steve Buchanan will take you through a journey of understanding how storage works in Kubernetes, how to Persistent state with pods, what storage options are available with Azure Kubernetes Service, best practices, and a demo of deploying a stateful app to AKS.
In the demo, I will show how to deploy stateful Worpress & Jenkins workloads on Azure Kubernetes Service using the GitOps model with Argo CD.
KEY TAKE-AWAYS FROM THE TALK
Overview of Storage in Kubernetes covering Storage Classes, Persistent Volumes, & Persistent Volume Claims. Overview of Azure Storage, Best Practices to running stateful apps in Kubernetes.
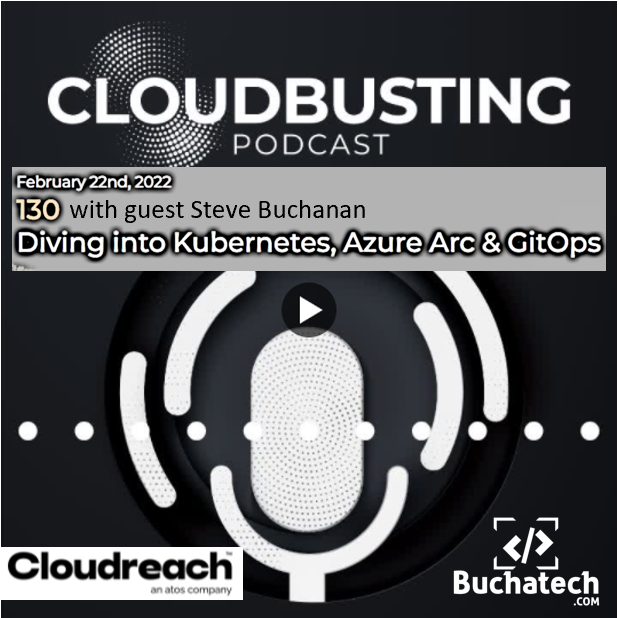
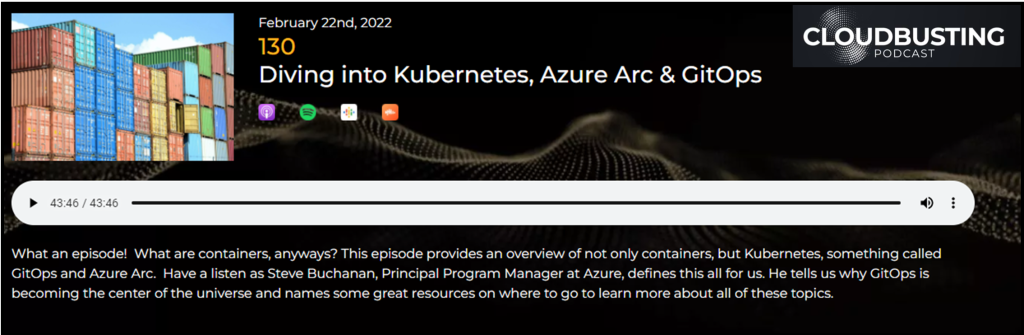
This was a fun podcast with Jez Ward, and Dave Chapman of Cloudreach. They run a podcast called Cloudbusting. On the podcast they focus on transformation, leadership, ways of working and emerging technology they explore the significant impact that cloud is having on people and businesses.
On this podcast episode, we set out to answer very important questions such as what are Jucy Lucy’s?, what are root Canals like today? oh, and yeah we also spend some time talking about what Containers, Kubernetes, & GitOps are and how they fit in the cloud.
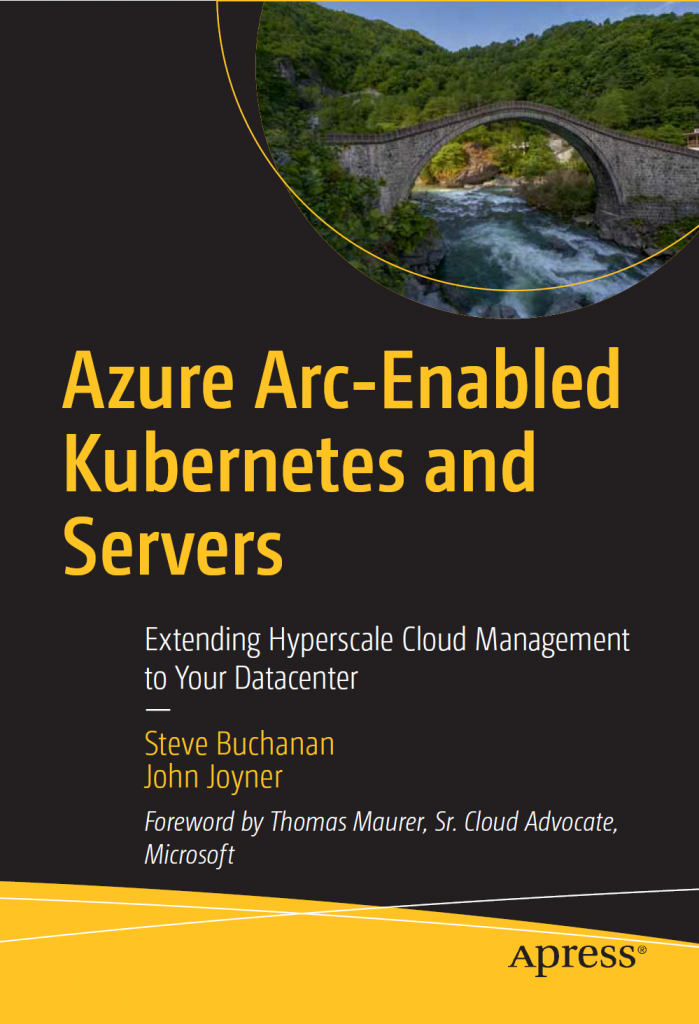
I am excited to kick off the new year announcing that my 8th book has been published! This book is “Azure Arc-Enabled Kubernetes and Servers“.
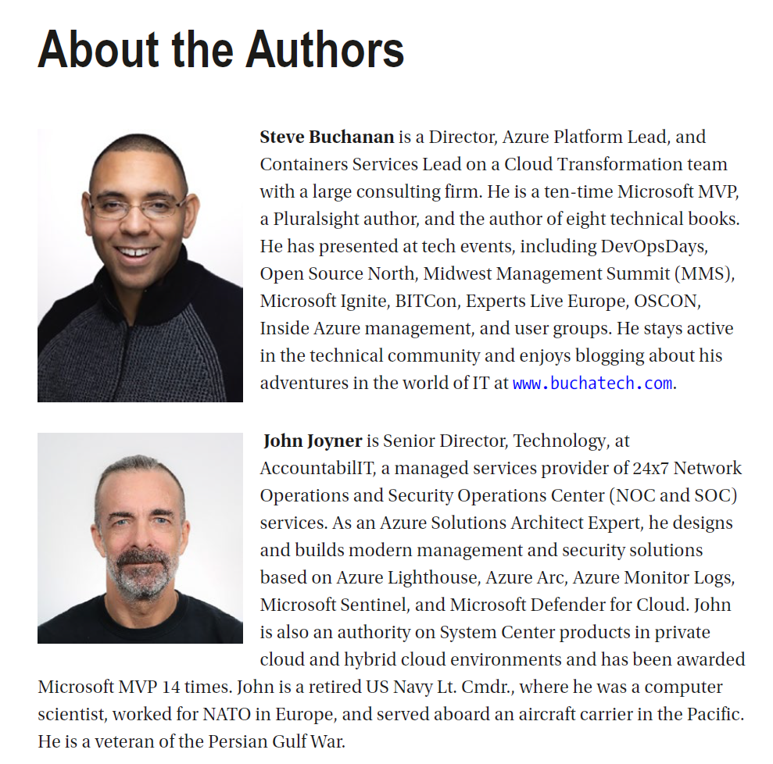
I had the honor to co-author this book with a long-time friend and fellow Microsoft MVP John Joyner. This is John’s latest book since his last 8 years ago!
The forward was written by Thomas Maurer a former MVP and now Microsoft Azure Evangelist. This book was reviewed by fellow Microsoft MVP Adnan Hendricks and a chapter contributed by a buddy of mine Fred Limmer.
This book covers an exciting technology from Microsoft exploring Azure Arc-Enabled Kubernetes and Servers. This book is for DevOps professionals, system administrators, security professionals, cloud admins, and IT professionals that are responsible for servers or Kubernetes clusters both on-premises and in the cloud.
Author copies!
This book covers:
Introduces the basics of hybrid, multi-cloud, and edge computing and how Azure Arc fits into that IT strategy
Teaches the fundamentals of Azure Resource Manager, setting the reader up with the knowledge needed on the technology that underpins Azure Arc
Offers insights into Azure native management tooling for managing on-premises servers and extending to other clouds
Details an end-to-end hybrid server monitoring scenario leveraging Azure Monitor and/or Azure Sentinel that is seamlessly delivered by Azure Arc
Defines a blueprint to achieve regulatory compliance with industry standards using Azure Arc, delivering Azure Policy from Azure Defender for Servers
Explores how Git and GitHub integrate with Azure Arc; delves into how GitOps is used with Azure Arc
Empowers your DevOps teams to perform tasks that typically fall under IT operations
Dives into how to best use Azure CLI with Azure Arc
You can order the book and watch for its official release here:
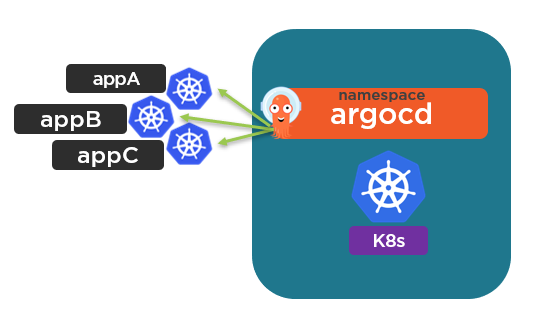
Argo CD is a GitOps operator and the goal of it is to be able to deploy apps to Kubernetes. In the majority of cases, we want to use Argo CD to deploy apps to many clusters.
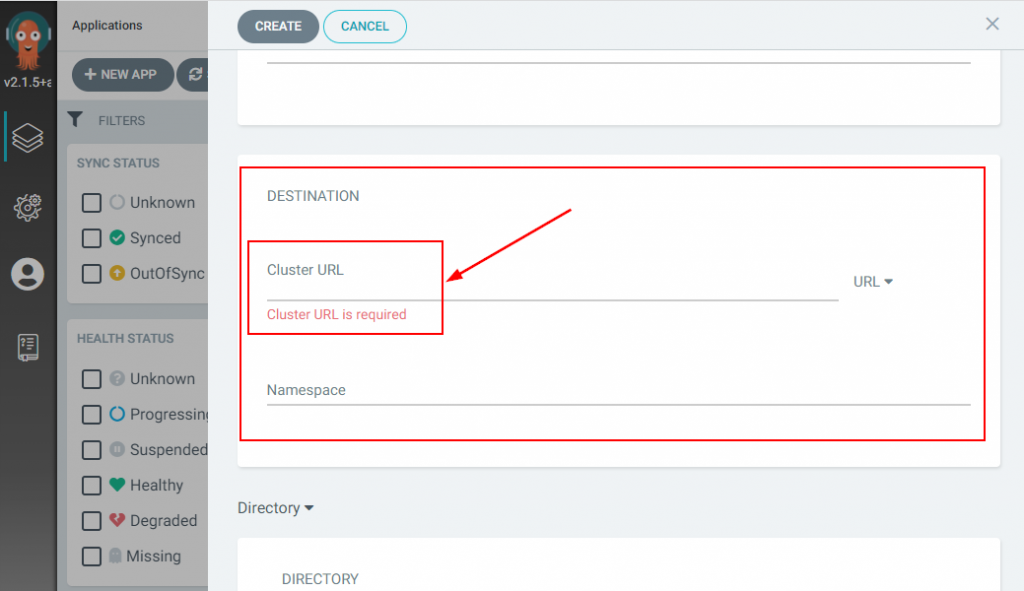
Argo CD itself is deployed as a set of pods on a Kubernetes cluster. By default with an Argo CD deployment, the cluster it is running on is set as “in-cluster” (https://kubernetes.default.svc). When apps are configured for deployment a Kubernetes Cluster under Destination is required. They can be deployed to either the “in-cluster” K8s cluster or an external K8s cluster.
In order to deploy apps to an external Kubernetes cluster, you will need to register an external K8s cluster with Argo CD.
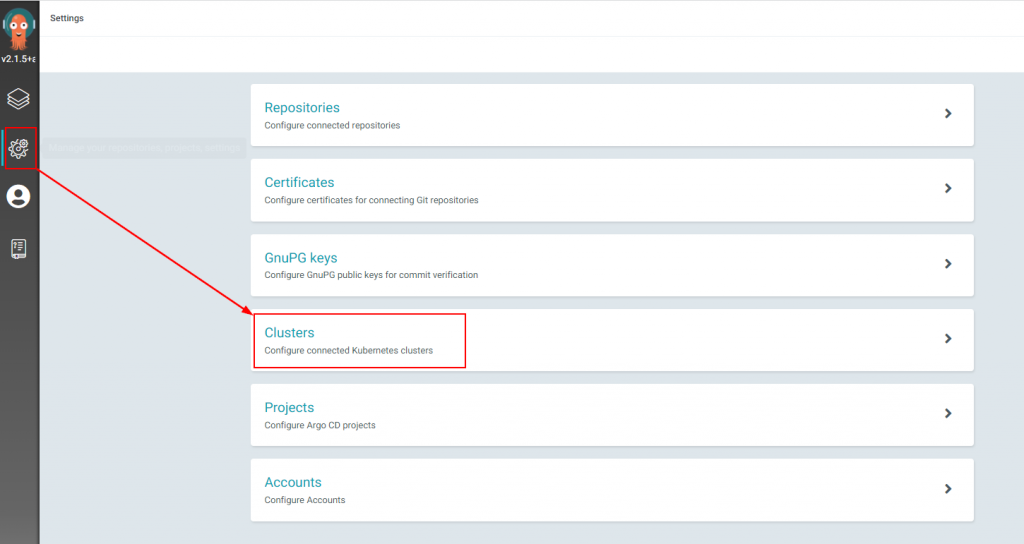
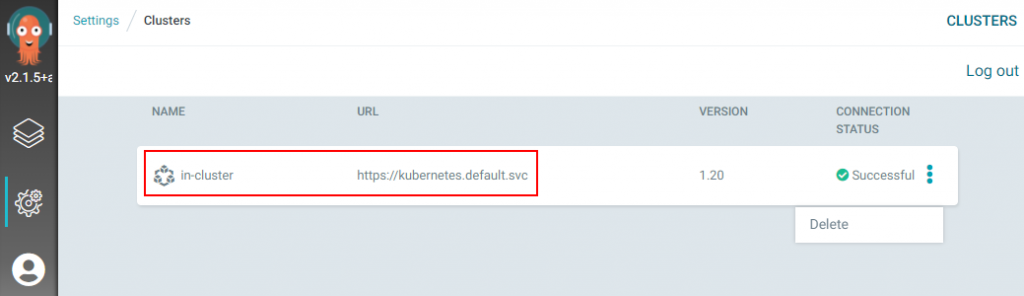
If you want to see the clusters you have registered with your Argo CD one way is through the web UI. Once you log in navigate to Settings and then Clusters to see them.
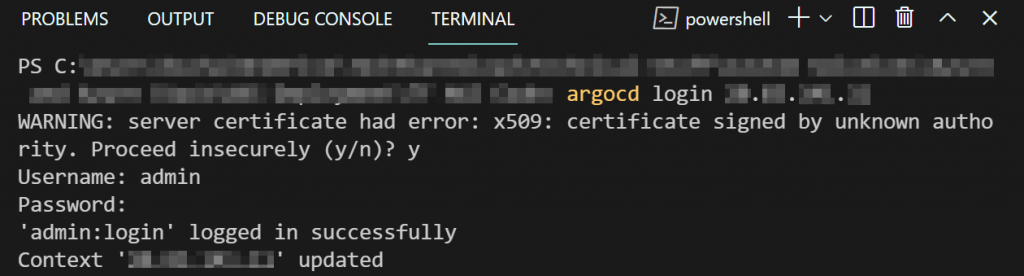
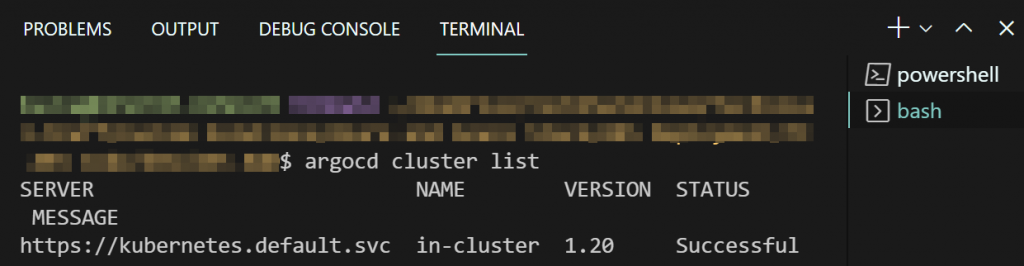
You can also see the clusters you have in the Argo CD CLI. To use the Argo CD CLI you need to log into the Argo CD API Server as shown in the following screenshot.
To see what clusters are registered from the CLI you can run
argocd cluster list
You will notice that you will only see the In-Cluster K8s cluster until you add an external one. Also, note that you are not able to register a new K8 cluster in the Argo CD web UI. You can only register a new K8s cluster from the Argo CD CLI. Within the Argo CD web UI you can delete the default in-cluster K8s cluster. This is not recommended.
If you click on the In-Cluster K8s cluster you can modify some settings of the in-cluster K8s cluster in the Argo CD web UI such as the name of it and its namespace. Not useful when you want to have more control over the settings around the K8s cluster you will be deploying apps to.
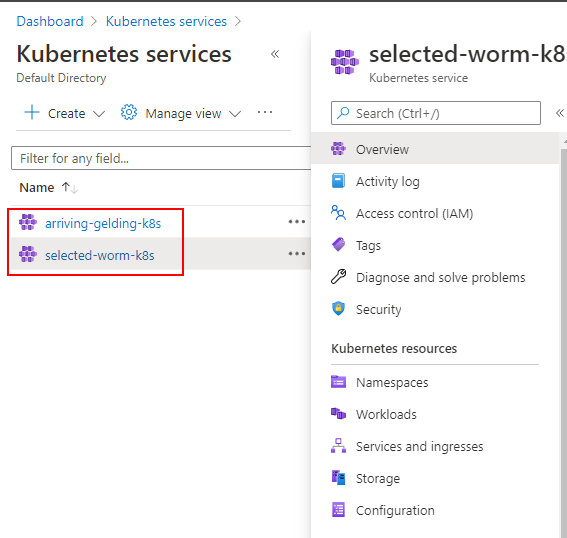
In my example, my Azure subscription has two AKS clusters. You can see this in the following screenshot. The arriving-gelding-k8s cluster is my In-Cluster object in Argo CD. The selected-worm-k8s is not my In-Cluster so I want to add this one to my Argo CD.
To add the new external cluster run use the following steps.
Step 1: Add your target K8s cluster to ArgoCD via the context in your kubectl config.
-For AKS you can simply log into your Azure subscription from VS Code on your computer and then run
az aks get-credentials –resource-group RGNAME –name AKSCLUSTERNAME
This will add the context for your AKS cluster to your kubeconfig file.
Step 2: List the K8 cluster contexts in your current kubeconfig file to ensure your target cluster has been added. Do this by locally running:
kubectl config get-contexts -o name
Step 3: Install a Service Account (argocd-manager), into the kube-system namespace of your kubeconfig file context:
argocd cluster add CONTEXTNAME
It will look like this:
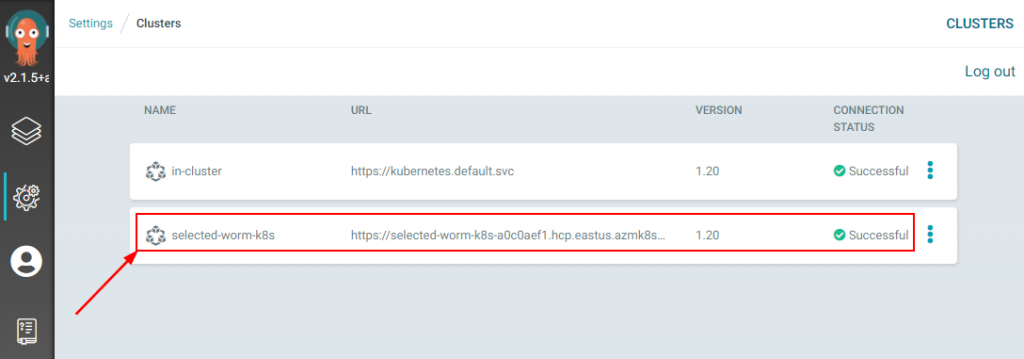
After completing the previous steps you can run argocd cluster list again or go into the portal. You will see your new cluster added.
That wraps up this blog post. Now you should be able to deploy to more than just your In-Cluster Kubernetes cluster. Check back soon for more posts on Argo CD, GitOps, Kubernetes, and Azure topics.
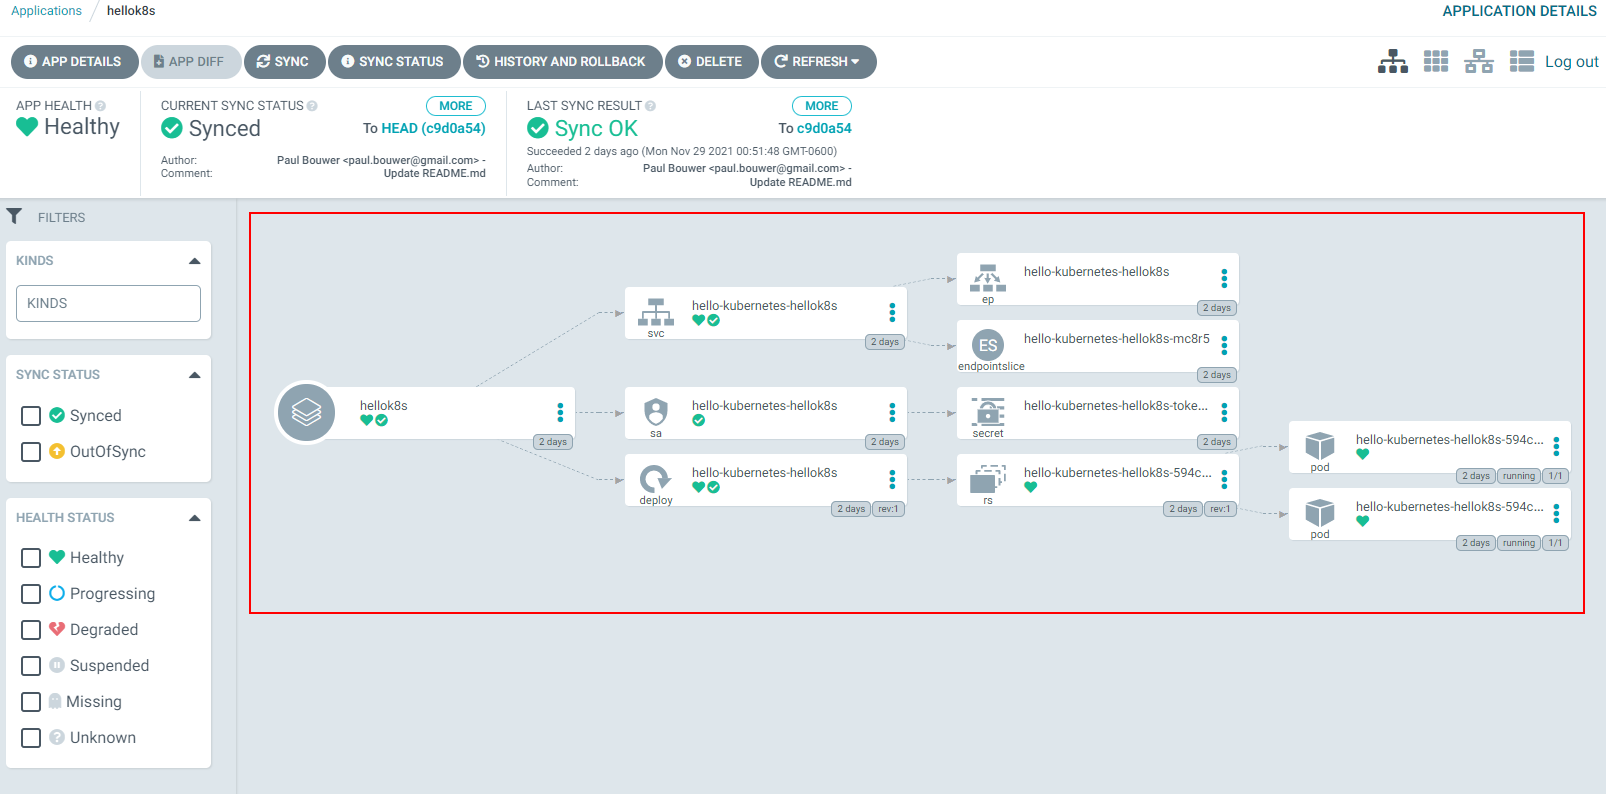
In my last post on Argo CD with AKS, I mentioned the next post would explore deploying an app via Argo CD. Well, in this post we are going to do just that. I am going to walk through deploying an app from Argo CD to AKS. Note this same process would work for any Kubernetes cluster. This is not going to be a long post as the process is straightforward.
First of all, you can deploy an app from the Argo CD web UI or CLI. Ready your application in a Git-based repository. It does not matter what source control system you use for your repository as long as it is Git-based. You can use Azure DevOps, Gitlab, Bit Bucket etc. In my case I use GitHub. To deploy an app you need to point to a Git repository of either K8s manifest, Helm, or Kustomize. In this blog post I am going to keep it simple and use the Hello K8s app from Paul Bouwer. Ok, now let’s jump in.
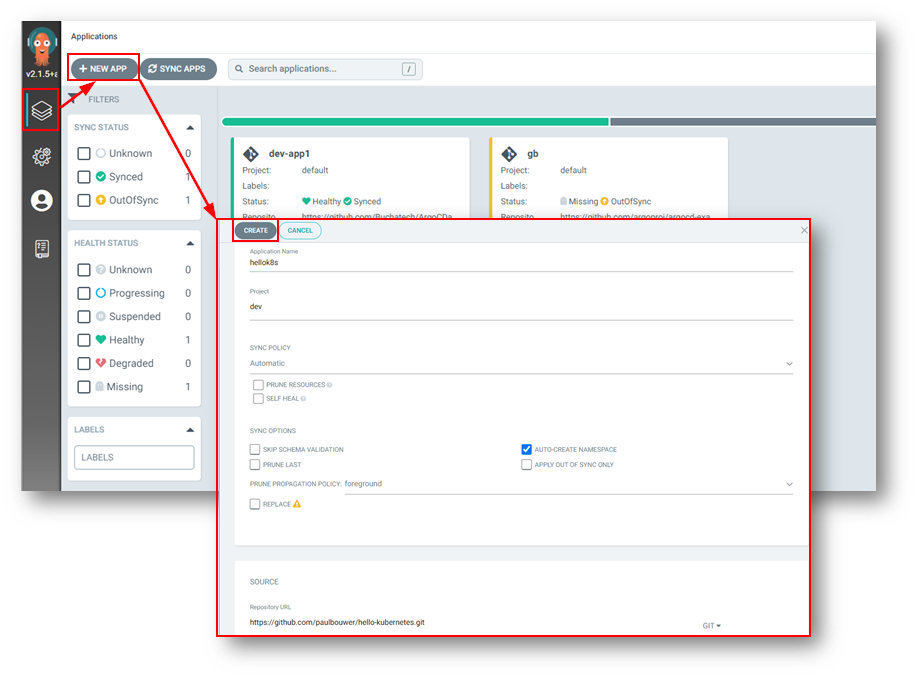
Here are the steps for Deploying an App to Argo CD within the Web UI:
In the Argo CD web UI ensure you are on the Applications page
Click the + NEW APP button
Give the app the namehellok8s, use the project default (I used a dev project in my example), select Automatic for the sync policy, check AUTO-CREATE NAMESPACE
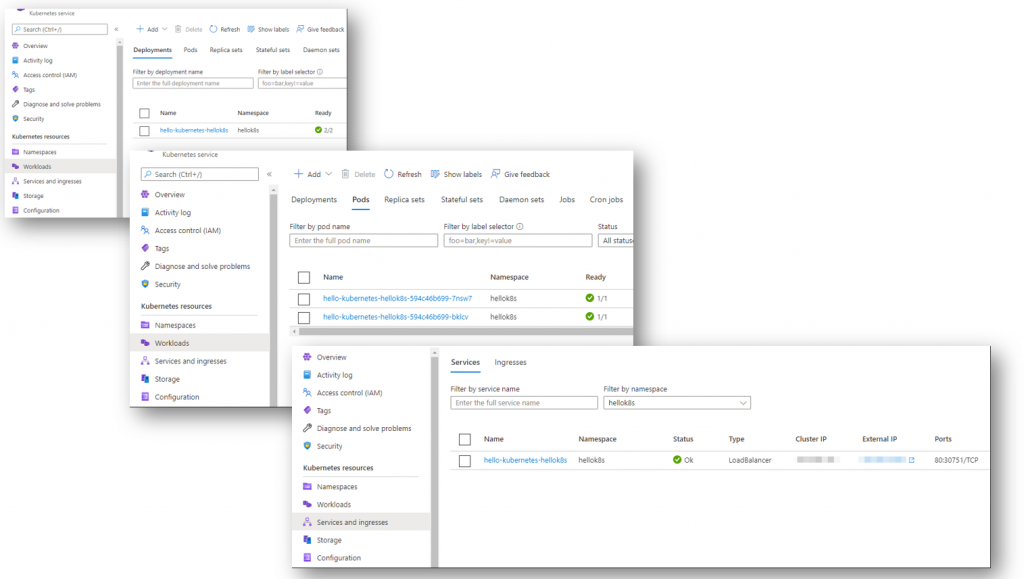
You can view the resources in AKS now. In the following screenshot you can see the deployment, pods, and service of a load balancer type.
You can also speed things up by deploying your app via the Argo CD CLI. This will accomplish the same goal as you would deploying the app via the Argo CD Web UI.
As Kubernetes adoption continues to grow so does GitOps. GitOps has been increasing in adoption and popularity among enterprises at a fast rate as well. Here is what GitOps is: “GitOps is an operating model pattern for cloud-native applications & Kubernetes storing application & declarative infrastructure code in Git as the source of truth used for automated continuous delivery.” GitOps puts Git at the center of continuous delivery making git the Source of Truth describing the desired state of your entire system. For a deeper dive into GitOps check out my GitOps course on Pluralsight here: https://app.pluralsight.com/library/courses/gitops-the-big-picture
In the GitOps model, you need GitOps operators. GitOps Operators are software agents that continuously monitor your apps running on your Kubernetes clusters comparing the live state of your app against the desired state you have defined in your Git repository. These GitOps Operators ensure the desired state is in place on your Kubernetes clusters performing create, update, delete activities on your Kubernetes clusters as needed.
This is where Argo CD comes into the picture. Argo CD is one of the top GitOps Operators. It provides declarative, continuous delivery to your Kubernetes clusters. It was created by a team at Intuit in 2018 and later open-sourced. I am going to write a few blogs exploring the use of Argo CD with AKS. This will be the first of the series walking through the deployment of Argo CD to AKS. In the next post, we will deploy an app to Kubernetes using Argo CD and see where the topic goes from there. Now let’s dive into deploying Argo CD to AKS. Here are the steps:
Connect to your AKS cluster from the Azure Cloud Shell by running the following:
# Set your subscription
az account set –subscription YOURSUBSCRIPTIONIDHERE
# Connect to your KS cluster
az aks get-credentials –resource-group YOURRESOURCEGROUPNAME –name CLUSTER NAME
Next let’s create a namespace for Argo CD to deploy all of its components in. To do this run:
kubectl create namespace argocd
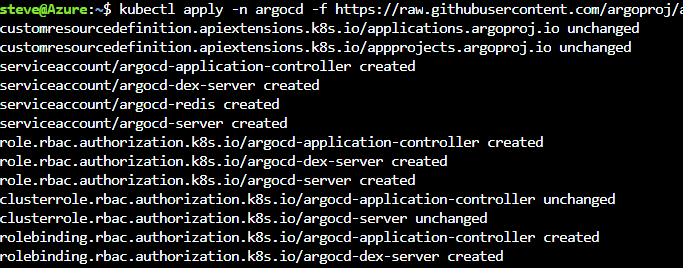
Next we can install Argo CD into the new namespace we created. We will reference Argo CD’s GitHub repository for the latest Argo CD operator. Run the following:
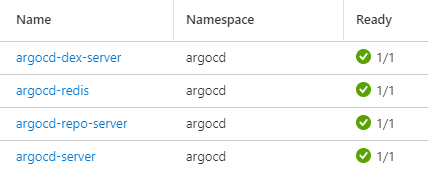
You should end up with many objects in the Argo CD namespace.
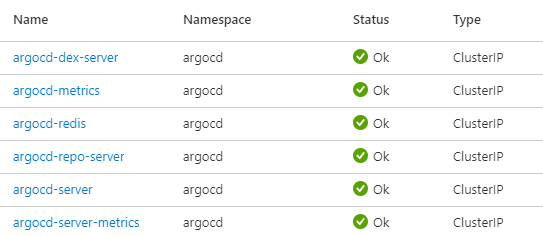
By default, the Argo CD is not accessible externally. It is deployed with a service type of ClusterIP.
Leaving it at ClusterIP is fine but for the purposes of this blog/lab and getting started lets change this so we can easily access the ArgoCD Server website. # Change the argocd-server service type to LoadBalancer. To do this run the following:
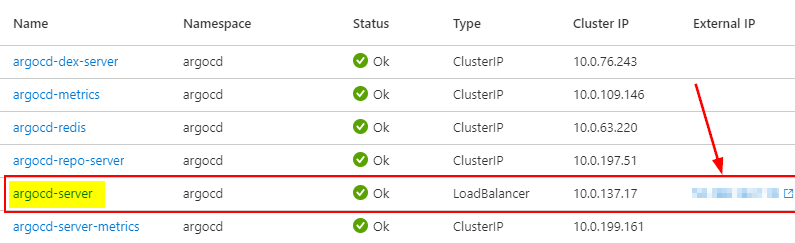
Now you will be able to see that the argocd-server service type has been changed to a LoadBalancer type. This means that it now has a public Azure load balancer attached to it with an external IP.
NOTE: This is not recommended in production environments. Only use in a lab or dev environment. In production environments, it is recommended to use an ingress for the Argo CD API server that is secured.
Argo CD auto generated a password during the deployment. We need to get the Argo CD password so we can log into it. To get the password run the following:
You will see the password in readable format so you can copy it such as shown in the screenshot.
Note the default Argo CD username is admin.
To access the Argo CD web portal you need to access the Argo CD API Server. To do this you can either do this from the external IP of the argo-cd object or the via the Argo CD CLI using the following:
argocd login <ARGOCD_SERVER>
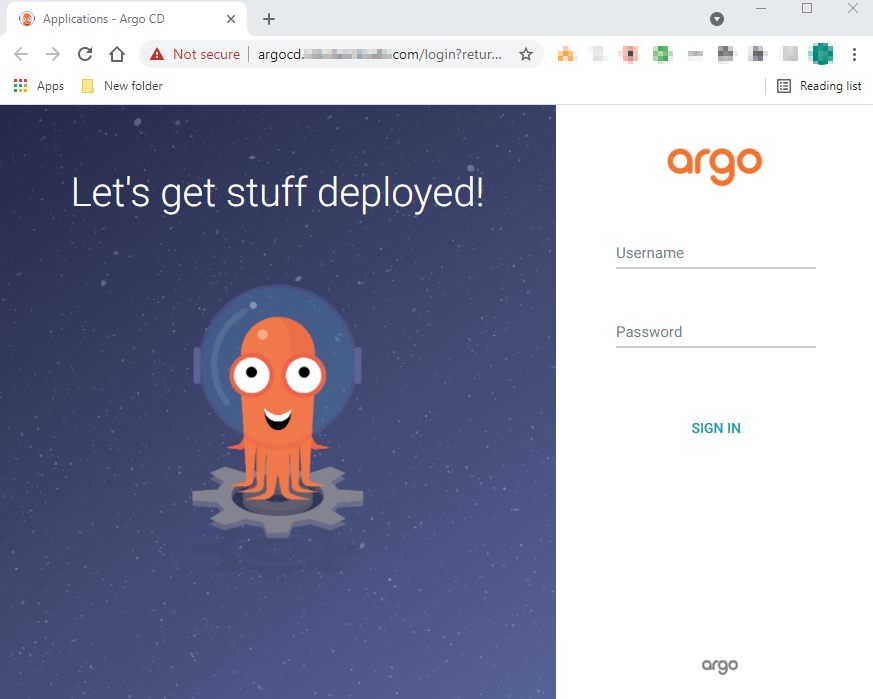
The Argo CD web portal will look like:
That’s it! You have Argo CD deployed on your AKS cluster. In the next post, I will walk through deploying a simple app to your Kubernetes cluster via Argo CD.
I am excited to announce my 8th book is complete and is available for pre-order. I am even more excited that long-time friend and fellow Microsoft MVP John Joyner joined me on the journey of writing this book. John is one of the few people I have looked up to when coming into the MVP program. He also was like an OG showing me the ropes of being an MVP. This is John’s latest book since his last 8 years ago! Thanks again John for saying yes to being a part of this!
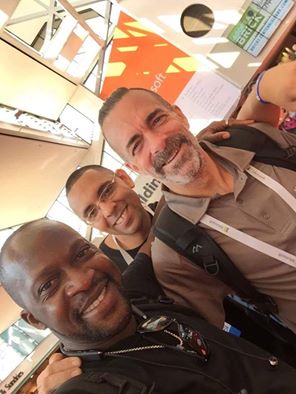
Microsoft Ignite 2016 with Fellow MVP’s Sam Erskine, and John Joyner.
In this book, we also had the honor of having the forward written by Thomas Maurer a former MVP and now Microsoft Azure Evangelist. This book was reviewed by fellow Microsoft MVP Adnan Hendricks and a chapter contributed by a buddy of mine Fred Limmer.
This book covers an exciting technology from Microsoft exploring Azure Arc-Enabled Kubernetes and Servers. This book is for DevOps professionals, system administrators, security professionals, cloud admins, and IT professionals that are responsible for servers or Kubernetes clusters both on-premises and in the cloud. This book covers:
Introduces the basics of hybrid, multi-cloud, and edge computing and how Azure Arc fits into that IT strategy
Teaches the fundamentals of Azure Resource Manager, setting the reader up with the knowledge needed on the technology that underpins Azure Arc
Offers insights into Azure native management tooling for managing on-premises servers and extending to other clouds
Details an end-to-end hybrid server monitoring scenario leveraging Azure Monitor and/or Azure Sentinel that is seamlessly delivered by Azure Arc
Defines a blueprint to achieve regulatory compliance with industry standards using Azure Arc, delivering Azure Policy from Azure Defender for Servers
Explores how Git and GitHub integrate with Azure Arc; delves into how GitOps is used with Azure Arc
Empowers your DevOps teams to perform tasks that typically fall under IT operations
Dives into how to best use Azure CLI with Azure Arc
You can pre-order the book and watch for its official release here:
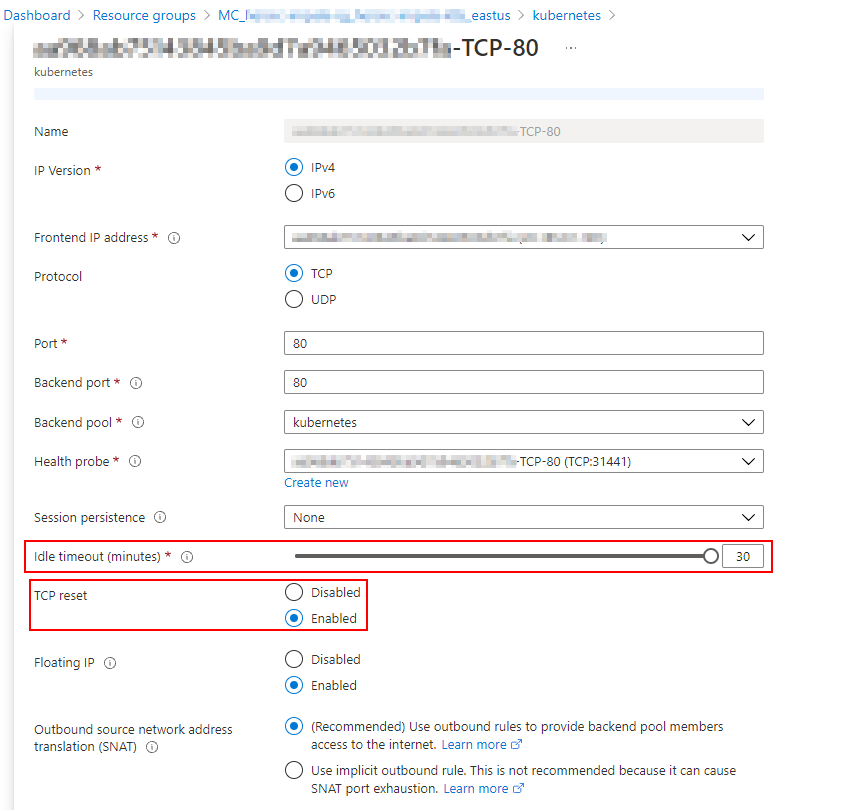
Short post here. On a recent project, we had been deploying a workload on AKS that included a load balancer service type. This app has some long-running processes and we needed to stop the Azure load balancer from timing out so fast.
In order to better handle the long-running processes, I needed to enable the TCP reset and change the idle timeout (minutes) in the load balancing rule on the Azure Load Balancer. This is shown in the following screenshot:
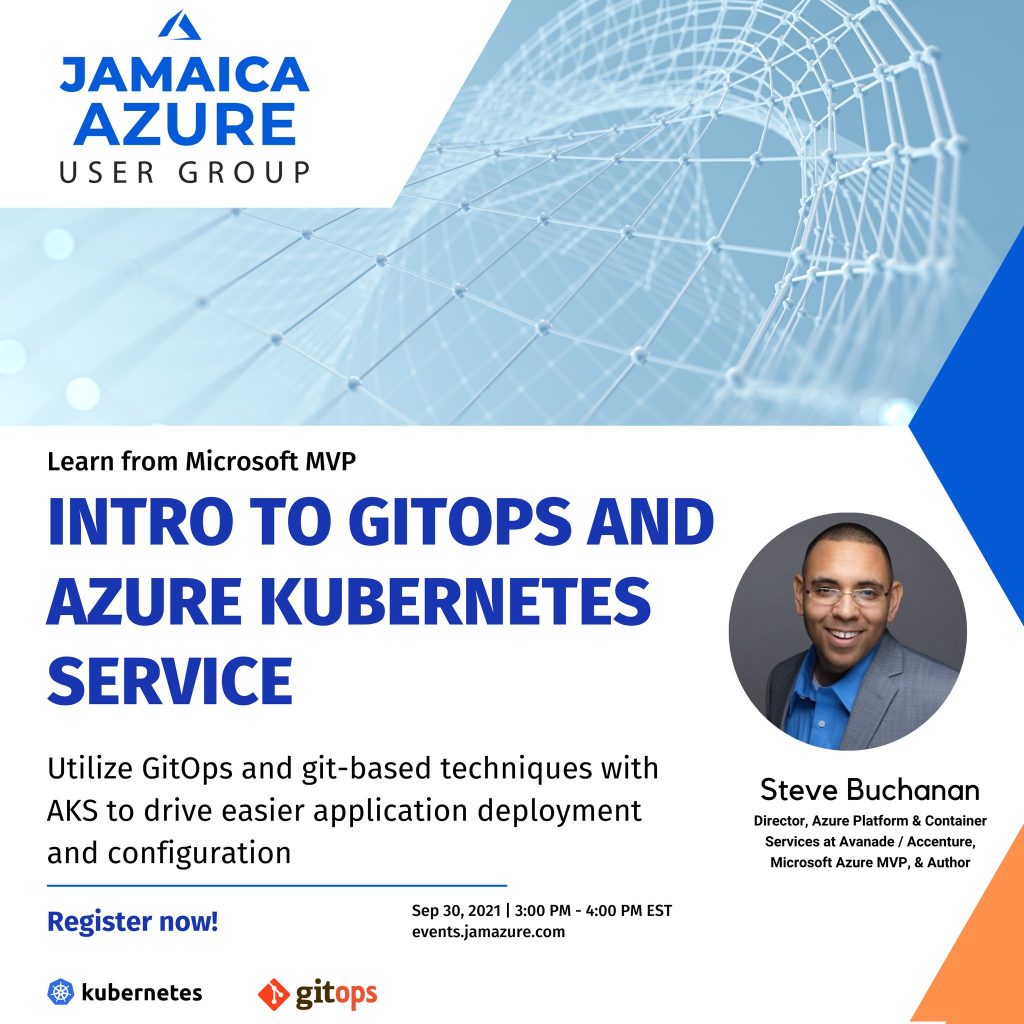
On September 30th I will be speaking at the Jamaica Azure User Group giving an intro to GitOps and AKS!
Here is a breakdown of what I will be covering in this session:
CI/CD with Kubernetes on top of management of Kubernetes configuration management can be complex and intimidating. Application definitions, configurations, management, and continuous delivery for Kubernetes can be simplified, automated, and declarative. This can be achieved via GitOps.
Microsoft simplifies running Kubernetes with Azure Kubernetes Service (AKS) but it can still be complex when it comes to the management you are responsible for and application deployment.
In this session we will take a look at:
-An intro into AKS -An intro into GitOps -How you can utilize GitOps and git-based techniques with AKS to drive easier application deployment -How to use GitOps for configuration management of Kubernetes from your source control system
I have been attended DevOpsDays Minneapolis for 4 years. Its always a great event with rockstar speakers and great content. I also always meet some great folks in the DevOps space.
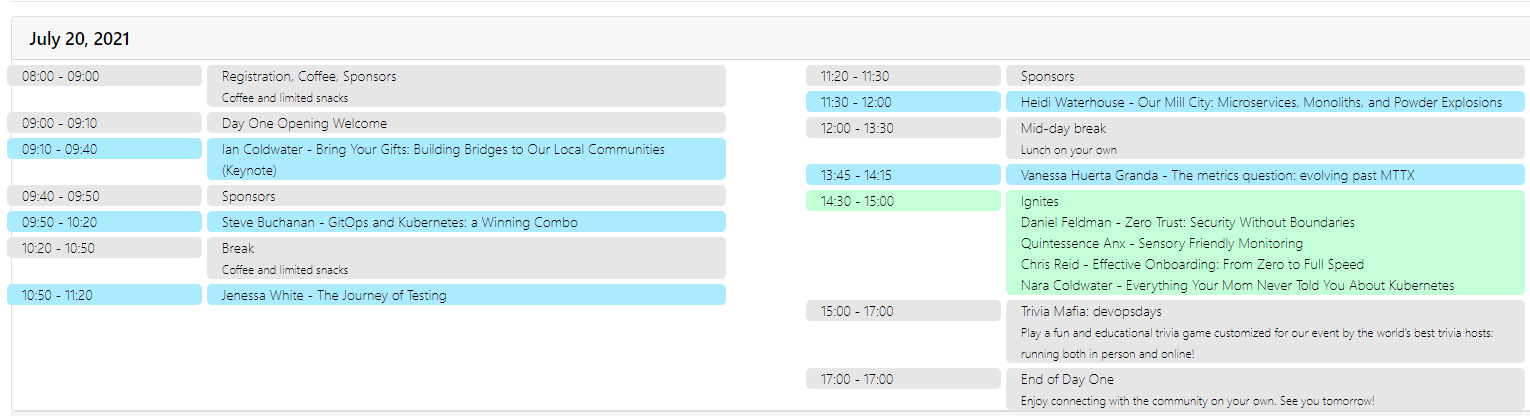
This year I will be speaking at DevOpsDays Minneapolis! This is a huge honor for me as I have a lot of respect for the event organizers and its always world-class event! I will be speaking about Kubernetes and GitOps. My session can be found here: https://devopsdays.org/events/2021-minneapolis/speakers/steve-buchanan
The event is July 20th-21st. It will be a hybrid event (in-person & virtual). I will be speaking in person on the 20th.
Here is my session info:
GitOps and Kubernetes: a Winning Combo
GitOps is an emerging pattern for cloud-native applications. This operating model simplifies Kubernetes ops while simultaneously improving the developer experience. GitOps enables continuous delivery of configuration updates and application deployments to Kubernetes.
Through the lens of GitHub, Argo CD, and Azure Kubernetes Service, we’ll explore use cases and benefits, principles and practices, architecture and tooling, and what GitOps changes in our day-to-day.
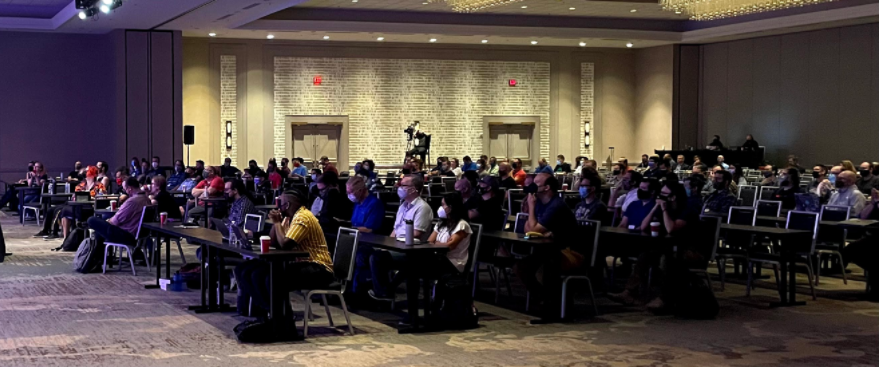
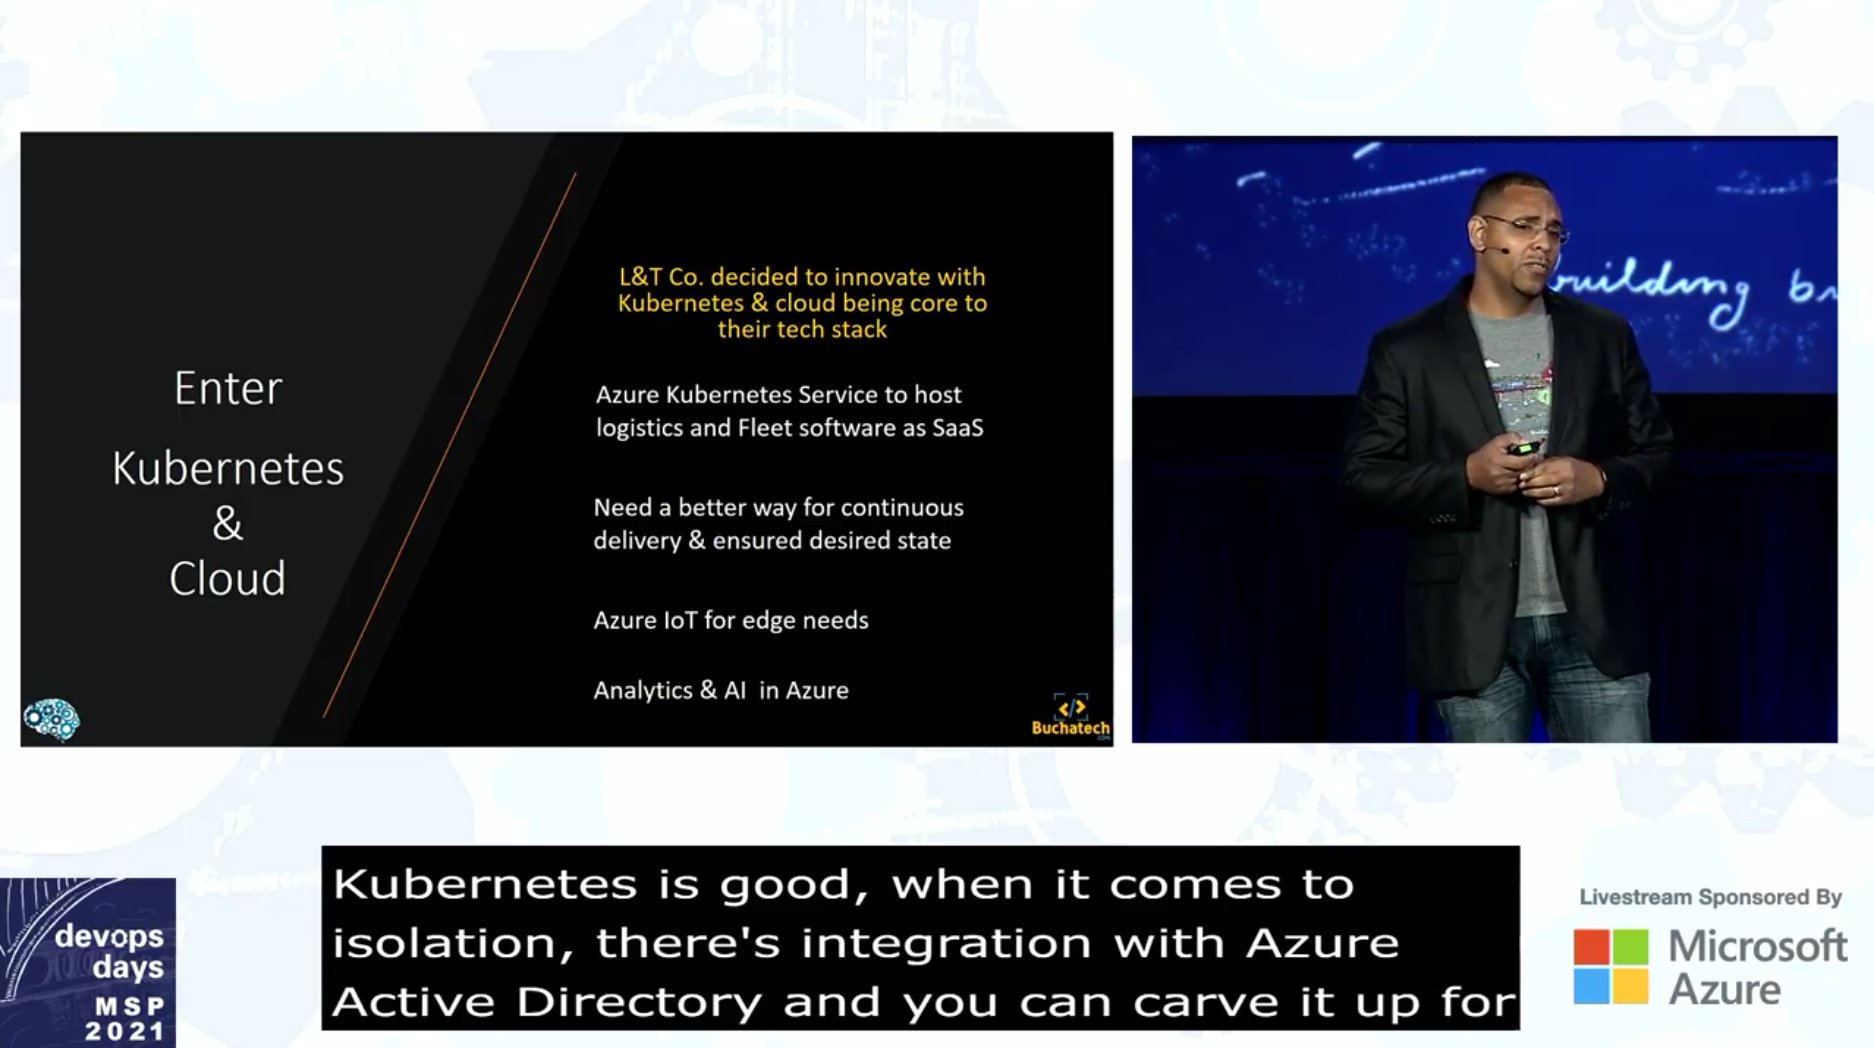
Today I delivered my session on GitOps and Kubernetes: a Winning Combo. This was my first in-person event since the pandemic in the US started. I went on stage right after Ian Coldwater gave the keynote. Ian had an amazing keynote talking about community, how the pandemic and the murder of George Floyd impacted Minneapolis last year along with how the community came together. I presented to a crowd of a few hundred as well as another couple hundred online.
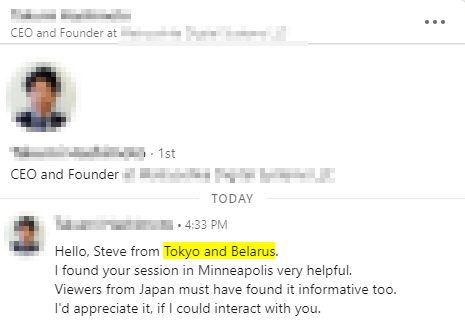
The online reach of this event was amazing. I even received a message that my session was watched by some folks in Japan!
In my session, we went on a journey through how companies should focus on being software businesses moving to digital, how the pandemic accelerated companies and consumers going digital as well as companies using Kubernetes and GitOps as a way to help power digital transformation.
The conference organizers did a great job pulling off another excellent event while ensuring everyone followed safety guidelines.