Lately I have been hearing a lot about a solution named Rancher in the Kubernetes space. Rancher is an open source Kubernetes Multi-Cluster Operations and Workload Management solution. You can learn more about Rancher here: https://www.rancher.com.
In short you can use Rancher to deploy and manage Kubernetes clusters deployed to Azure, AWS, GCP their managed Kubernetes offerings like GCE, EKS, AKS or even if you rolled your own. Rancher also integrates with a bunch of 3rd party solutions for things like authentication such as Active Directory, Azure Active Directory, Github, and Ping and logging solutions such as Splunk, Elasticsearch, or a Syslog endpoint.
Recently training opened up for some Rancher/Kubernetes/Docker training so I decided to go. The primary focus was on Rancher while also covering some good info on Docker and Kubernetes. This was really good training with a lot of hands on time, however there was one problem with the labs. The labs had instructions and setup scripts ready to go to run Rancher local on your laptop or on AWS via Terraform. There was nothing for Azure.
I ended up getting my Rancher environment running on Azure but it would have been nice to have some scripts or templates ready to go to spin up Rancher on Azure. I did find some ARM templates to spin up Rancher but they deployed an old version and it was not clear in the templates on where they could be updated to deploy the new version of Rancher. I decided to spend some time building out a couple of ARM templates that can be used to quickly deploy Rancher on Azure and add a Kubernetes host to Rancher. In the ARM template I pulled together it pulls the Rancher container from Docker Hub so it will always deploy the latest version. In this blog post I will spell out the steps to get your Rancher up and running in under 15 minutes.
First off you can find the ARM Templates here on my Github here: https://github.com/Buchatech/DeployRanchertoAzure.
The repository consists of ARM templates for deploying Rancher and a host VM for Kubernetes. NOTE: These templates are intended for labs to learn Rancher. They are not intended for use in production.
In the repo ARM Template #1 named RancherNode.JSON will deploy an Ubuntu VM with Docker and the latest version of Rancher (https://hub.docker.com/r/rancher/rancher) from Docker Hub. ARM Template #2 named RancherHost.JSON will deploy an Ubuntu VM with Docker to be used as a Kubernetes host in Rancher.
Node Deployment
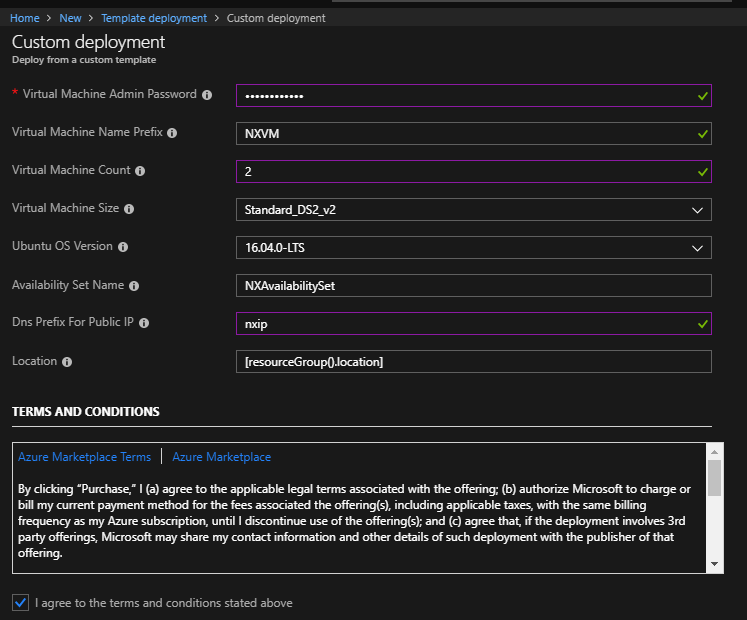
Deploy the RancherNode.JSON ARM template to your Azure subscription through “Template Deployment” or other deployment method. You will be prompted for the following info shown in the screenshot:
Host Deployment
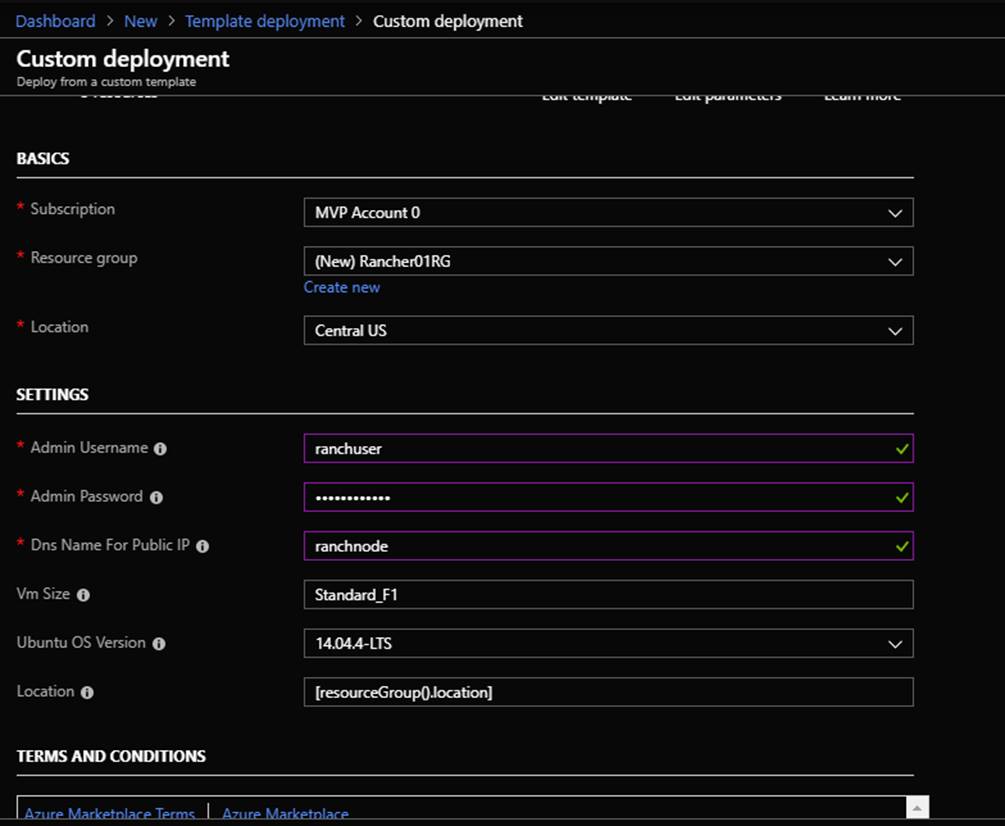
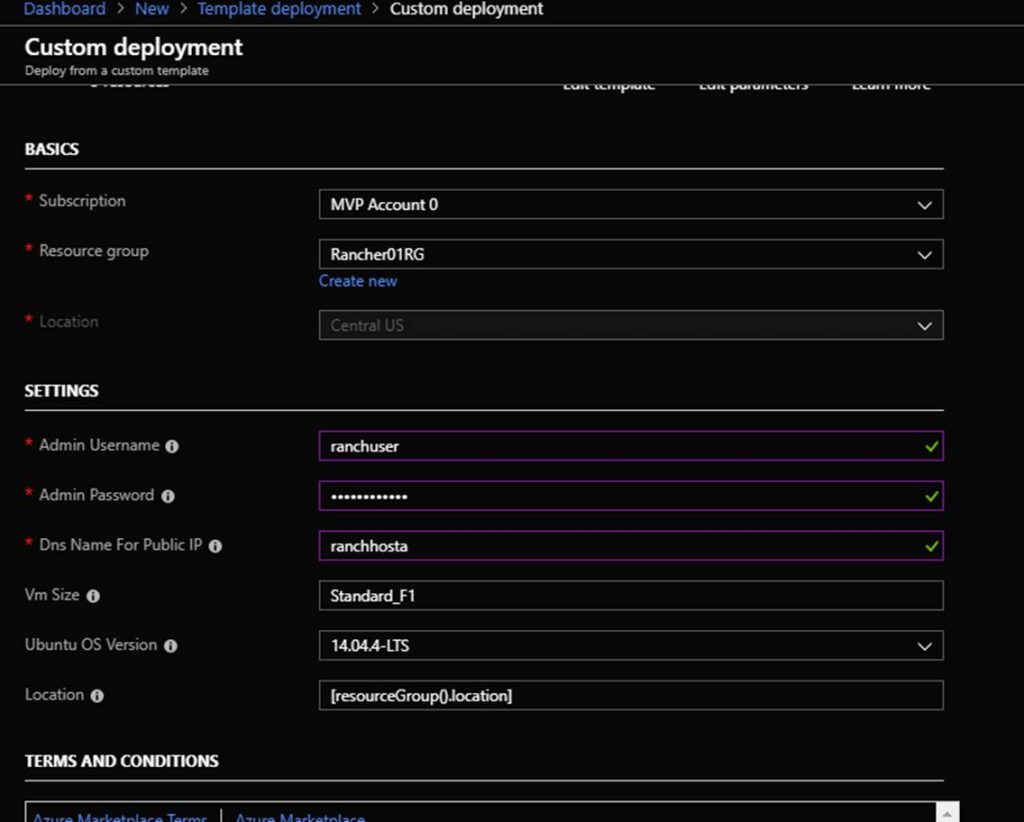
Deploy the RancherHost.JSON ARM template to your Azure subscription through “Template Deployment” or other deployment method. Note that that should deploy this into the same Resource Group that you deployed the Rancher Node ARM template into. You will be prompted for the following info shown in the screenshot:
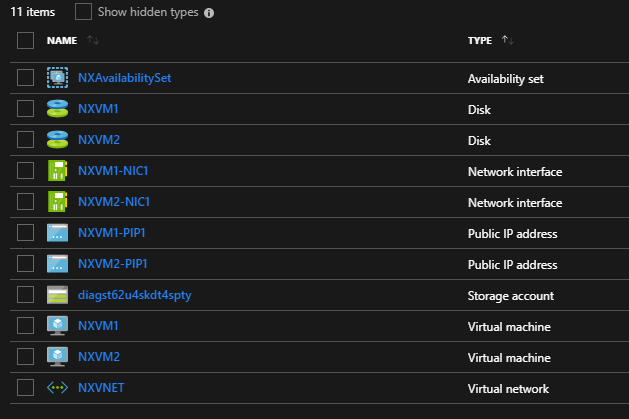
After the Rancher Node and Rancher Host ARM templates are deployed you should see the following resources in the new Resource Group:
| Name | Type |
| RancherVNet | Virtual network |
| RancherHost | Virtual machine |
| RancherNode | Virtual machine |
| RancherHostPublicIP | Public IP address |
| RancherNodePublicIP | Public IP address |
| RancherHostNic | Network interface |
| RancherNodeNic | Network interface |
| RancherHost_OSDisk | Disk |
| RancherNode_OSDisk | Disk |
Next navigate the Rancher portal in the web browser. The URL is the DNS name of the Rancher Node VM. You can find the DNS name by clicking on the Rancher Node VM in the Azure portal on the overview page. Here is an example of the URL:
https://ranchernode.centralus.cloudapp.azure.com
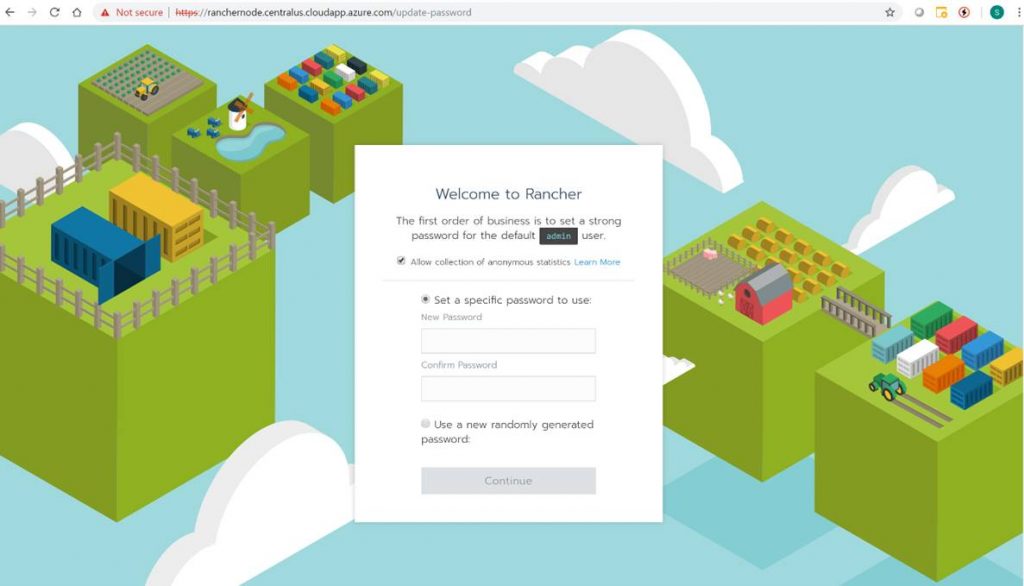
The Rancher portal will prompt you to set a password. This is shown in the following screenshot.
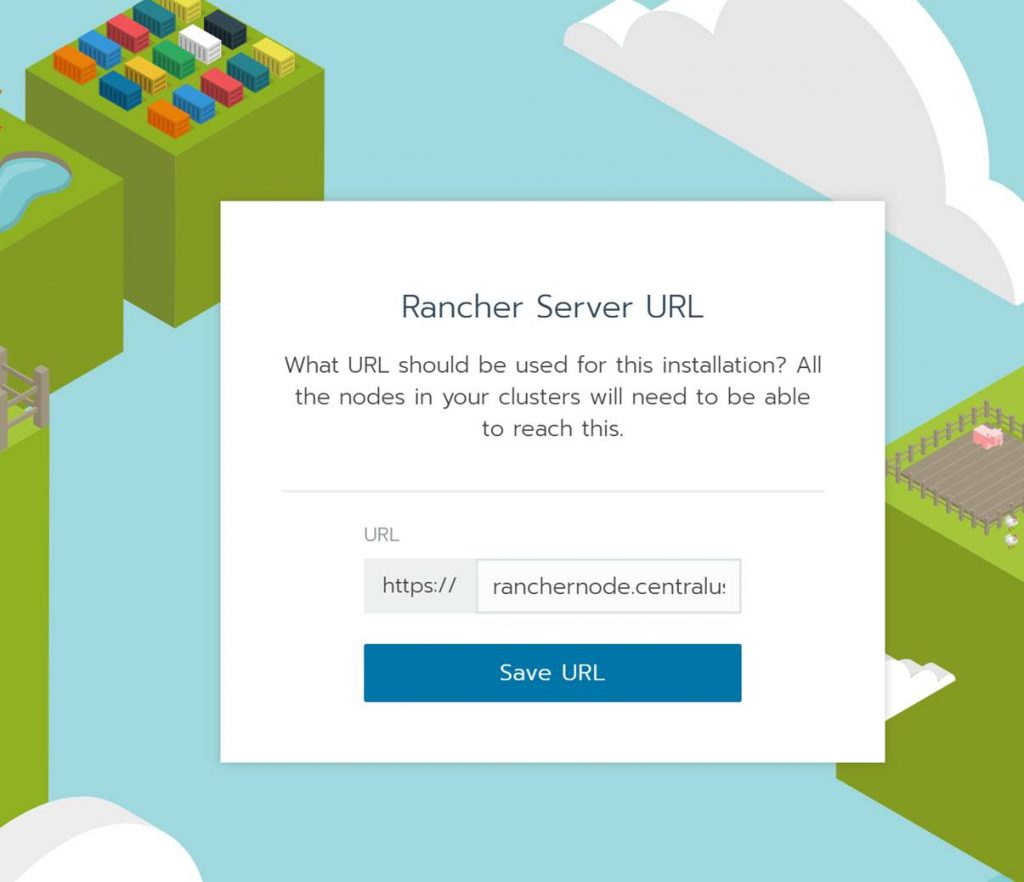
After setting the password the Rancher portal will prompt you for the correct Rancher Server URL. This will automatically be the Rancher Node VM DNS name. Click Save URL.
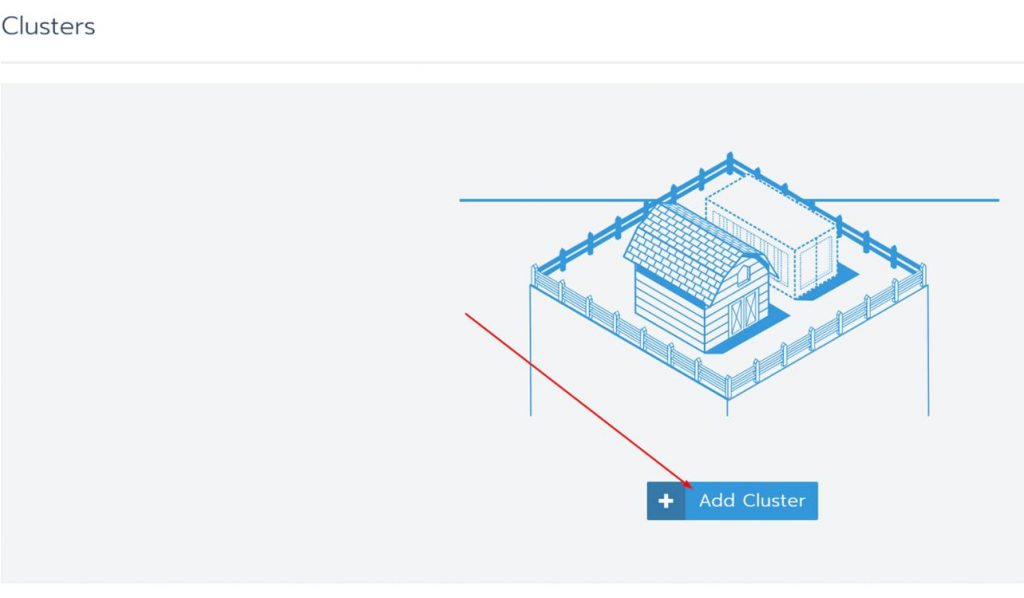
You will then be logged into the Rancher portal. You will see the cluster page. From here you will want to add a cluster. Doing this is how you add a new Kubernetes cluster to Rancher. In this post I will show you how to add a cluster to the Rancher Host VM. When it’s all said and done Rancher will have successfully deployed Kubernetes to the Rancher Host VM. Note that you could add a managed Kubernetes such as AKS but we won’t do that in this blog. I will save that for a future blog post!
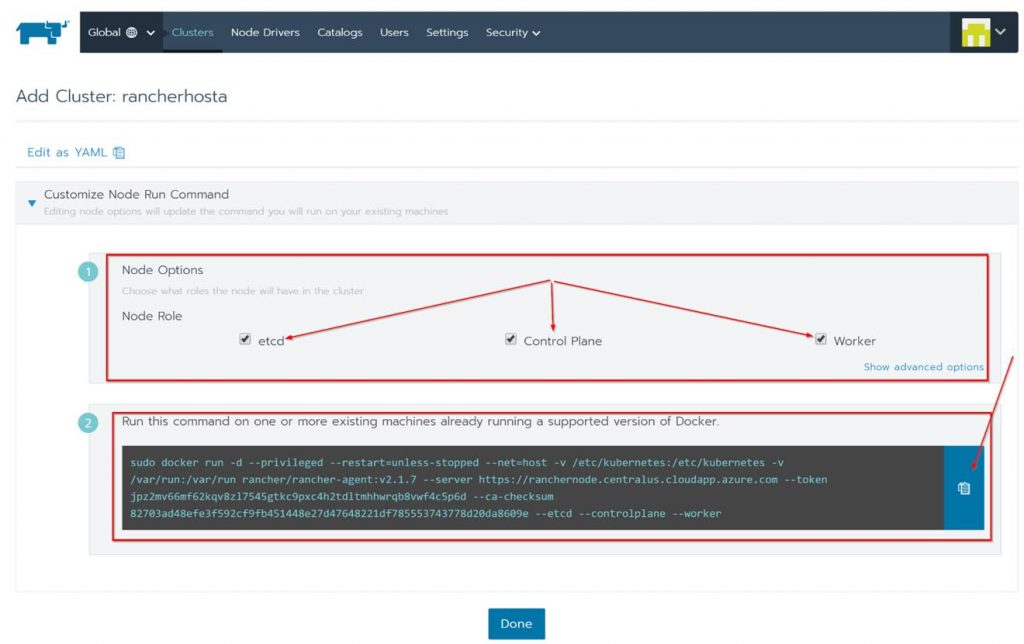
Click on Add Cluster
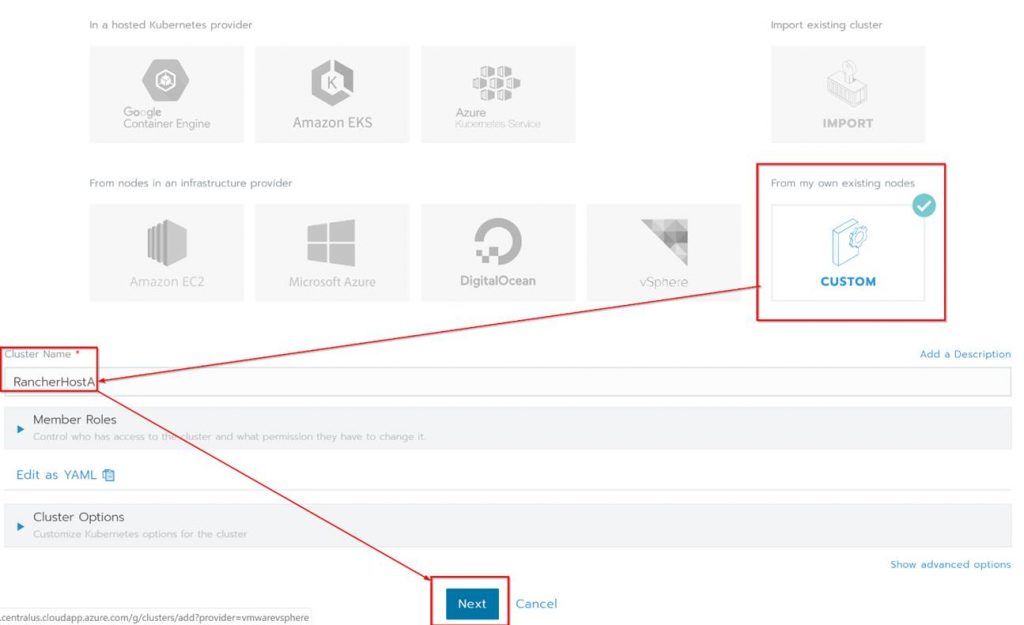
Under “From my own existing nodes” Click on custom, give the cluster a name and click Next.
Next check all the boxes for the Node Options since all the roles will be on a single Kubernetes cluster. Copy the code shown at the bottom of the page, click done and run the code on the Rancher Host.
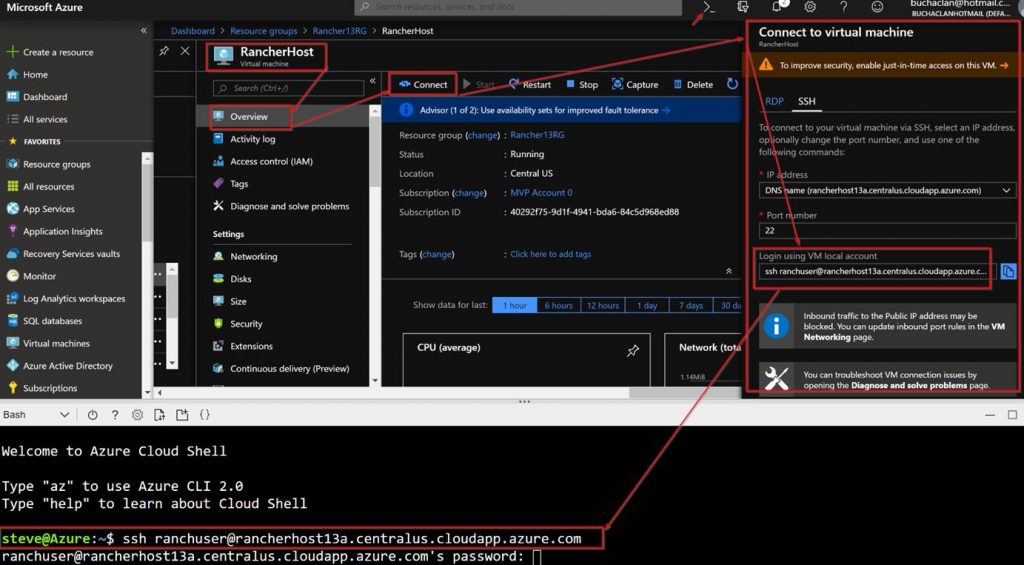
In order to run the code on the Rancher Host you need to SSH in and run it from there. To do this follow these steps:
- In the Azure Portal, from within the resource group click on the Rancher Host VM.
- On the Overview page click on Connect.
- Copy “ssh ranchuser@rancherhost.centralus.cloudapp.azure.com” from the Connect to virtual machine pop up screen.
- Open a terminal in either Azure cloud shell or with something like a terminal via VS Code and past the “ssh ranchuser@rancherhost.centralus.cloudapp.azure.com” in.
Running the code will look like this:
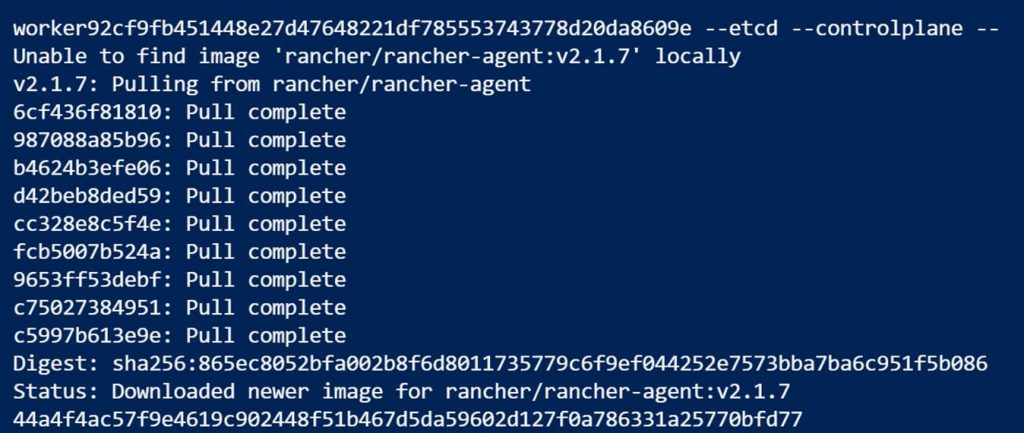
When done you can run Docker PS to see that the Rancher agent containers are running.

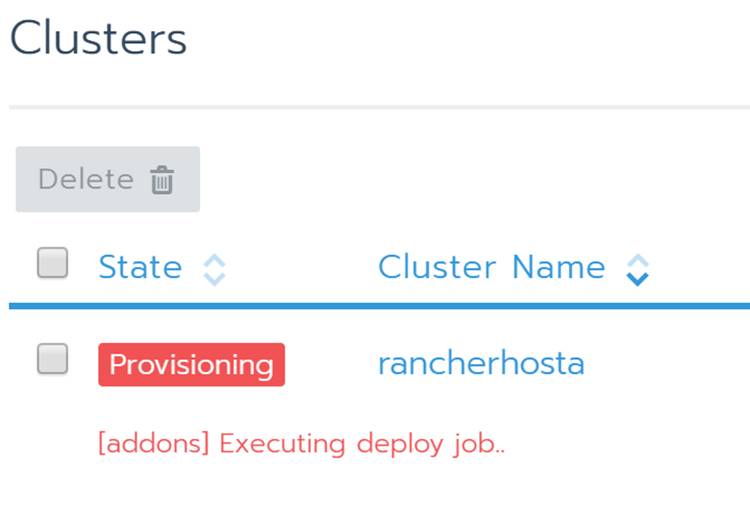
In the Rancher portal under clusters you will see the Rancher host being provisioned
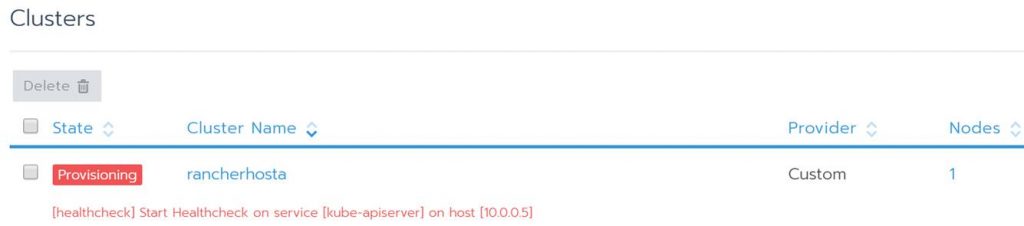
The status will change as Kubernetes is deployed.
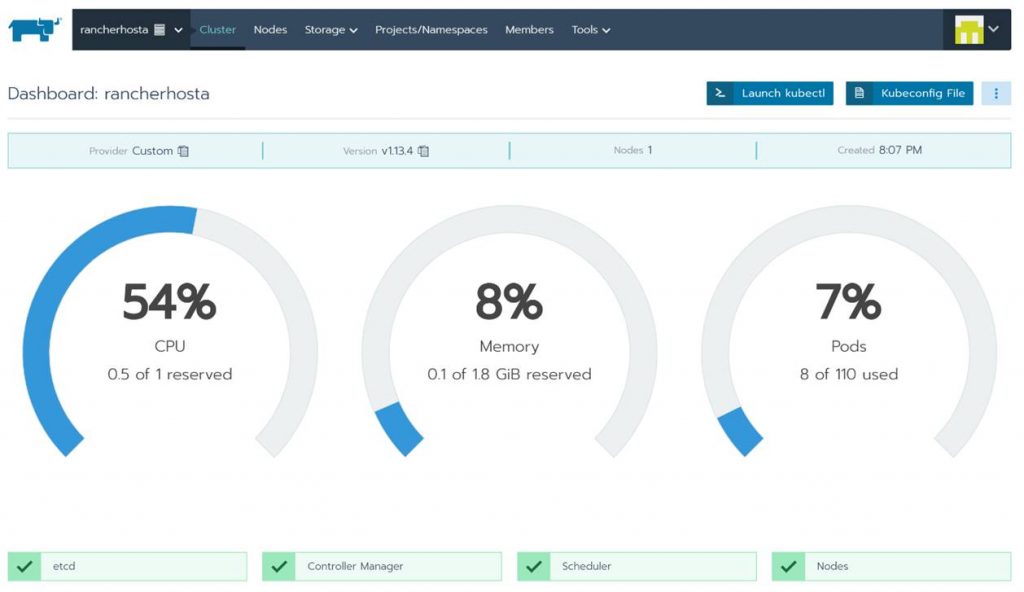
Once it’s done provisioning you will see your Kubernetes cluster as Active.

From here you can see a bunch of info about your new Kubernetes cluster. Also notice that you could even launch Kubectl right from hereand start running commands! Take some time to click around to see all the familiar stuff you are used to working with in Kubernetes. This is pretty cool and simplifies the management experience for Kubernetes.
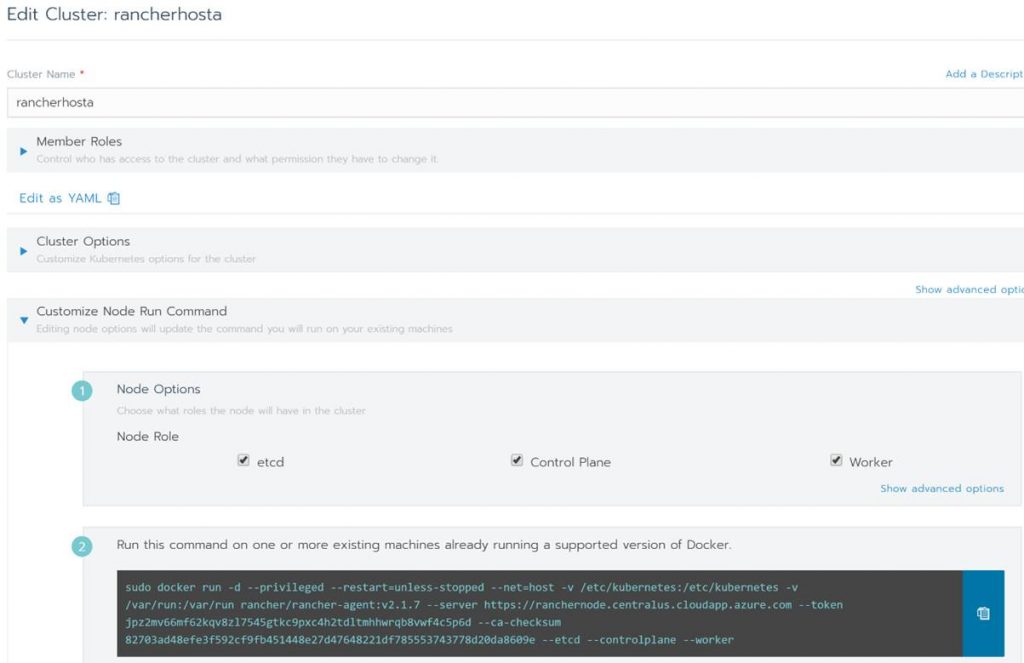
If you want to add more nodes or need the configuration code again just click the ellipsis button and edit.

In Edit Cluster you can change the cluster name, get and change settings and copy the code to add more VMs to the cluster.
That’s the end of this post. Thanks for reading. Check back for more Azure, Kubernetes, and Rancher blog posts.